Facebook Pixel setup
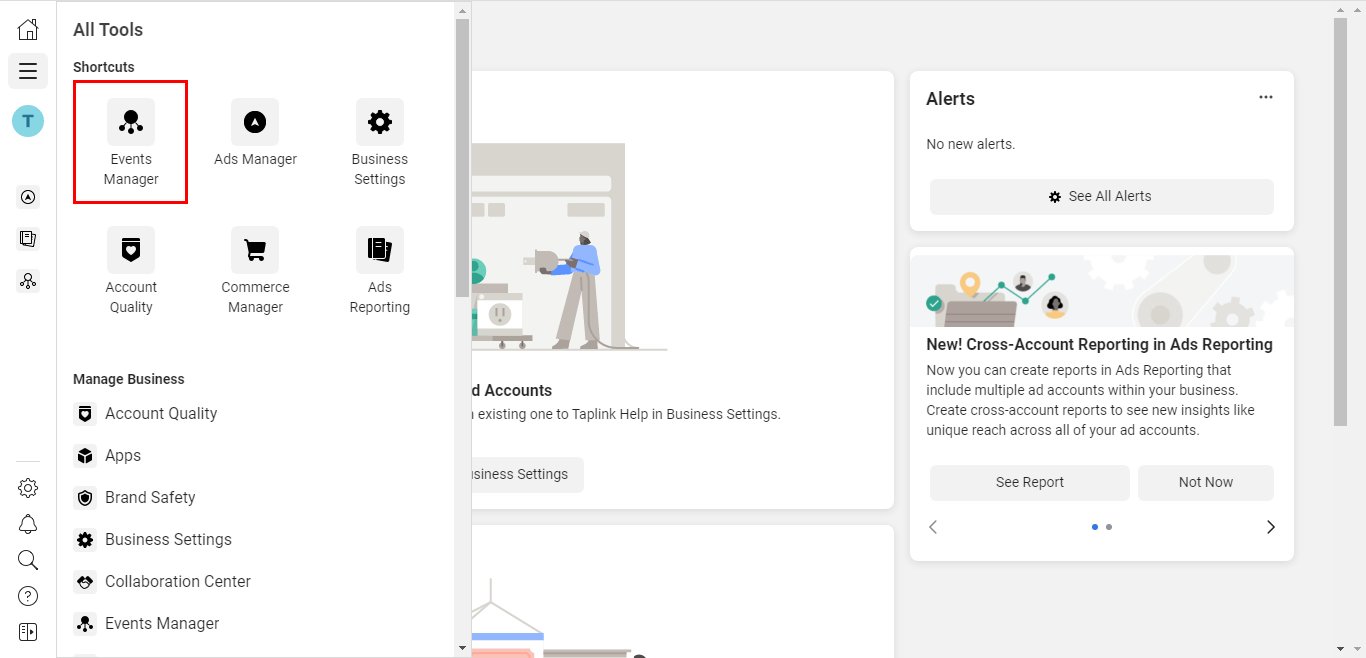
1. Select the Events Manager tool on the left side menu of the Facebook Business Manager.
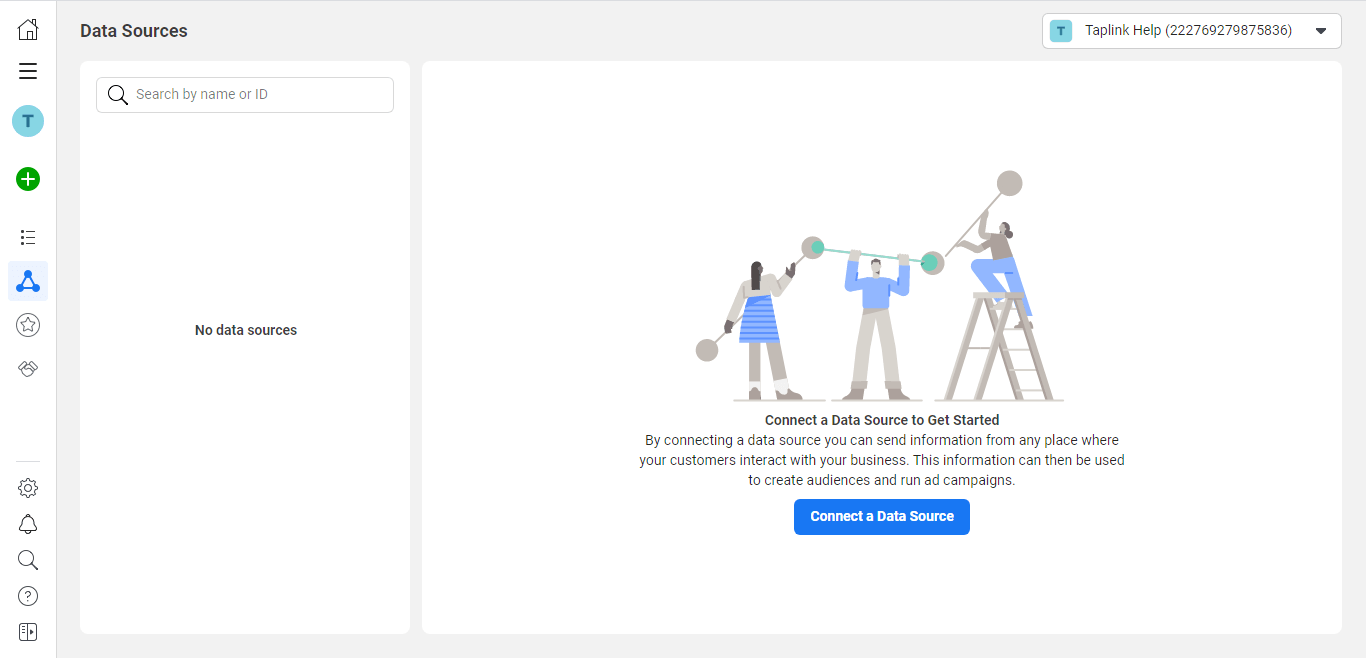
2. Click the "Connect a Data Source" button on the left menu.
3. Select "Web" as the data source.

4. Select the "Facebook Pixel" connection method.
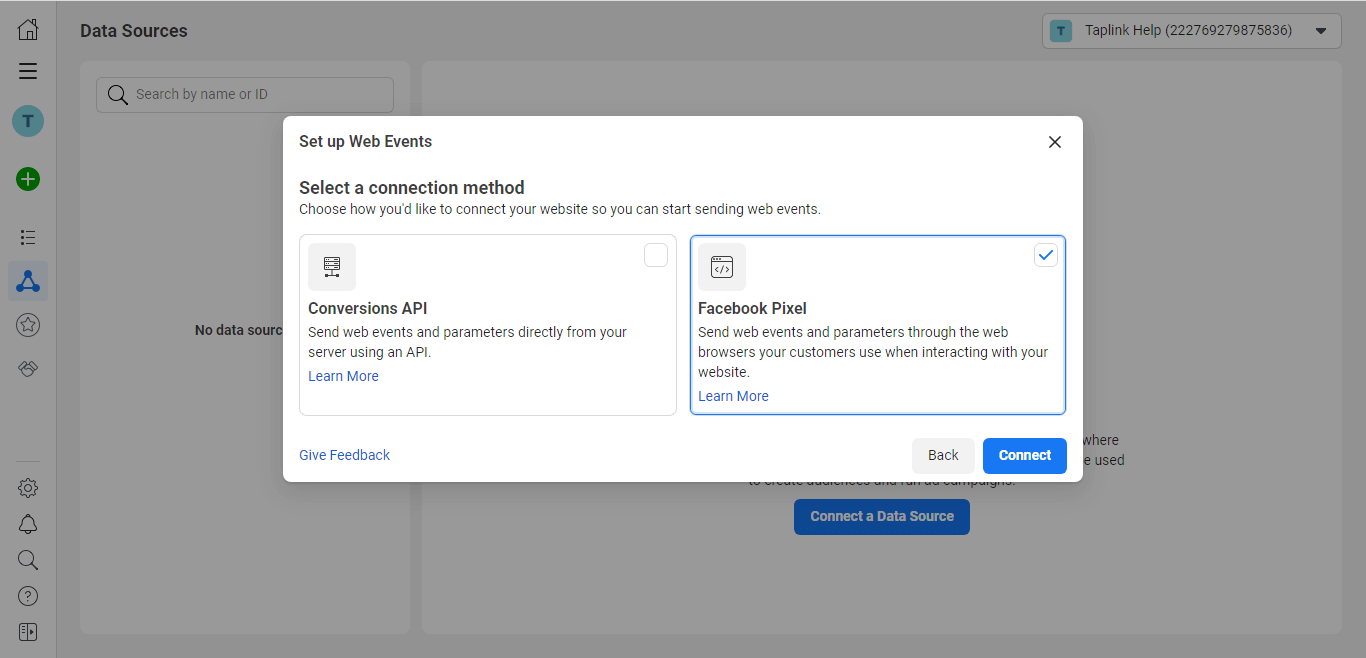
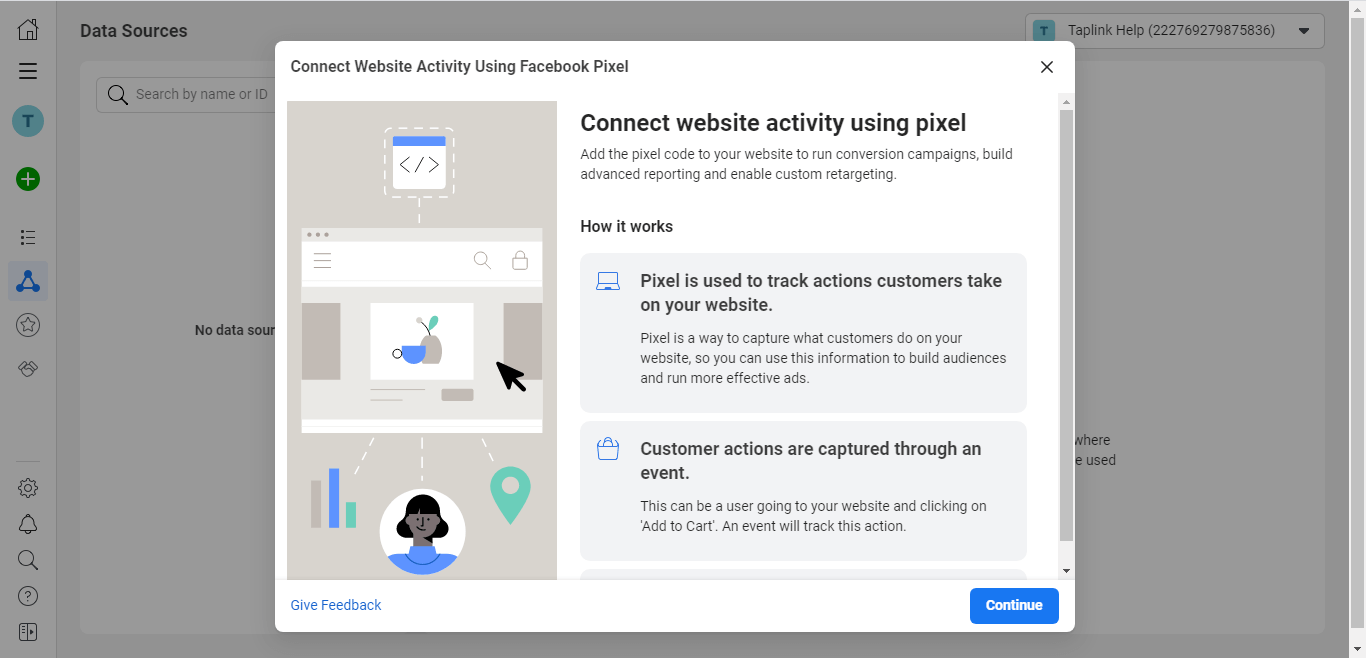
5. Click "Continue".
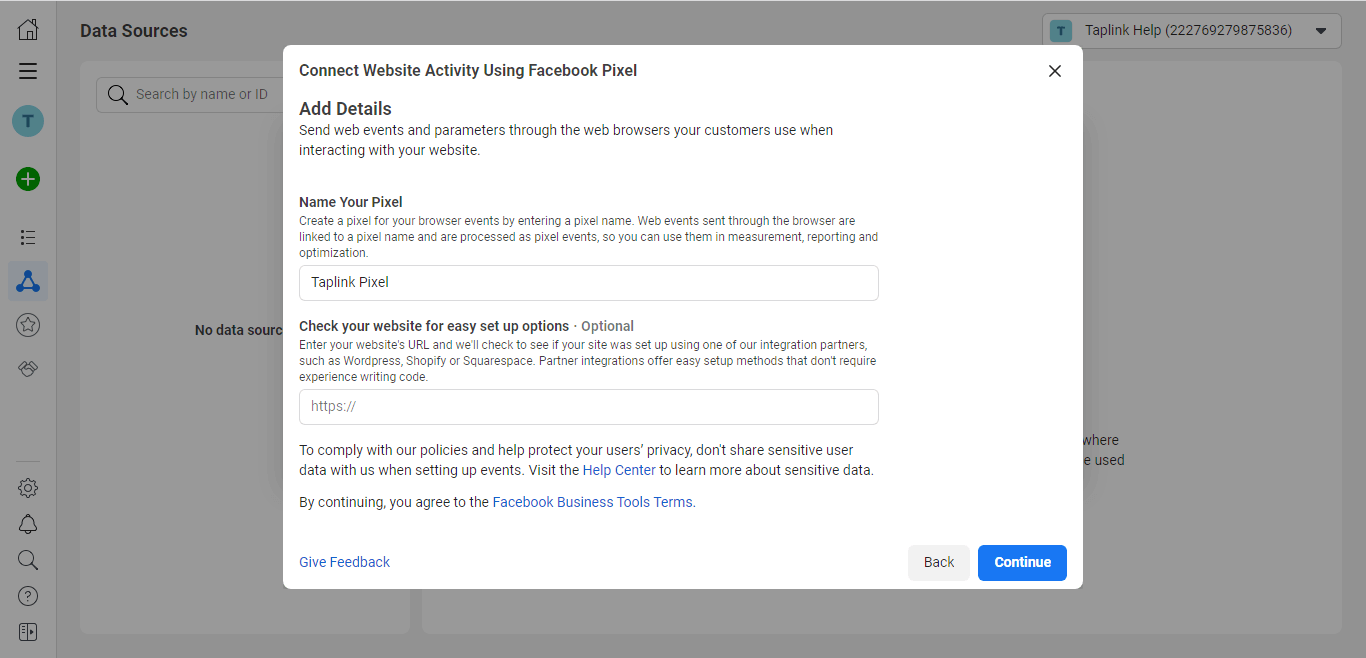
6. Add your Pixel name (for example, the name of your company or product) and click the "Continue" button.
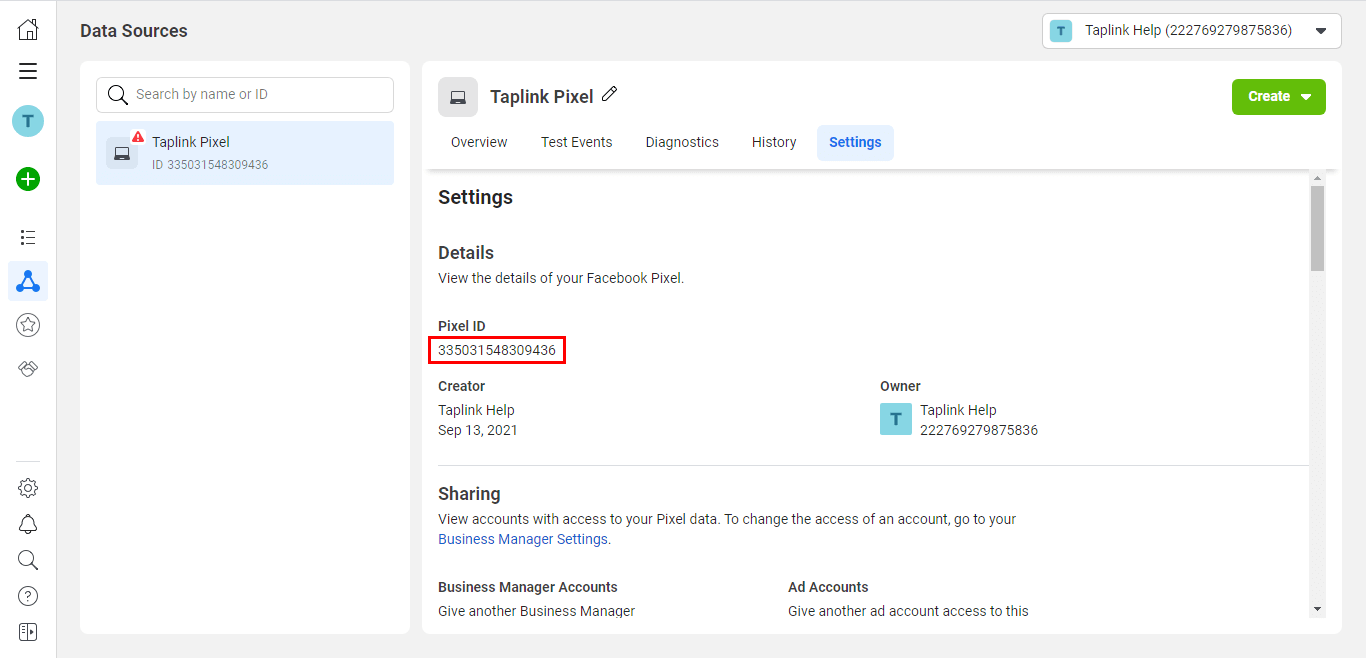
7. Go to the "Settings" tab of the created pixel. Find your pixel ID in the "Details" tab - this is the first value you will need to copy into Taplink.
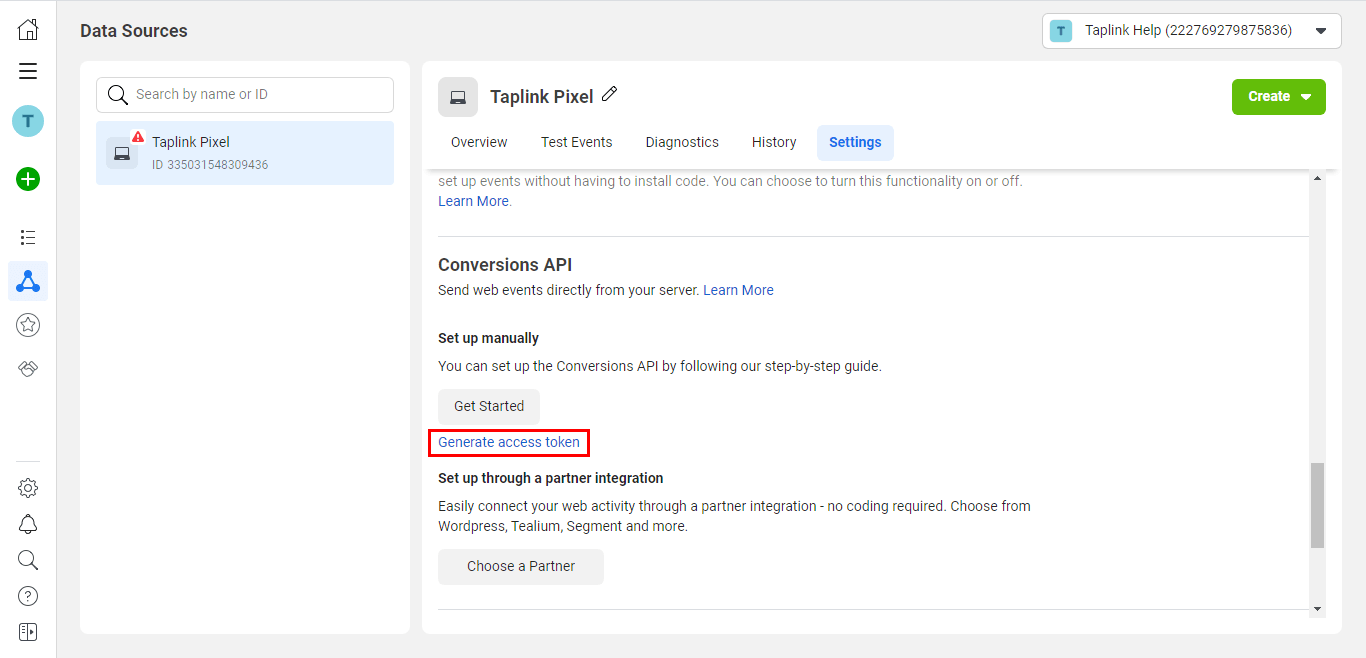
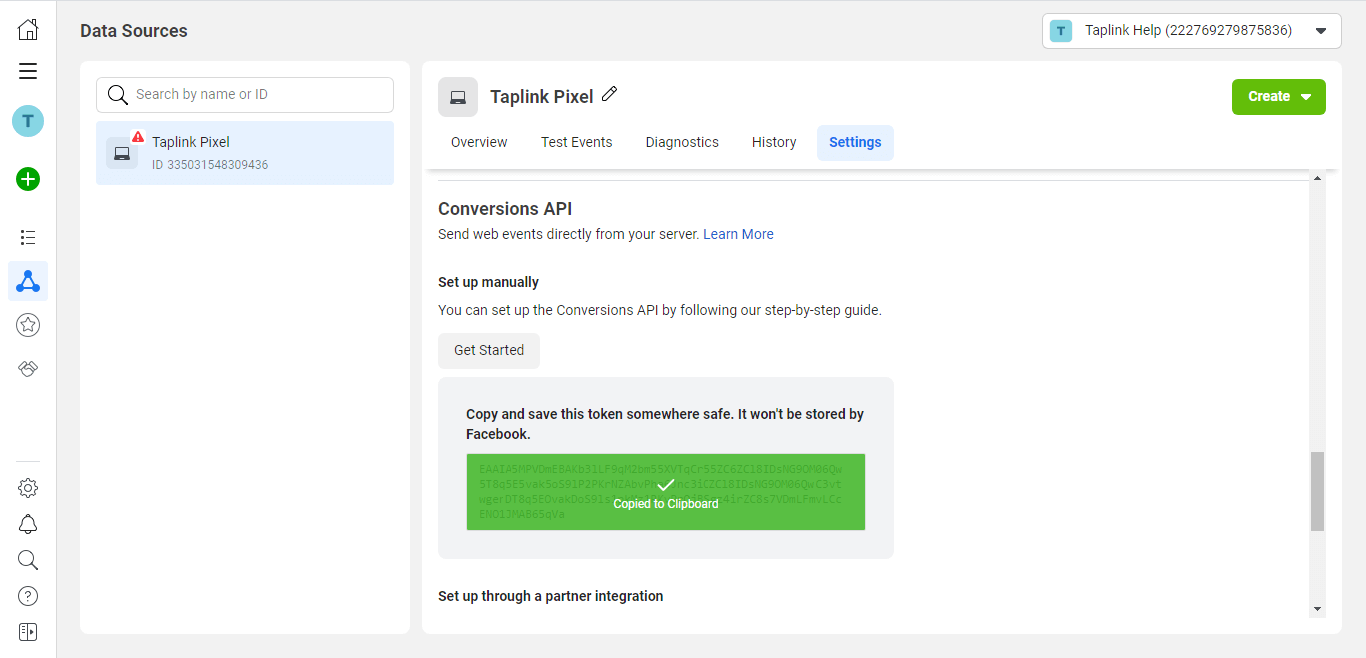
8. Scroll down to the "Conversions API" section. Click on the "Generate access token" link - this is the second value you will need to copy to Taplink.
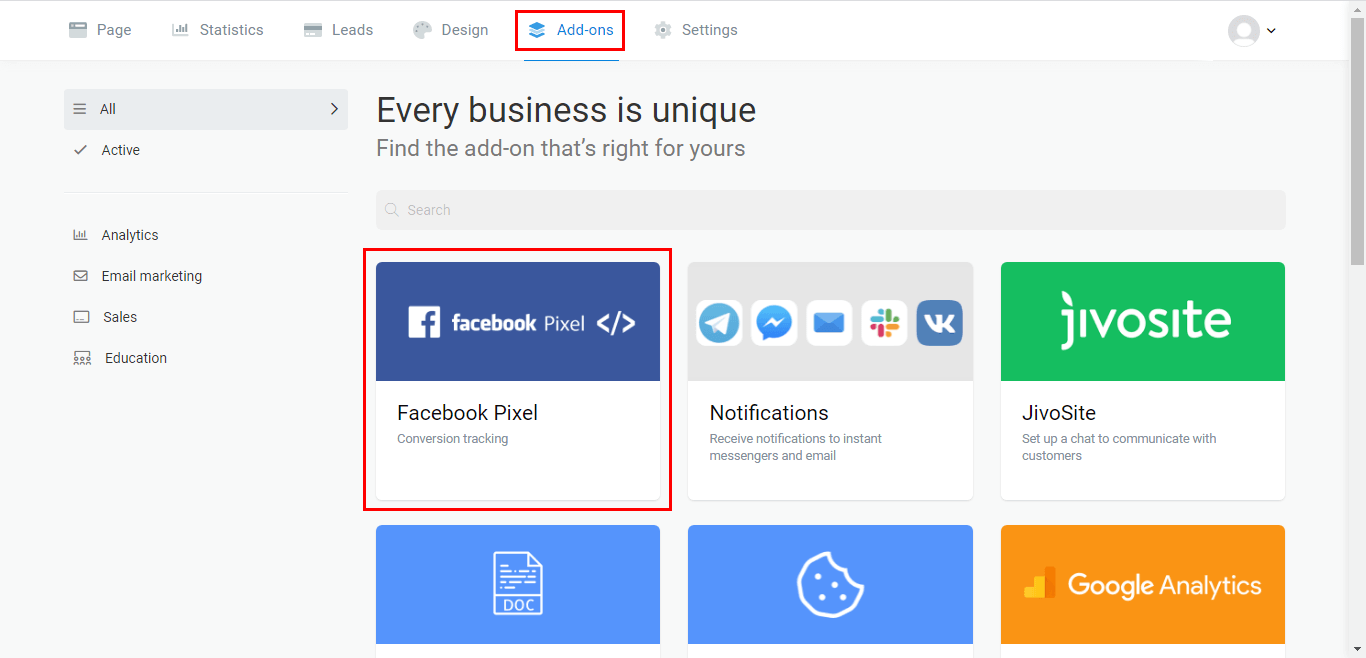
9. Go to Taplink → Add-ons → Facebook Pixel.
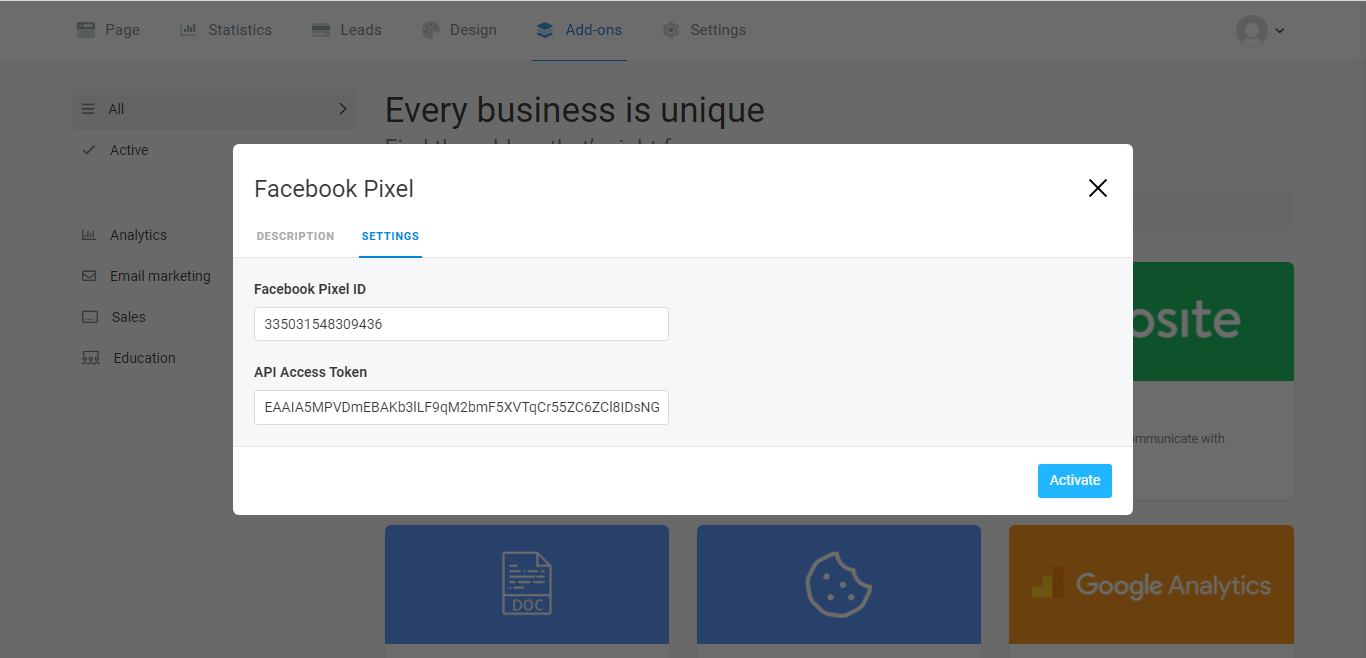
10. Click "Publish" button. Insert your Pixel ID and access token in the proper fields. Make sure that there are no spaces. Click "Activate" button.
Note! The data may take some time to appear in the Meta Events Manager.
It is not required to set up the events. Taplink is already set up to send the events to Facebook on each click on a link or a messenger. Moreover, we send all the standard events for electronic commerce, such as "New lead," "Add to Cart", "Ordering Start", and "Payment Successful".