Cookie consent banner
This guide explains how to add a cookie consent banner to your Taplink. Read the full guide to know everything about it, or go to a specific part:
Your Taplink site, like any other site, uses cookies to collect and process user data. This allows you to get your site statistics and also create more effective advertising campaigns. Many countries have regulations that control the use of cookies. GDPR is an example of such regulations.
According to these regulations, you, as a website owner, are obliged to add a cookie consent notification or request. They are called cookie consent banners.
You can add one of two cookie consent banners on your Taplink:
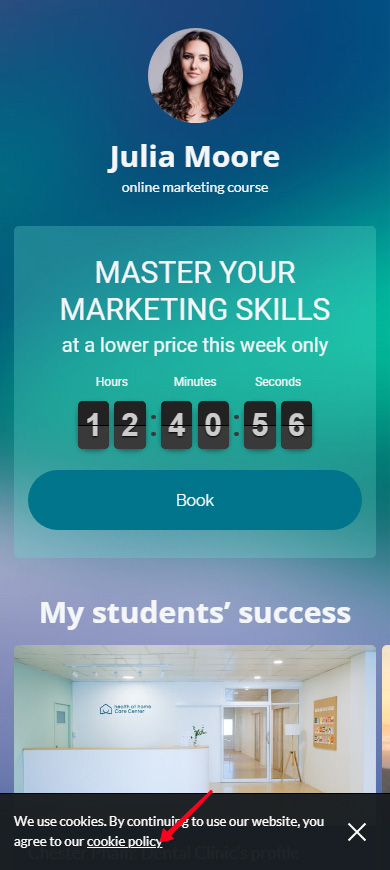
- a notification banner. A new visitor will see a message at the bottom of the screen when viewing your Taplink, which says that further viewing your Taplink means the visitor's consent for using cookies (screenshot 1).
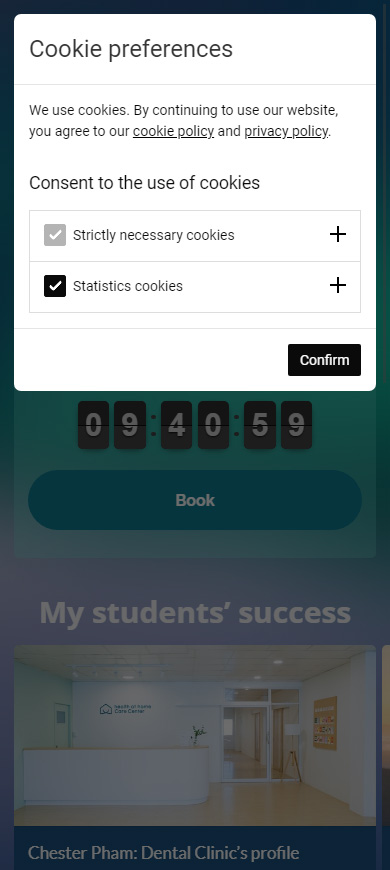
- a pop-up with settings. A new visitor will see a pop-up window where the visitor needs to set cookie preferences and tap the button to consent to the use of cookies. Only after that, the visitor will be able to view your Taplink (screenshot 2).


Enable the Cookie add-on to get a cookie consent banner to your Taplink. This add-on is available on the free and both paid plans. Go to your editor page and follow the steps:
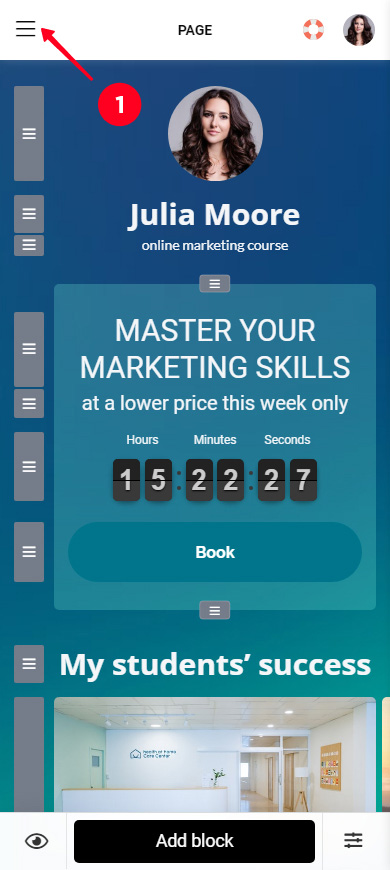
01. Tap the three lines.
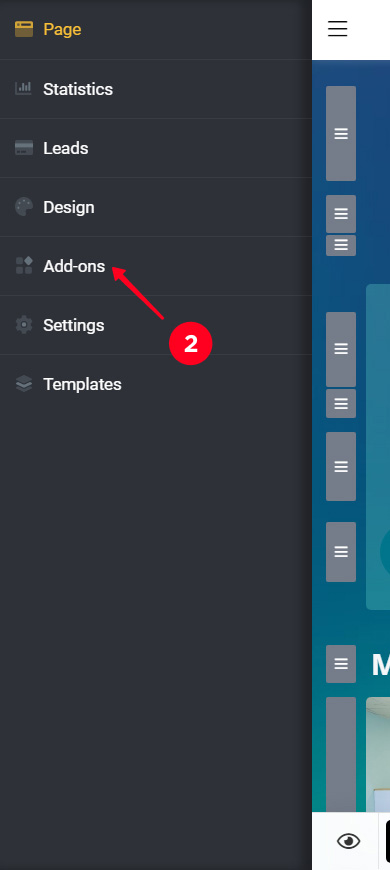
02. Tap Add-ons.
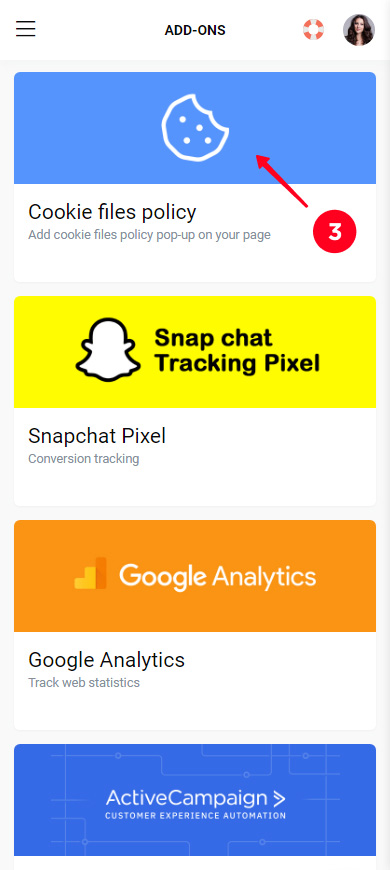
03. Scroll down and select the add-on Cookies files policy.
04. Tap Publish.
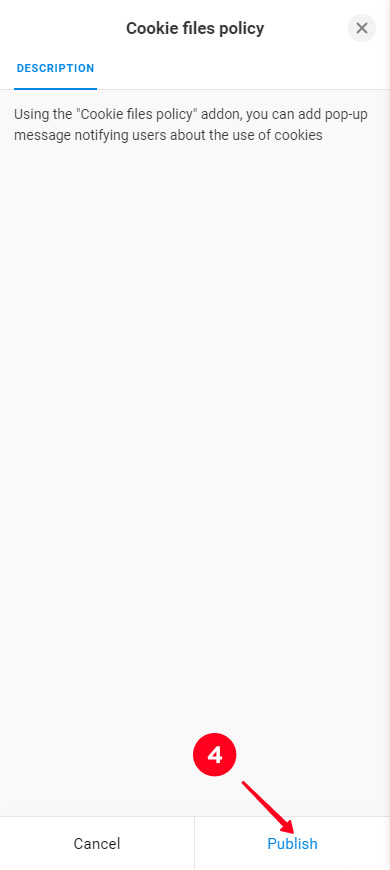
You will get to the Settings tab. Read below about what's there.
By default, the add-on adds a notification banner to your Taplink at the bottom of the screen.
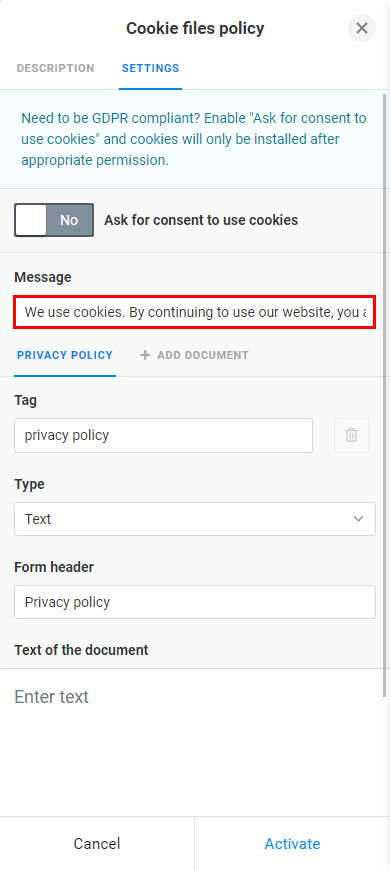
You can edit the default notification text in the Message field:
Follow the steps to add a link to the message of the cookie banner:
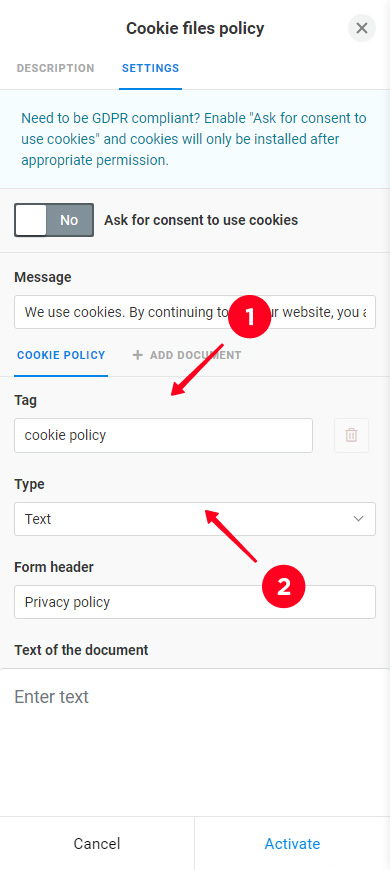
- Write in the Tag field which part of the message text you want to be the link.
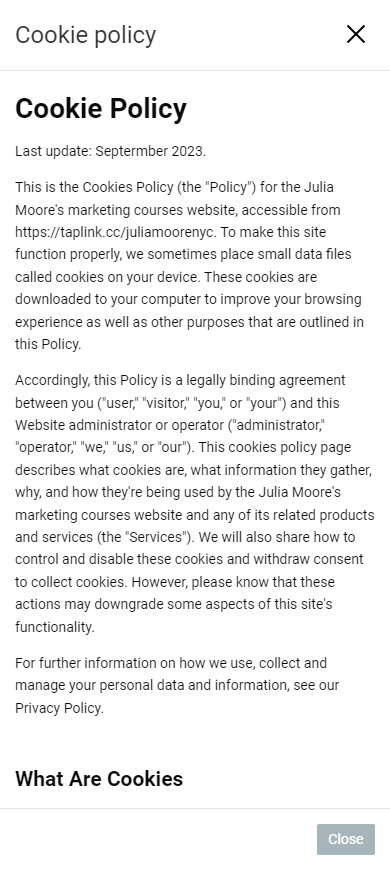
- Choose what the link will open: a text or web page. If you don't have a text or a page with the cookie policy yet, compose it with a lawyer or use a cookie policy generator.
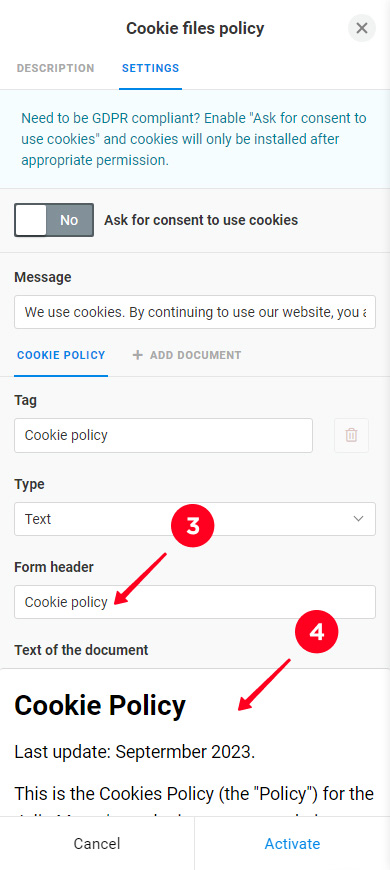
- If you selected "Text" in the previous step, then write the title for the text.
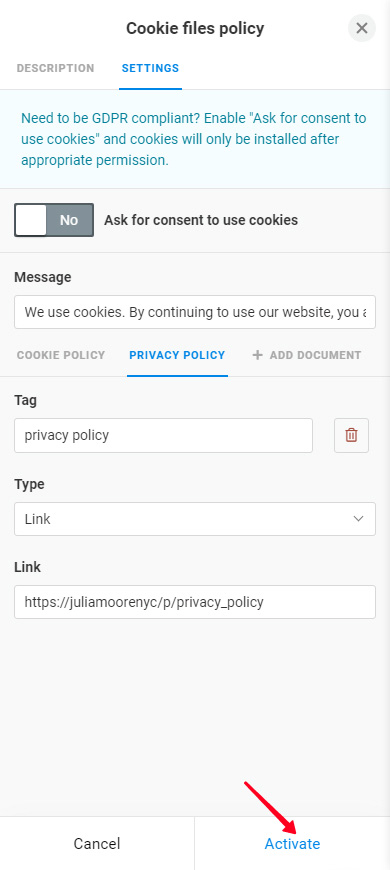
- If you selected "Text" in step 3, then paste the cookie policy text. If you have selected "Link", specify the link to the page that contains the cookie policy text.
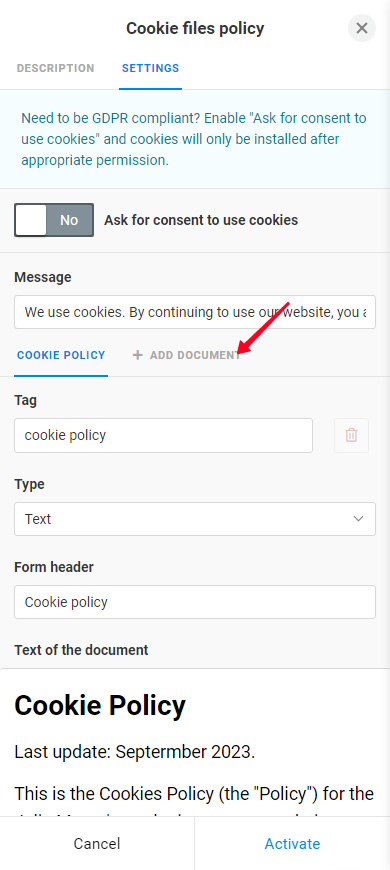
You can add more links to the notification. For example, in this way, you can also link to a privacy policy, return policy, and so on. Tap + Add document for this. A new tab will appear for the new link, repeat steps 1–4 on it.
If you need to delete a link, switch to its tab and tap the trash icon.

A message for the cookie banner is ready. Tap Activate to finish the cookie consent notification setting.
That's it, now new Taplink visitors will see the cookie banner:

When you have set the cookie banner message, you can add cookie settings to the banner. Then the banner will be a pop-up.
Note! The cookie settings that visitors can adjust in the pop-up depend on the tracking tools that you use on your Taplink.
Follow the steps to add cookie settings to the consent banner:
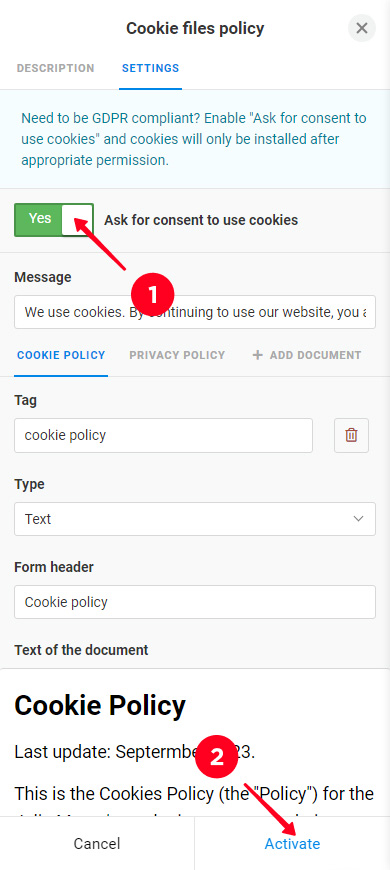
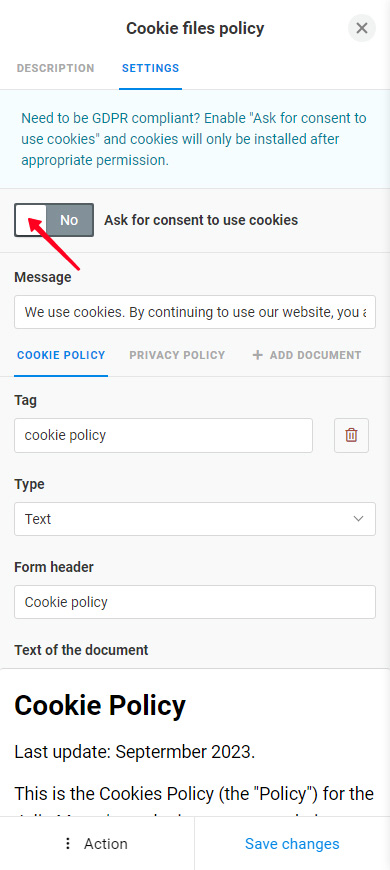
- Turn on the Ask for consent to use cookies feature.
- Tap Activate.
That's it, now new visitors of the Taplink will see this cookie consent banner:
If you ever want to change the pop-up with settings to the notification, then you just need to turn off the Ask for consent to use cookies feature.
You can deactivate the add-on for a while or delete it if you no longer need the cookie banner on your Taplink.
When you deactivate the add-on, the cookie banner is not displayed on your Taplink. However, the banner text and links are saved, and you can quickly get back the cookie banner that you set up.
Go to the add-on settings and then:
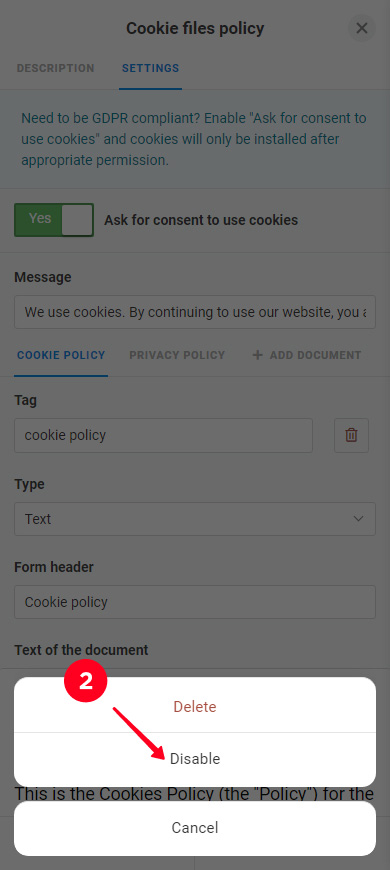
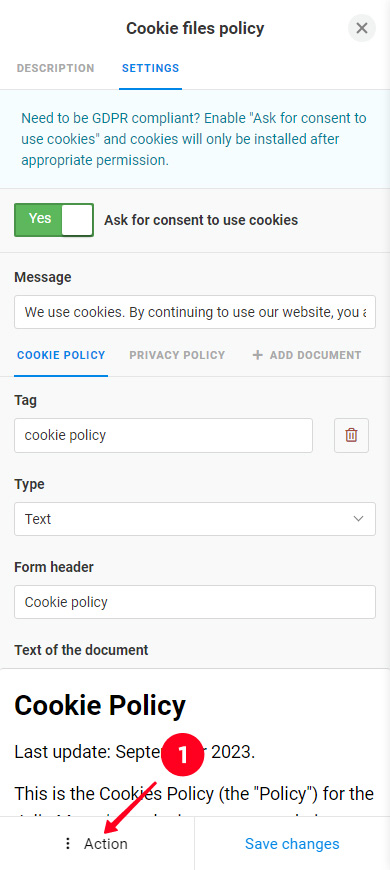
- Tap Action.
- Select Disable.

When you need the cookie banner on your Taplink again, follow the same steps to enable the add-on. Instead of Disable, there will be the Enable button that you should tap.
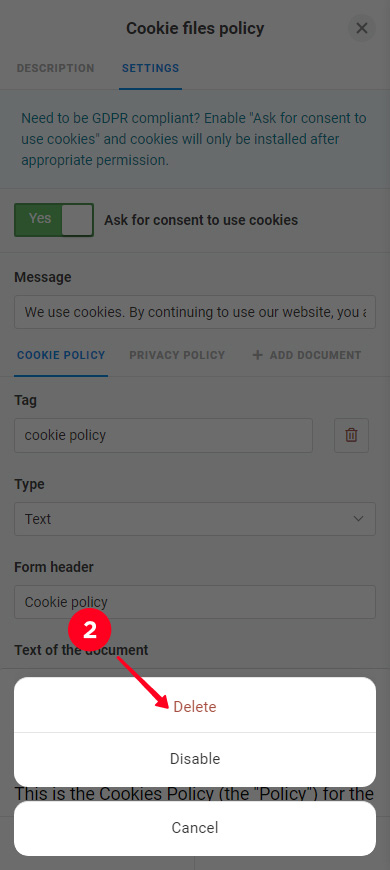
If you are sure that you will not ever need the cookie banner on your Taplink again, delete the add-on. Go to the add-on settings and then:
- Tap Action.
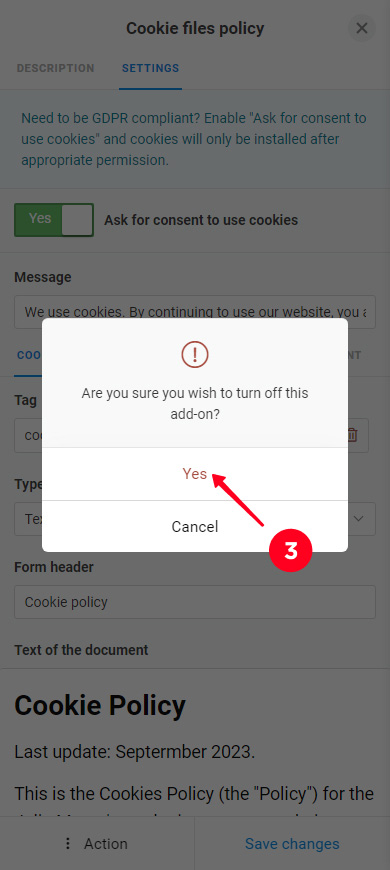
- Select Delete.
- Tap Yes.
This is all you need to know to add a cookie consent banner to your Taplink. Read about other add-ons for your business — activate Notifications to receive notifications about new leads and payments in messengers.