Instagram live on PC, Mac or laptop. Go live or watch a stream on desktop

Instagram hasn't presented a desktop app yet. There is only a web version for computers. Its features are limited. You can watch live on a desktop computer or laptop. But you can’t go Instagram live on PC or Mac using a browser.
Fortunately, lack of the function in browser version doesn’t mean there is no way to broadcast Instagram live from your desktop at all. You can use apps and services to go Instagram live from a Mac, PC, or laptop. We will tell you about the three methods, and you choose the one suitable for you.
High-quality sound and picture are the main advantages of Instagram live on desktop.
- One can connect good equipment to a computer or laptop, choose its technical specifications.
- A computer or laptop also stay more stable on a surface. While a phone requires a tripod.
- Computer Internet is usually better. And the stable connection is essential for IG live broadcast without interruptions.
You can see Instagram live on PC or Mac using a browser or applications.
Authorize on Instagram website and click on the avatar from the feed page or a hosting live stream profile. There is a bright frame around the user’s avatar and a sign “Live”.
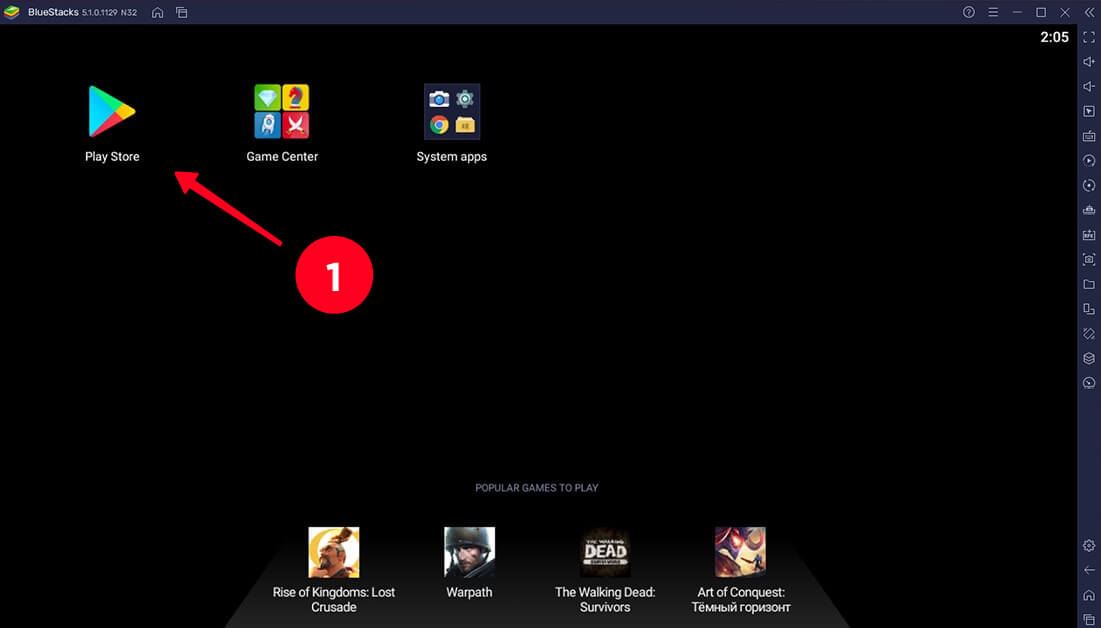
BlueStack installation is reasonable for those often using Instagram from a computer. The directions are described below. To watch Instagram live on PC or Mac computer or laptop, run the IG app through the emulator and then authorize. Click on a user’s avatar to see his live.
Windows 10 has an official Instagram app where users can watch Instagram live on PC. Download the installation file for free here. Authorize and view Instagram live streams on PC. Interface is quite the same as in a browser.
Since the developers give no desktop app to broadcast live on Instagram from PC, Mac or laptop, users have to go live with mobile phone emulators or streaming apps.
BlueStack is a univeral app to start an Instagram live from computer. It is both for Windows and Mac OS.
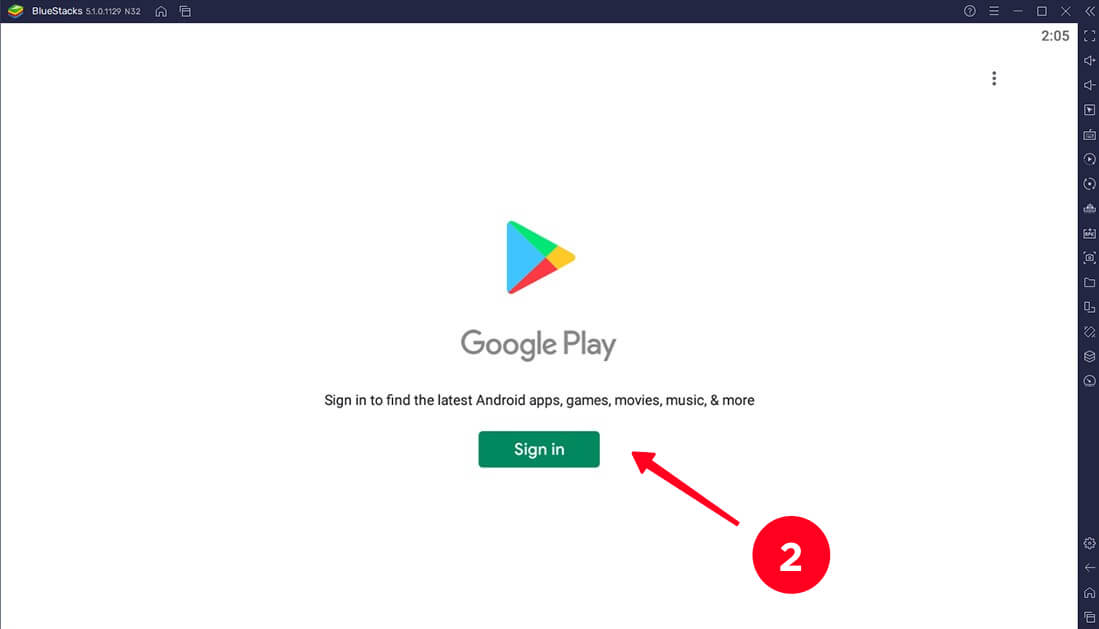
Download and install the app. Open the AppStore or GooglePlay through it. Install Instagram, open and authorize to begin. You will see the same interface you have in the phone app.

Before you do IG live
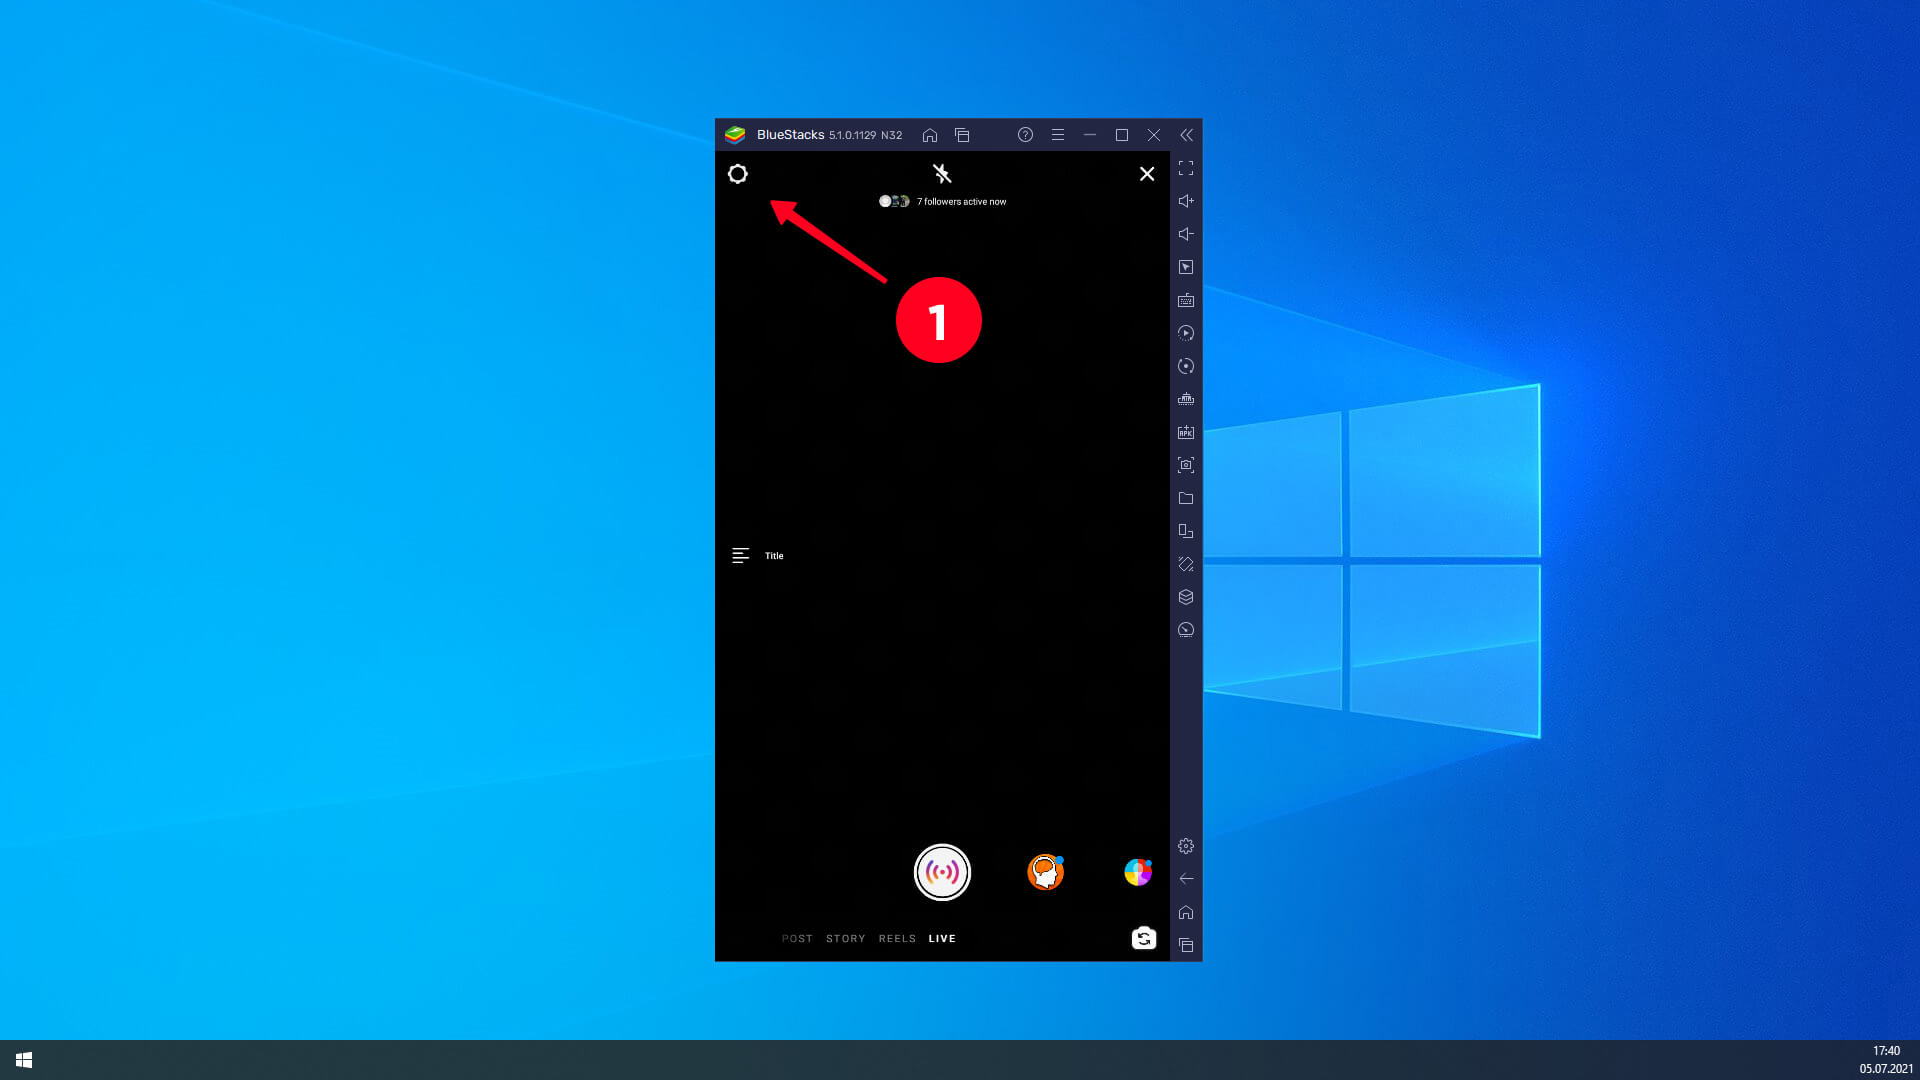
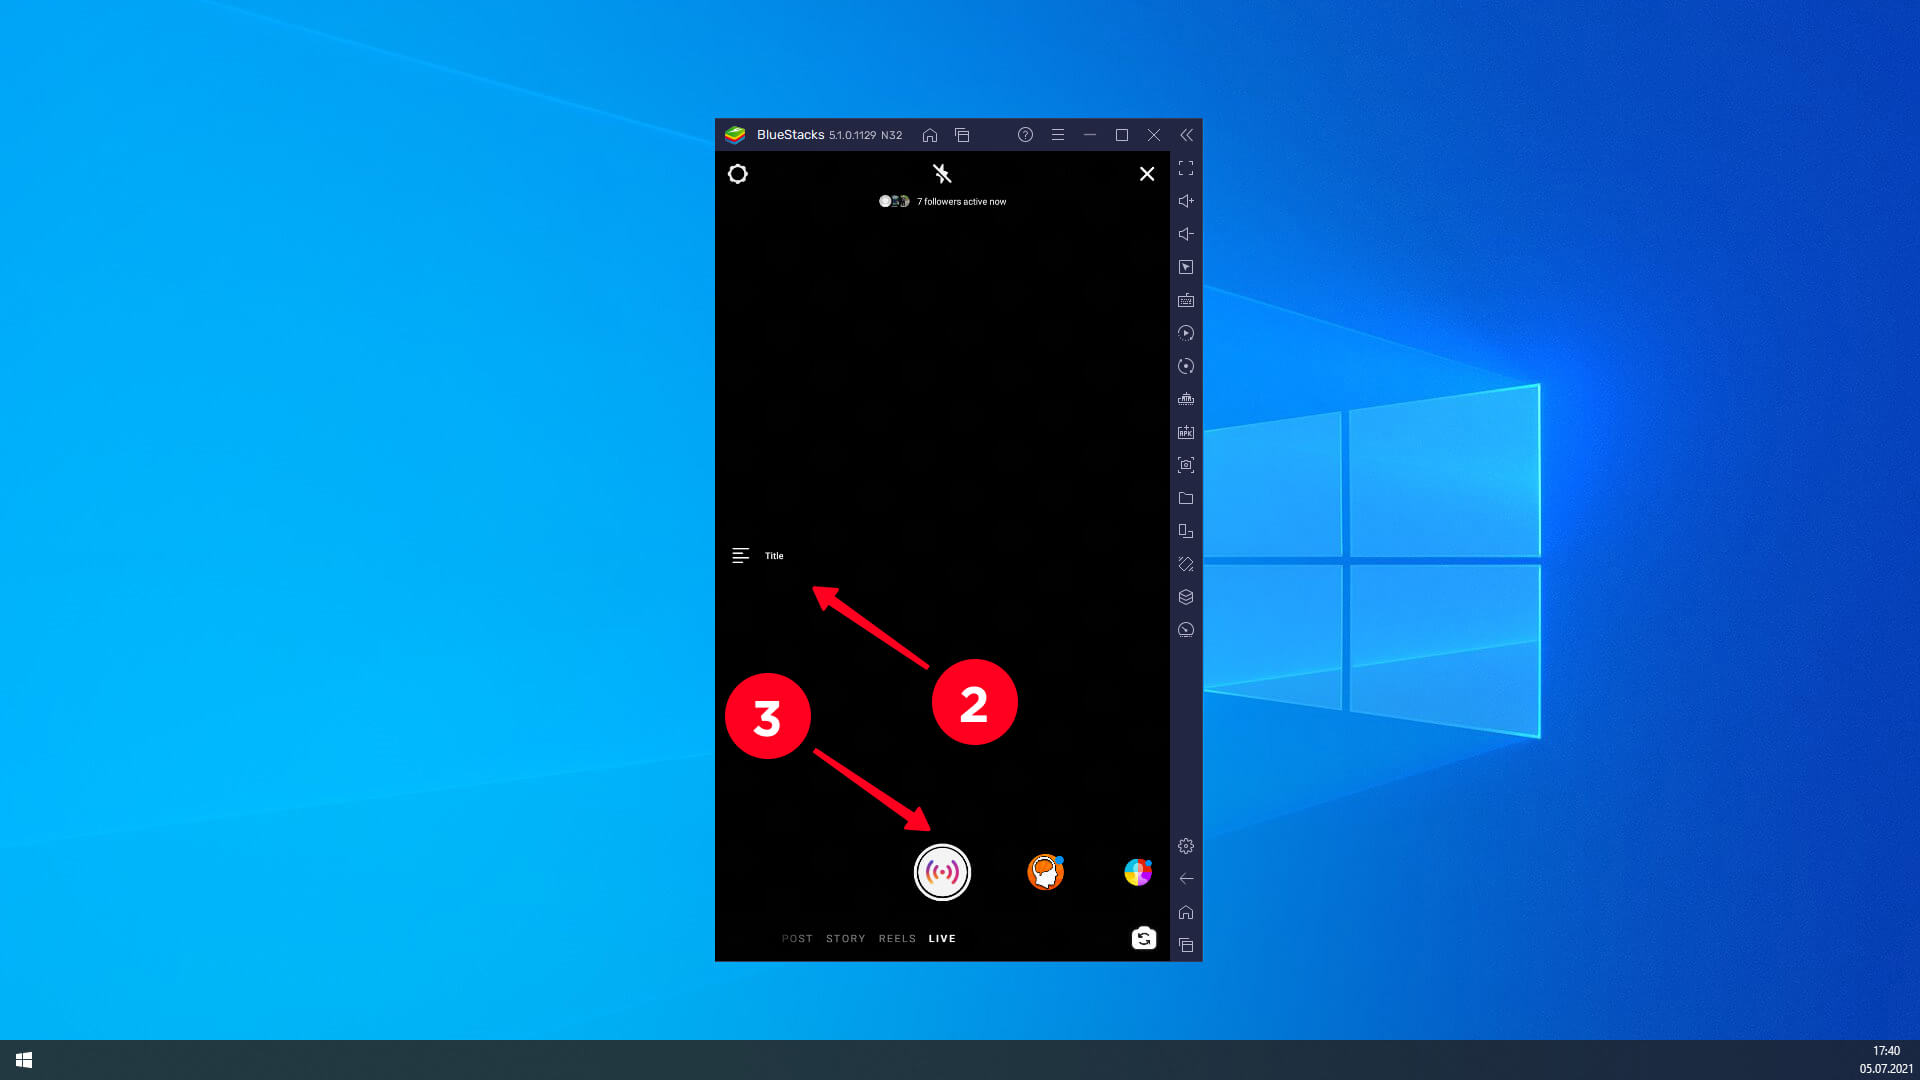
Swipe to the left on the feed page, a posting menu will open. The same menu can be opened by clicking your avatar on the profile page. Scroll posts, Stories, Reels at the bottom. Live is the last one.
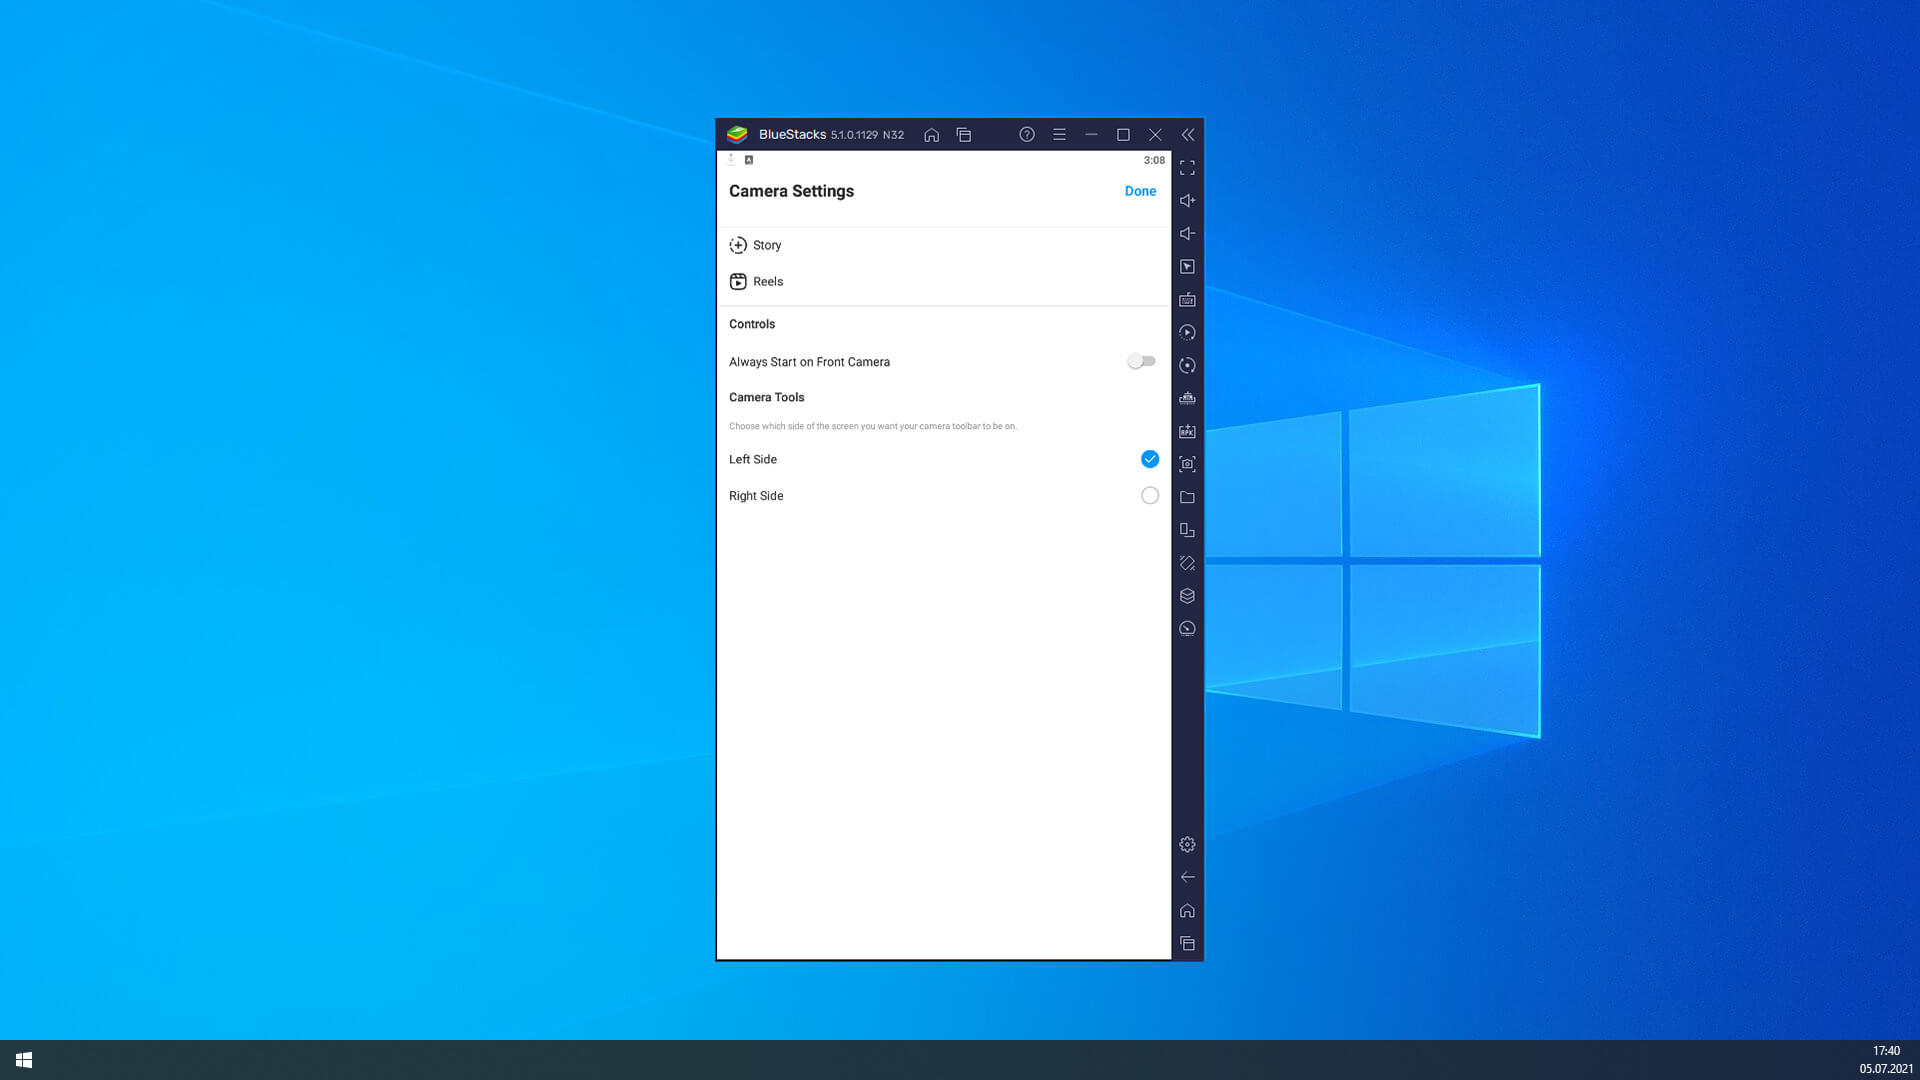
Click the Settings cog on the top. You can change camera adjustments in the appeared window.
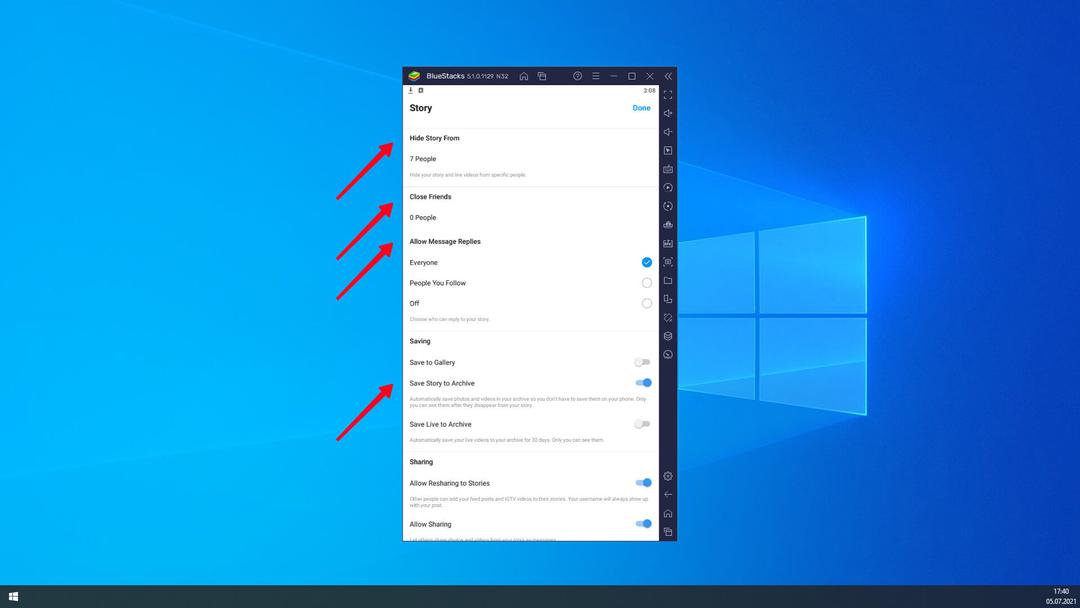
Choose Stories to hide your stream from particular people. In the Close Friends menu you can select users, then the broadcast will be shown only to them.
In the same menu, choose who can send replies during streaming - comments and hearts.
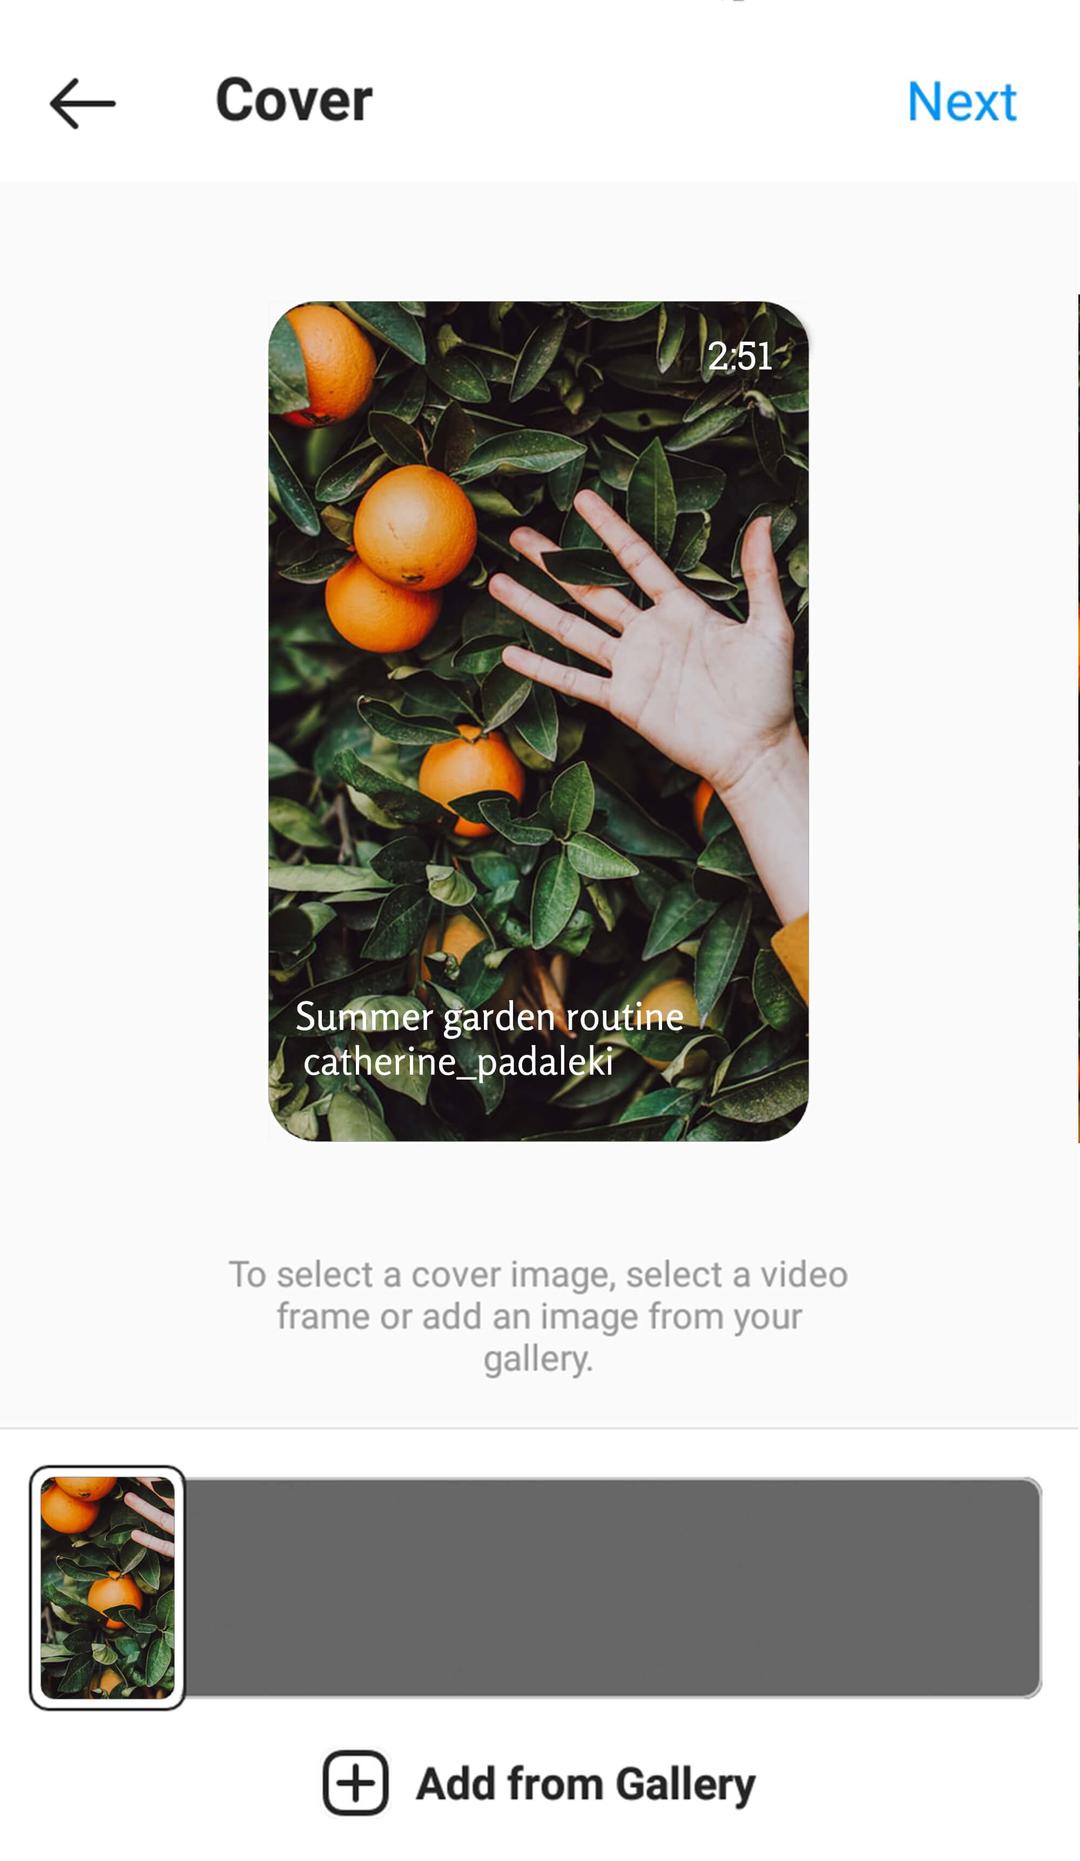
You can save your stream. The first two buttons apply to Instagram Stories. But there you can turn on the Save Live to Archive button. The live video will appear in the Archive. Don’t forget to switch the category from Stories to Live to see them. You can watch, repost to IGTV or download live video during 30 days.
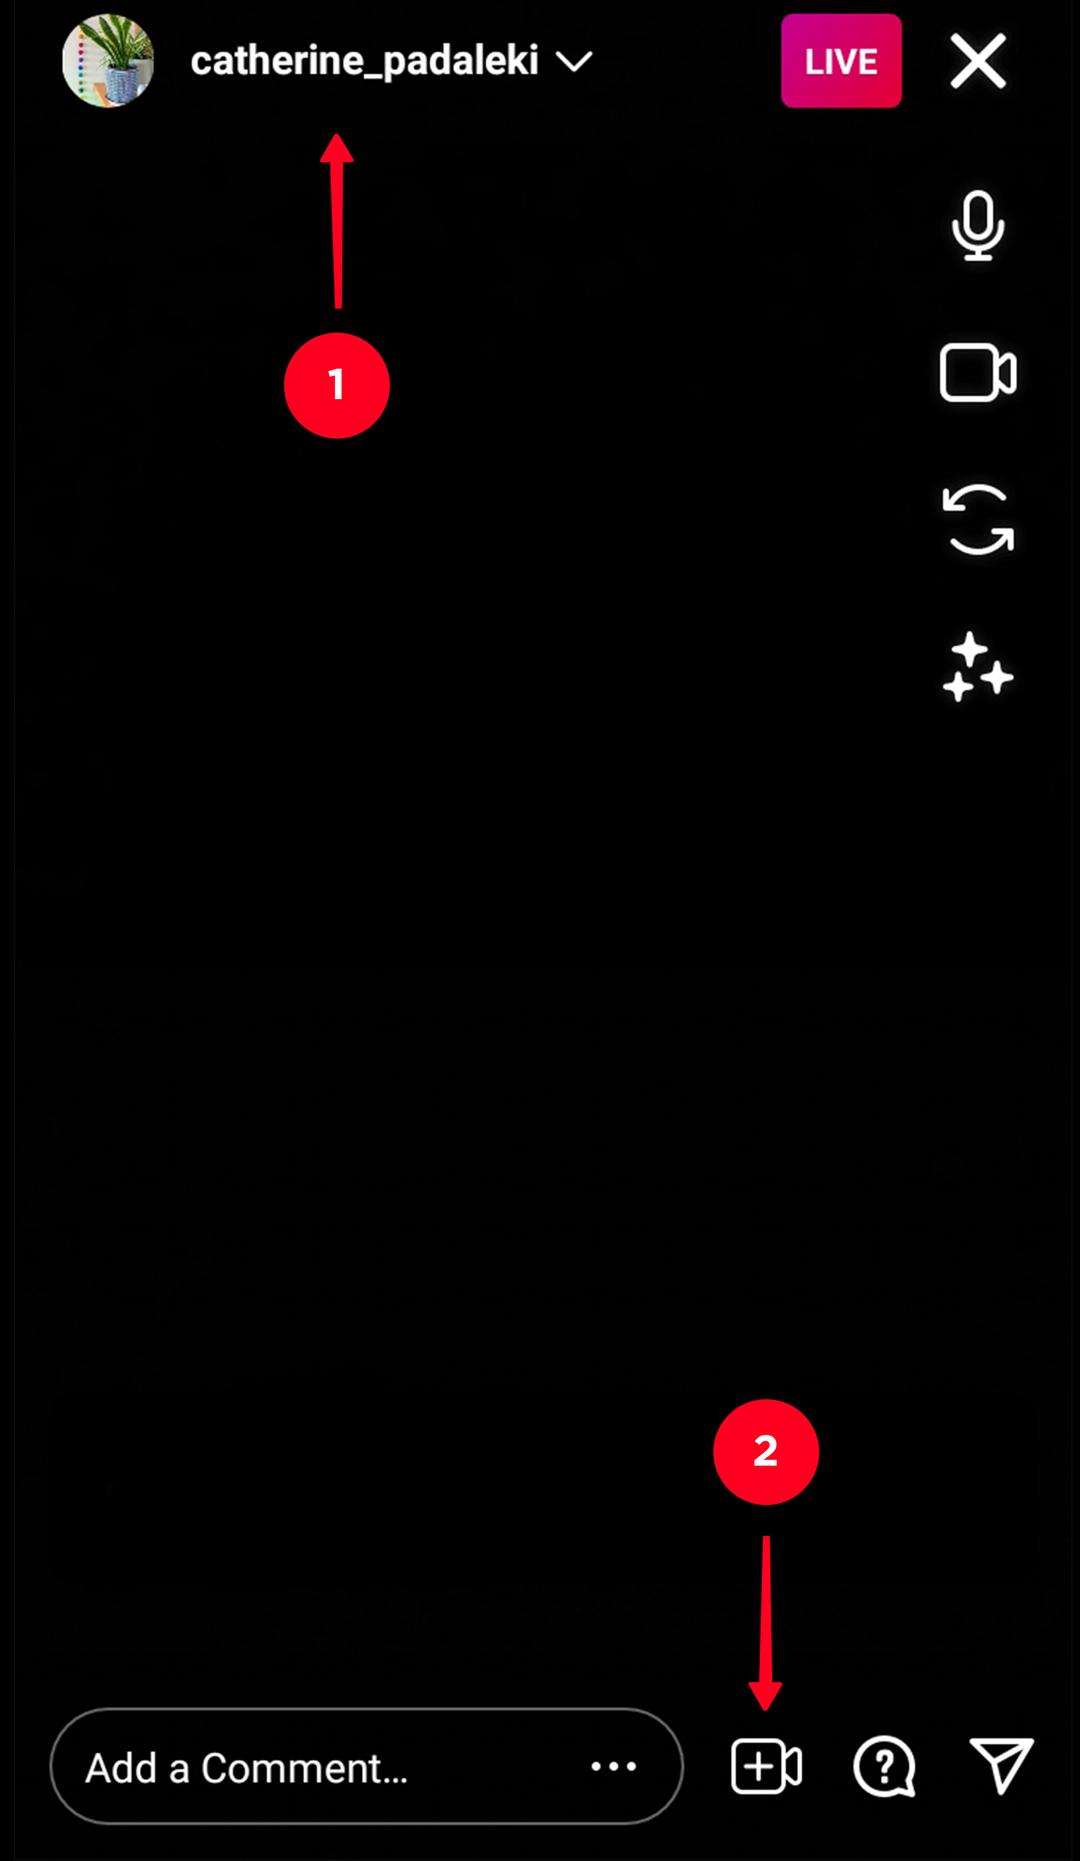
There is a text icon on the left. Write a couple of words to let users know about the stream topic. Doing this, you will catch more users and attract only those who are interested in the subject. The title will be shown at the top during the stream. If you don’t mention it, there will be your username.
Click the white button at the bottom to start Instagram live on PC, Mac, laptop.
As the broadcast's going
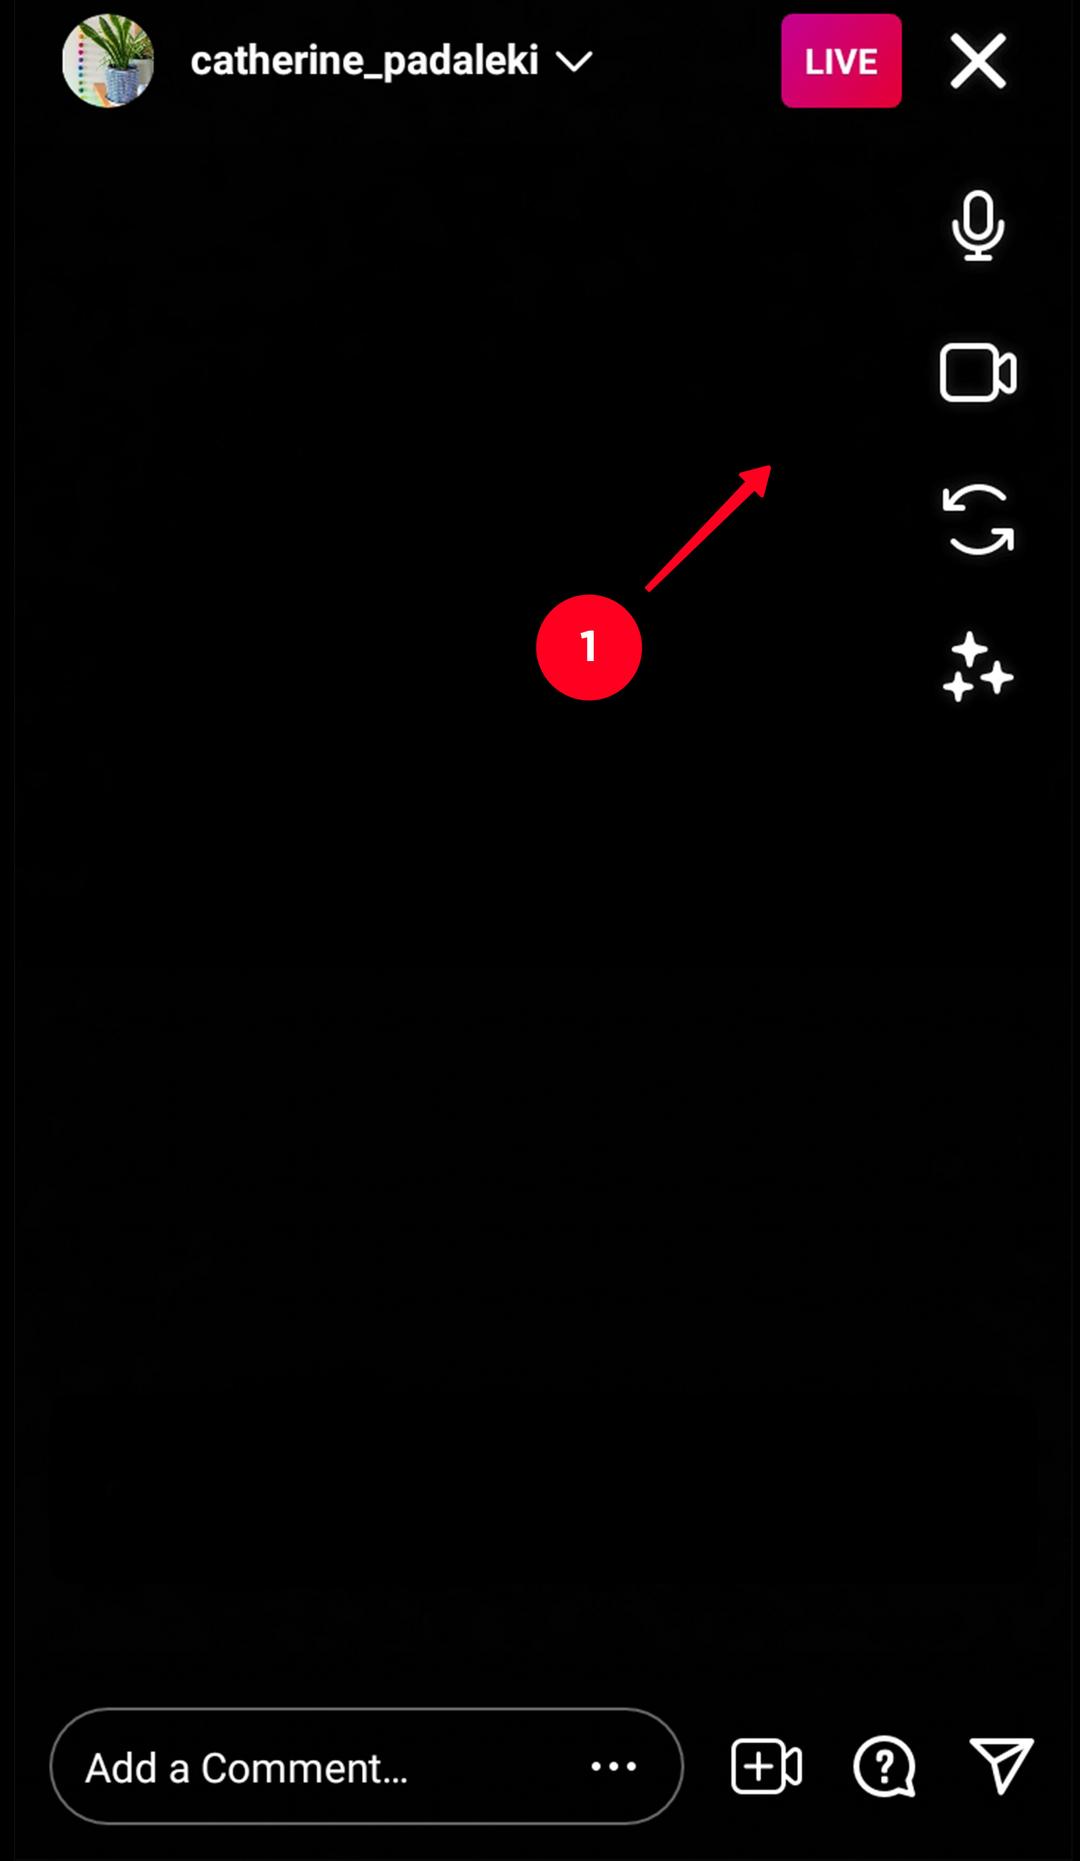
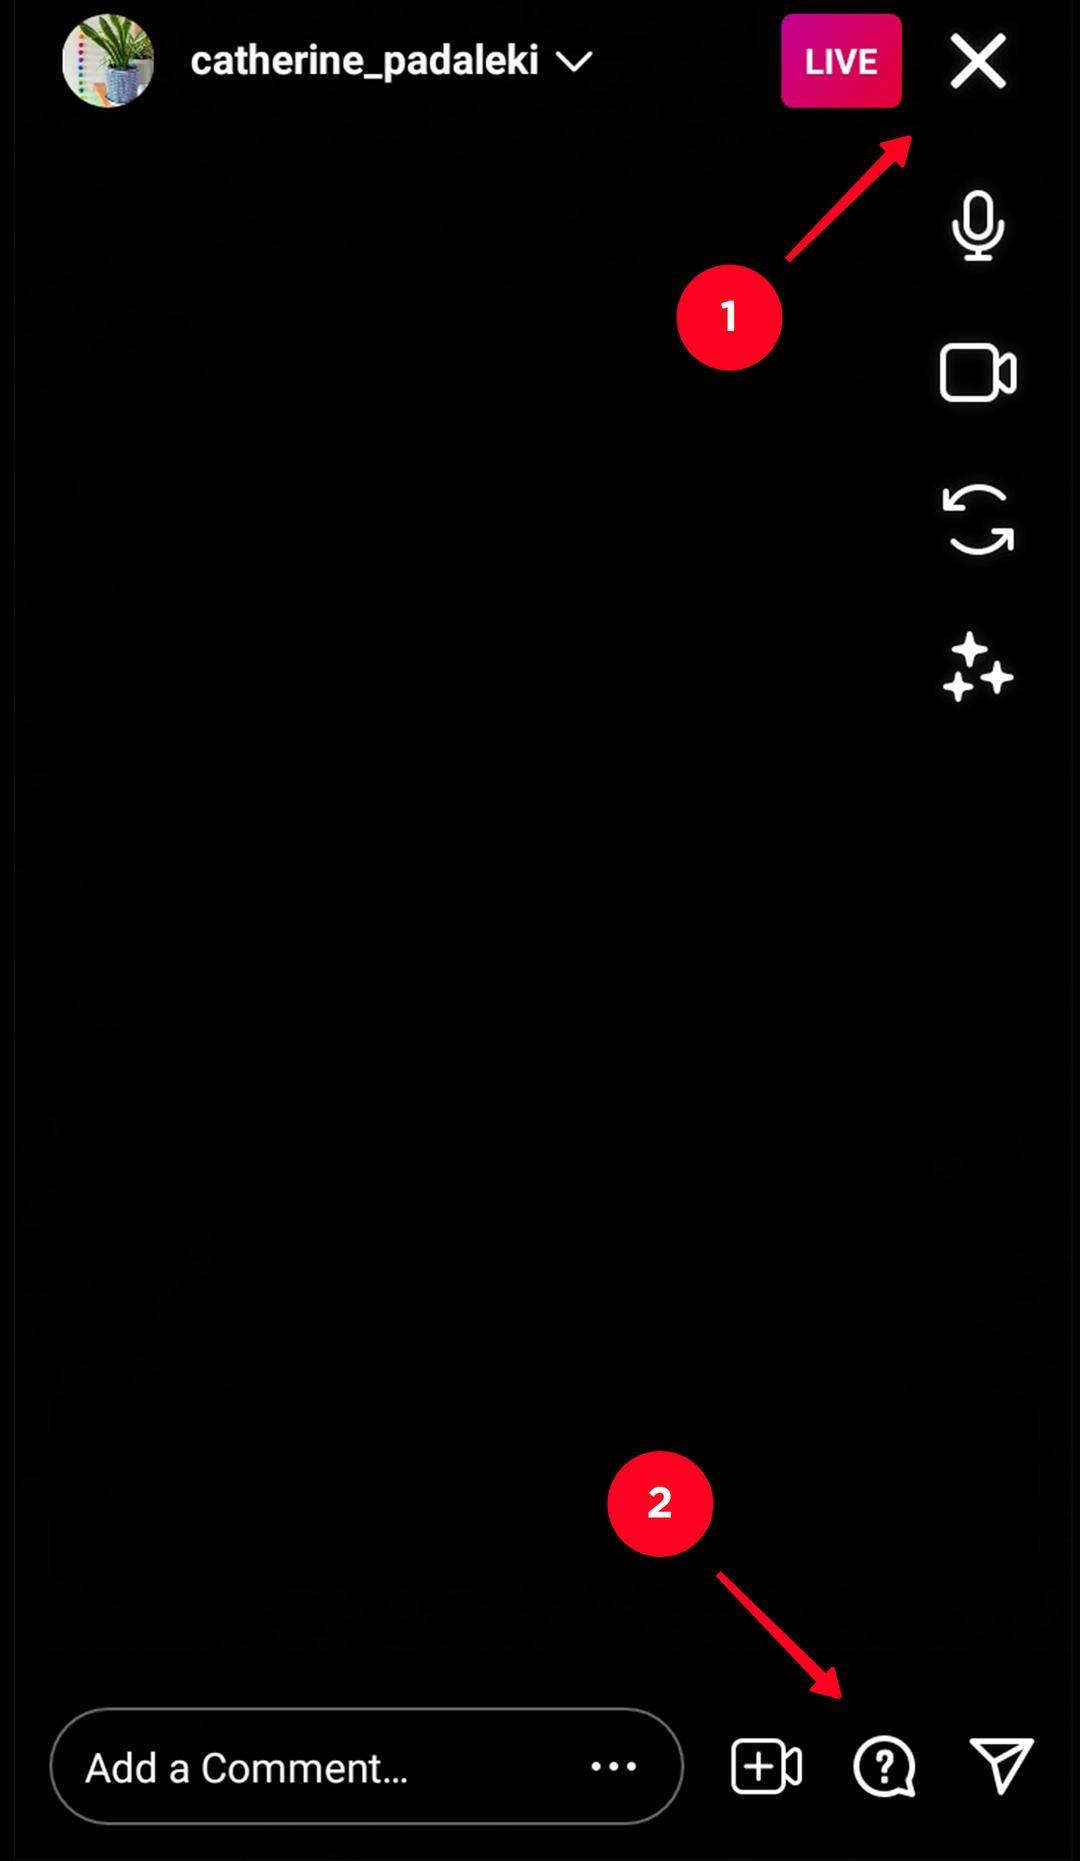
On the right, you can turn off the video or mic by clicking the related icon. Below are the buttons to switch camera and choose a mask.
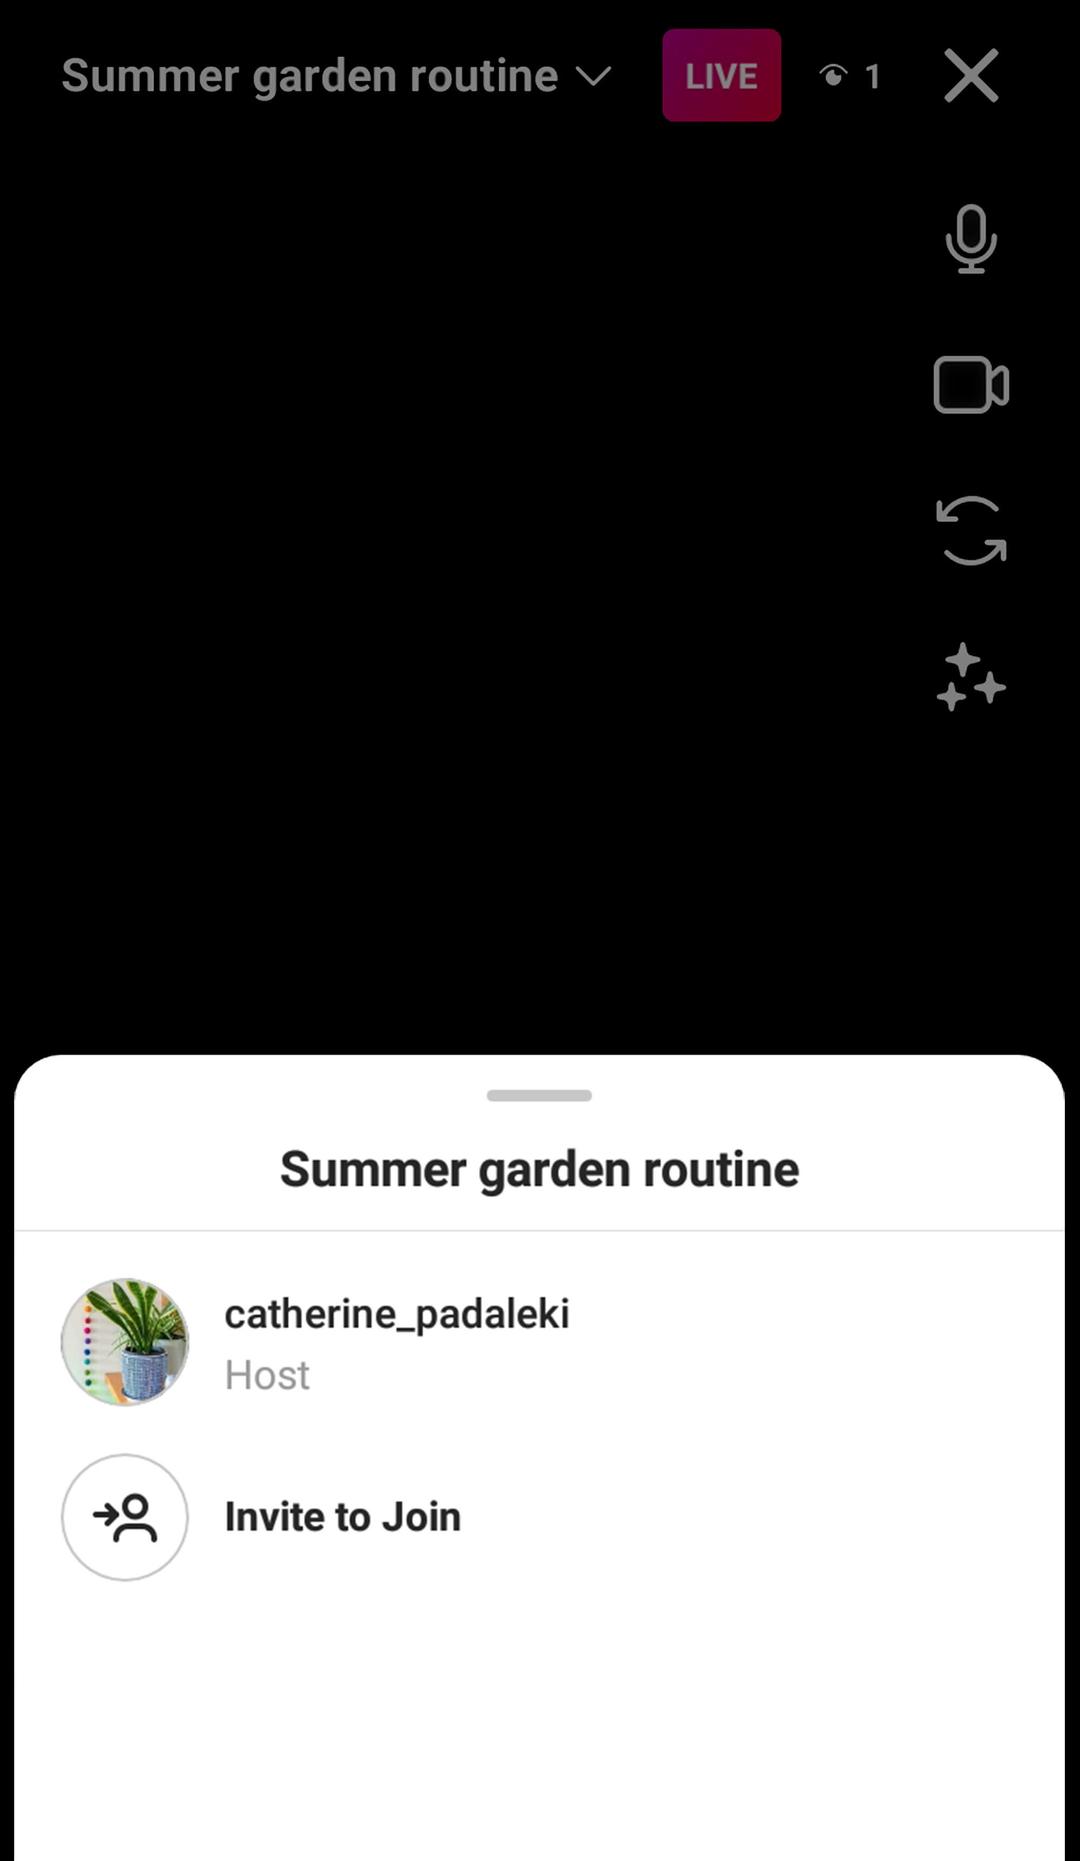
You can add and delete a communicator when streaming. When you invite someone, the screen is divided between you. The maximum number of streaming users is 4 including the hosting one. A streamer’s account should be set to public. Otherwise, only people who are allowed to view his content will see IG live.
To invite your friend to join a broadcast, choose your username or the stream title at the top. Another way is to click the icon of a camera with a plus near the comment field. The same menu will open. Choose the Invite to join option. Choose from the list or type the username you need in the search.
Both you and the viewers can send comments. A hosting user can also pin one comment. Click it and choose the only appeared option. You can restrict comments not only in the settings before going live, but also when broadcast. Click the adjustments on the left of the comment field and choose what you need.
A question mark in the bubble on the right opens a section with the questions from viewers.
Click the cross on the top right to stop streaming.
After IG stream
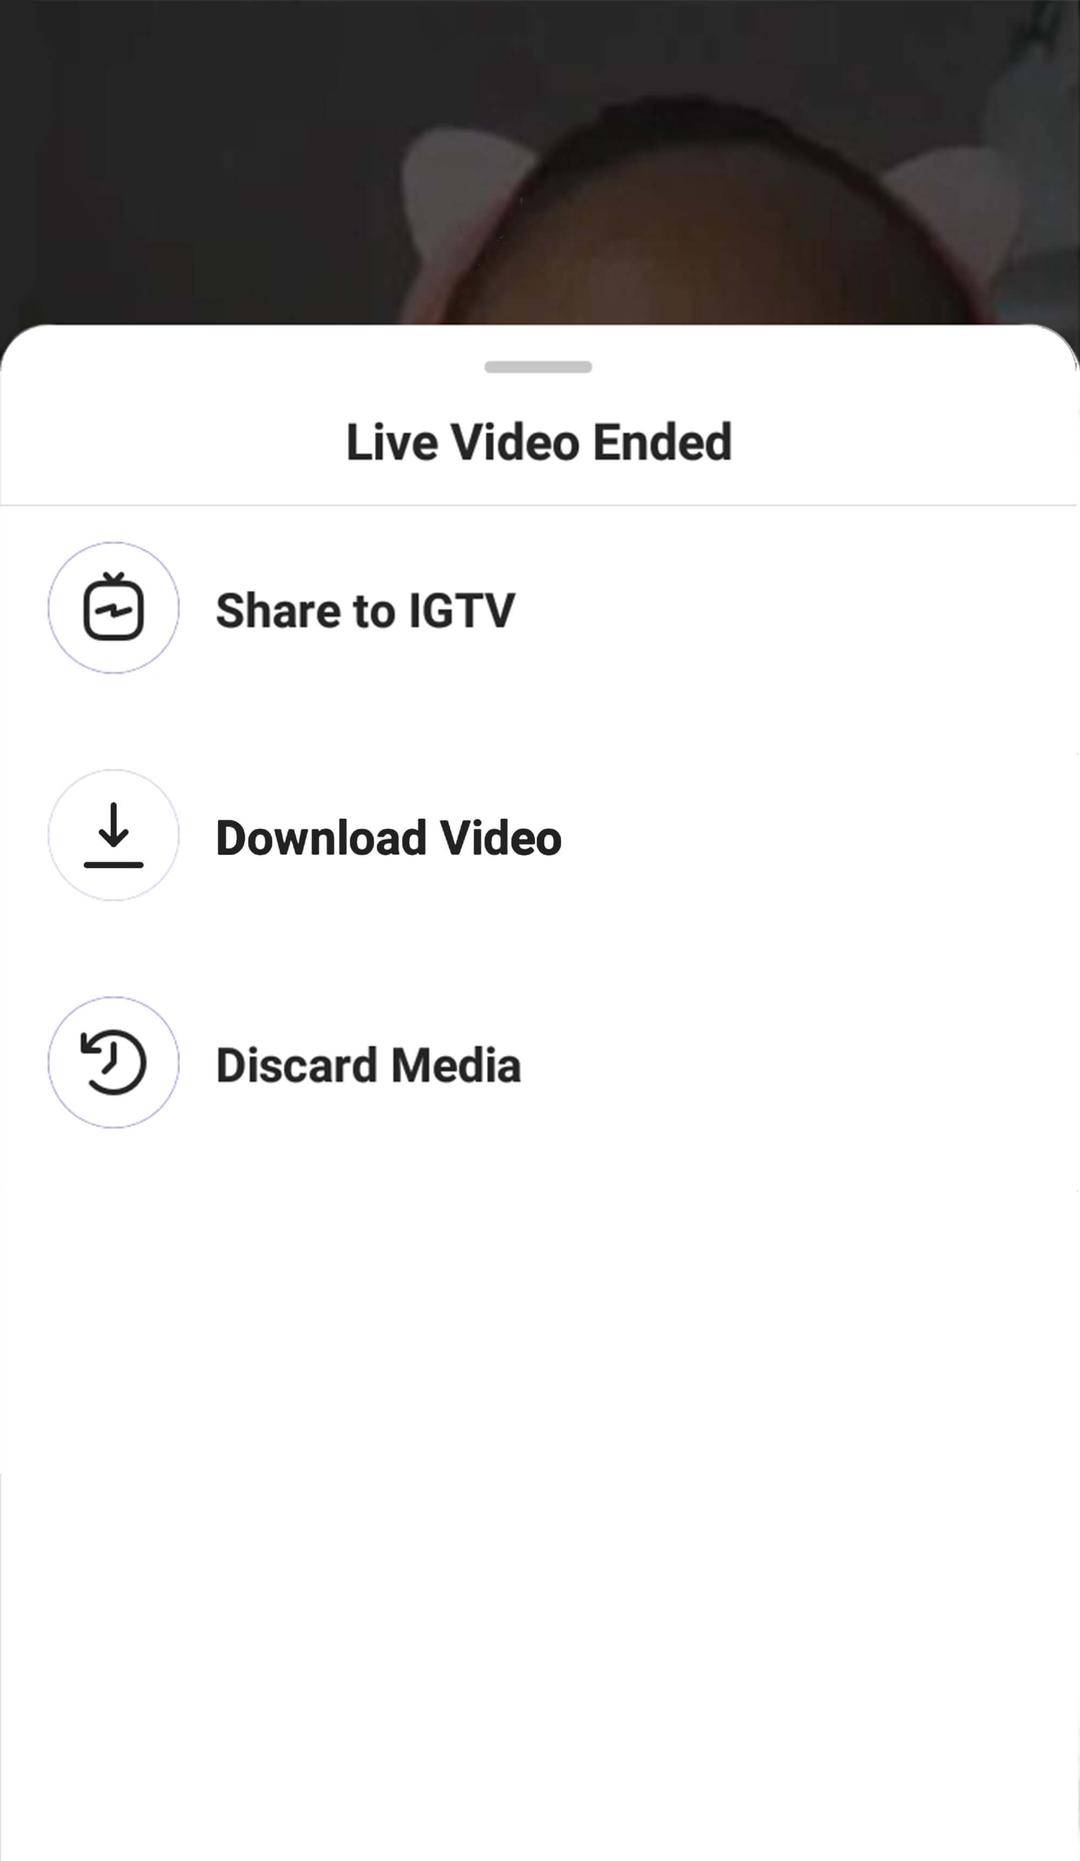
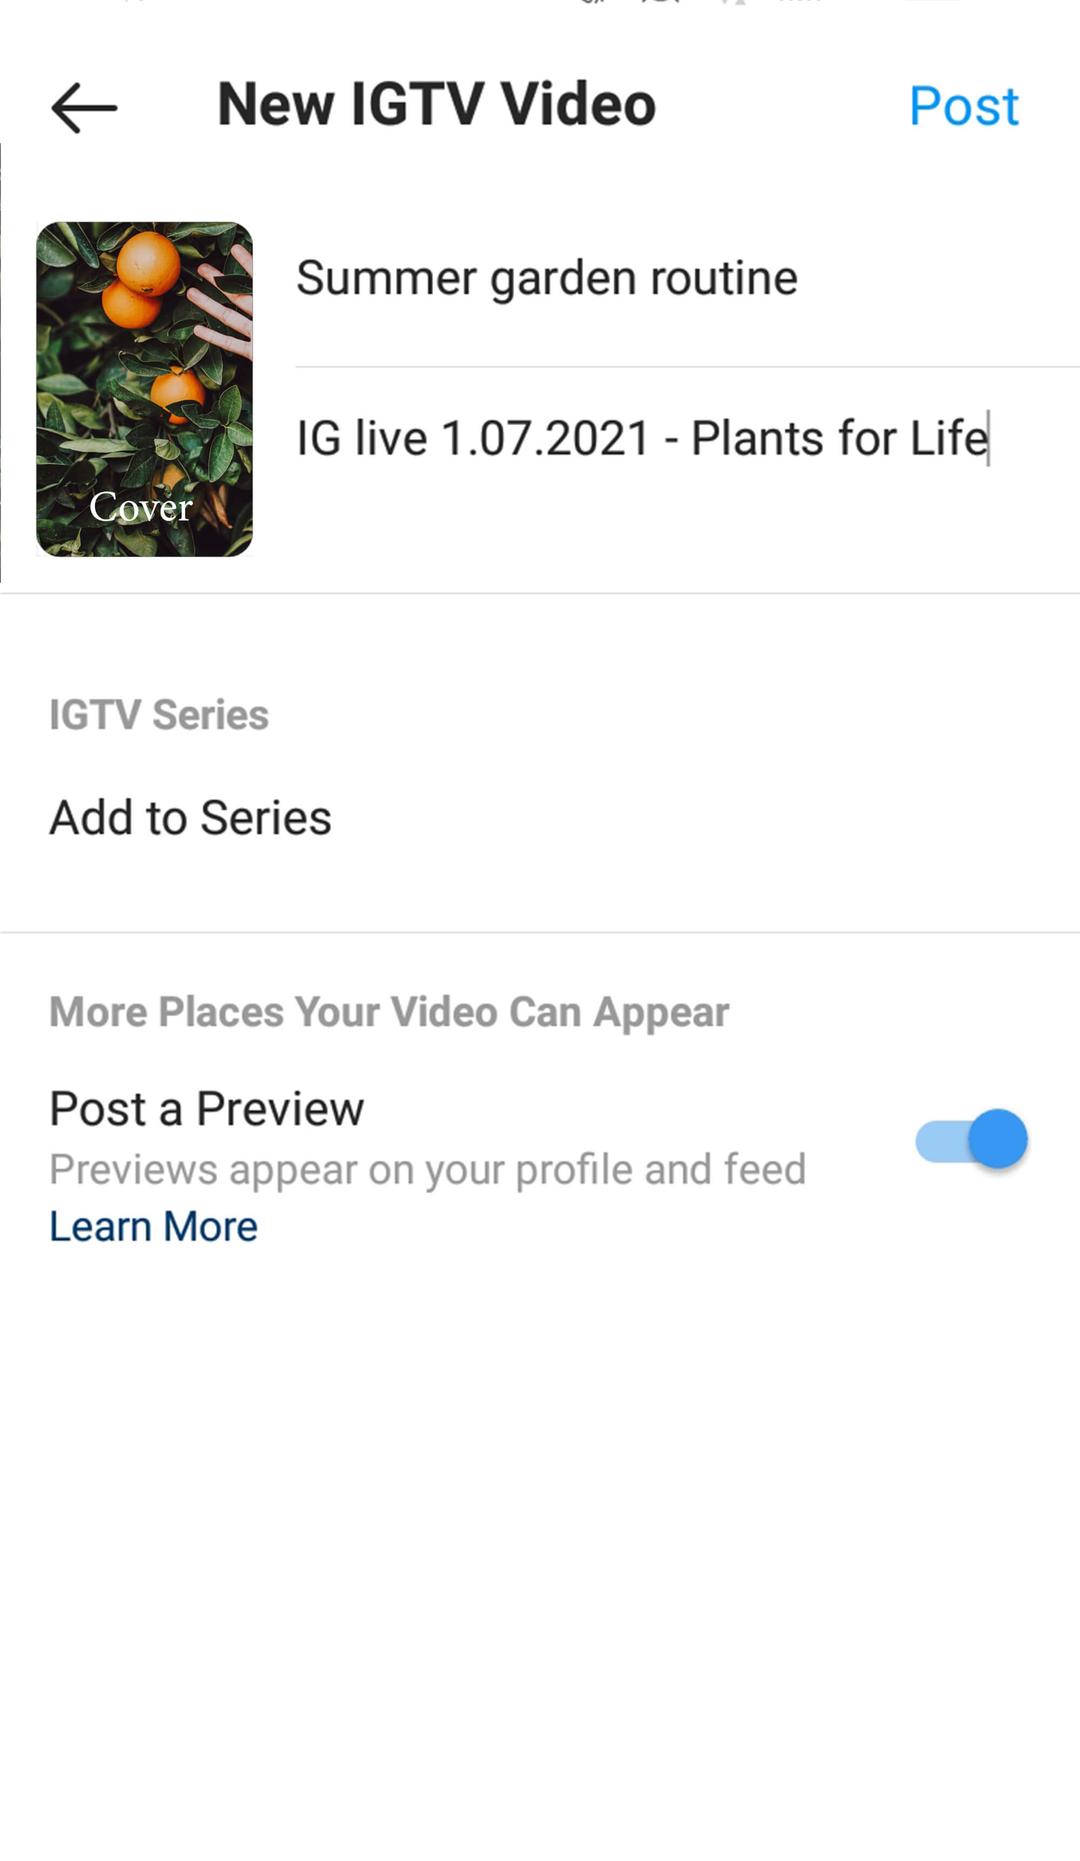
You can save a live video with the duration of more than a minute. To do this, choose to Download or to Share to IGTV. For the sharing, a regular video posting menu will open.
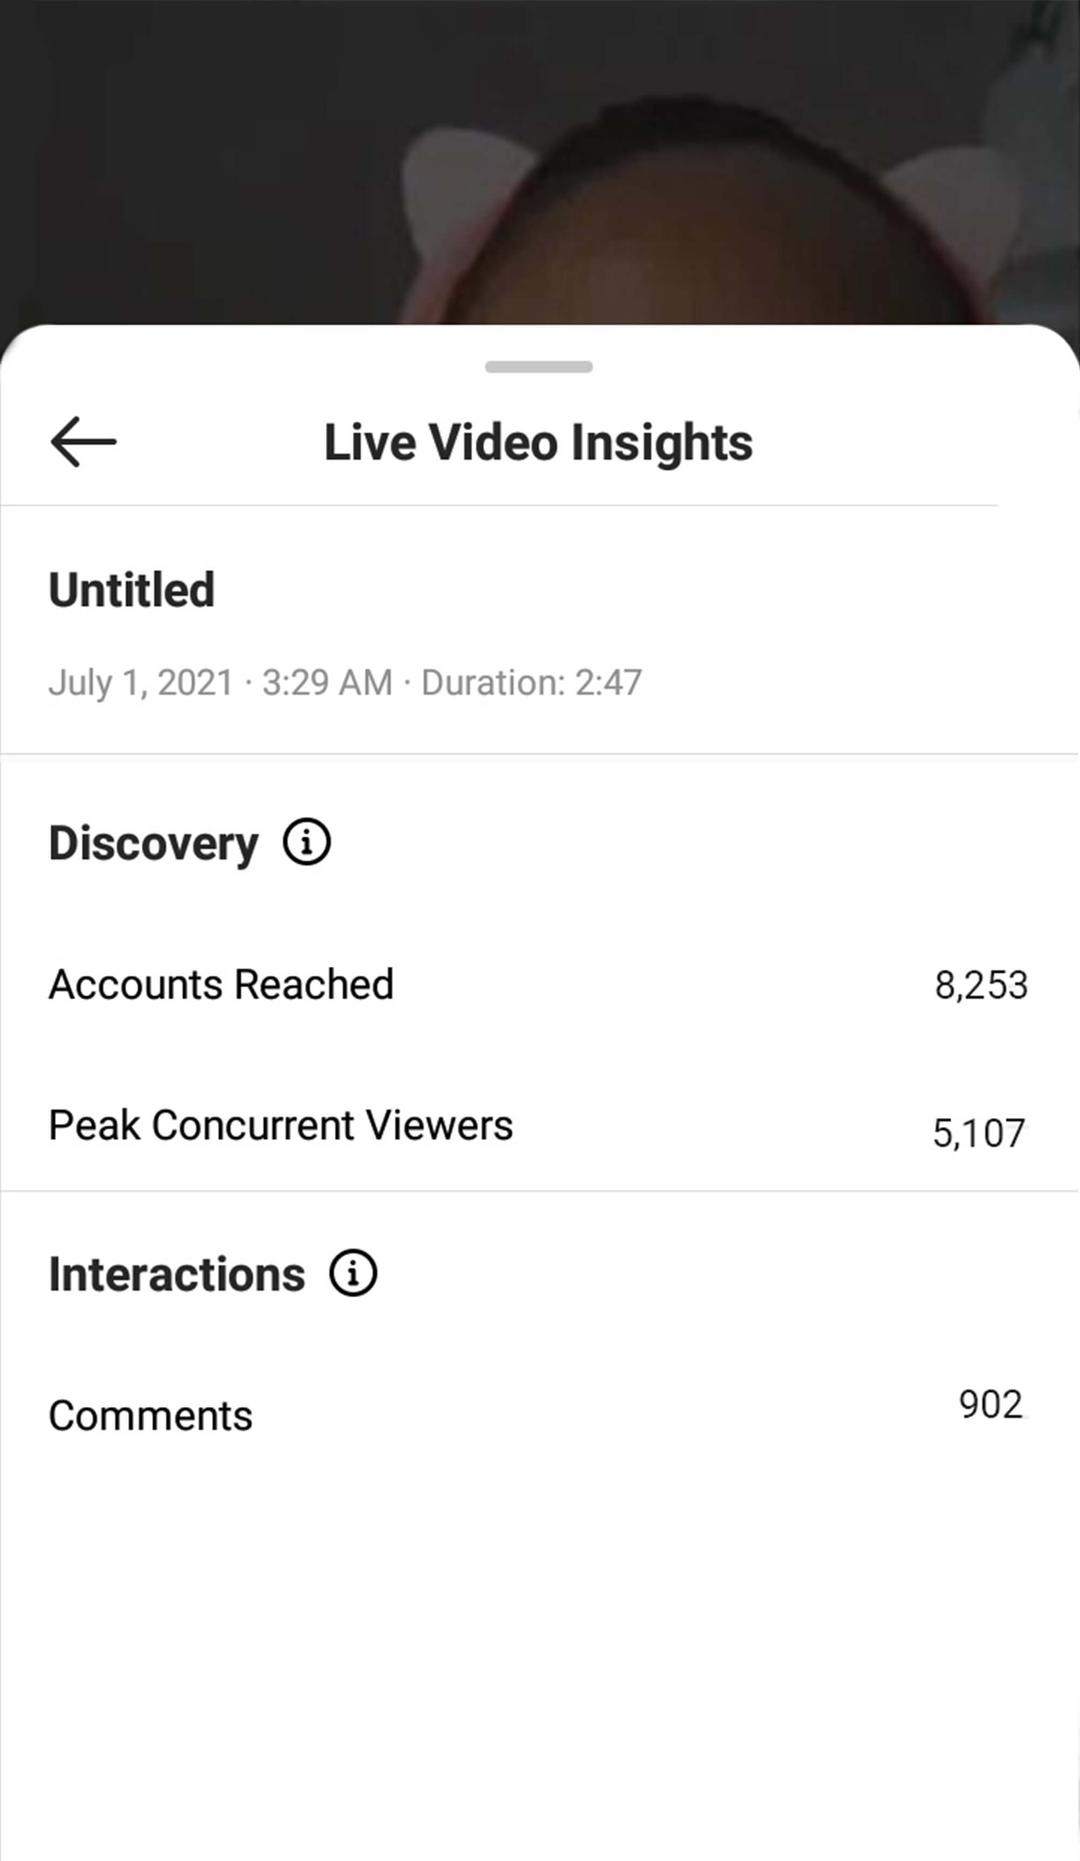
Statistics is available for business accounts. It gives information on the number of Accounts reached, Peak concurrent Viewers and comments. Video duration, date and time are displayed in the same menu.
Price: Free
Why BlueStack?
- Familiar interface
- Masks
- Comments moderation
- Audience questions
- Direct download to IGTV
- Collaborative streams
- Insight statistic
The programs are used together to go Instagram live on PC, Mac, laptop. YellowDuck generates a link for a stream. OBS Studio is used to do an IG live. Its tools are no worse than the ones most paid applications offer. Thanks to that, the program has more than 6 million users every month.
OBS Studio allows to go Instagram live from a PC or Mac, and laptops as well. Apart from streaming, it enables screen recording and choosing screen resolution. The interface is clear and useful. The app is available on Windows, Mac OS and Linux.
Install OBS Studio and YellowDuck to get started.
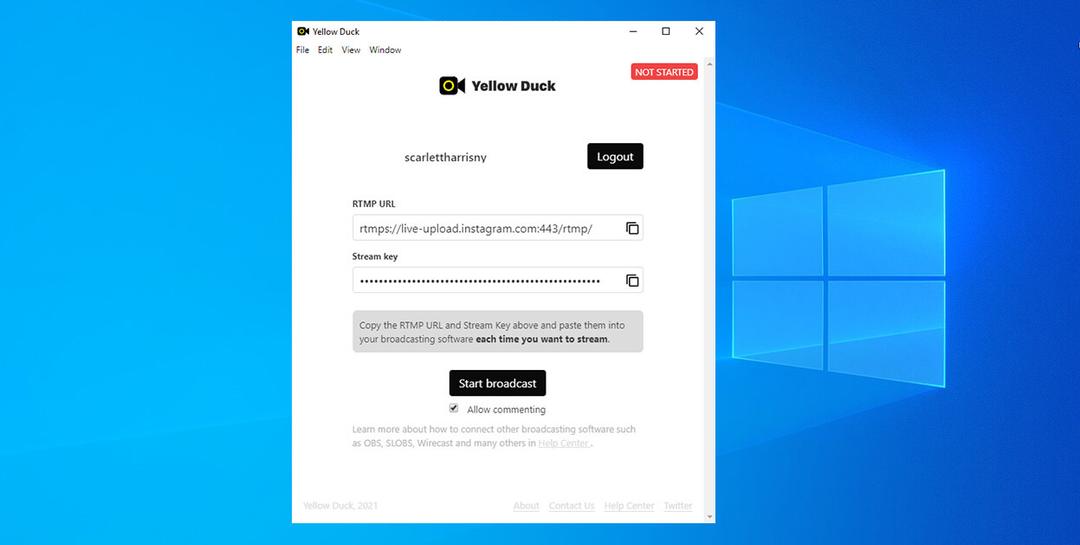
YellowDuck Settings
Sign in the app with your IG account name and password. After you click Log In & Start, YellowDuck generates a RTMP link and keyword.
OBS Studio Settings
On the first run, OBS Studio offers to figure out appropriate camera settings considering your aims - broadcast or record. Later you can change them in the Settings.
After screen adjusting, choose social media. Facebook, Twitch, YouTube and 70 more alternatives for live streaming are possible in the program. Instagram is not on the list, that’s why we choose Custom and go to the YellowDuck.
Run a stream
In YellowDuck:
- Copy the generated RTMP link and keyword to OBS Studio.
- Click “Start Broadcast” to make streaming begin.
In OBS Studio:
- Click “Start Streaming”. After a short test, the program will recommend the best settings for camera and screen. It’s better to accept them.
Going live next time
Every next time you want to broadcast Instagram live on PC or Mac, you have to start streaming in OBS Studio without auto hints.
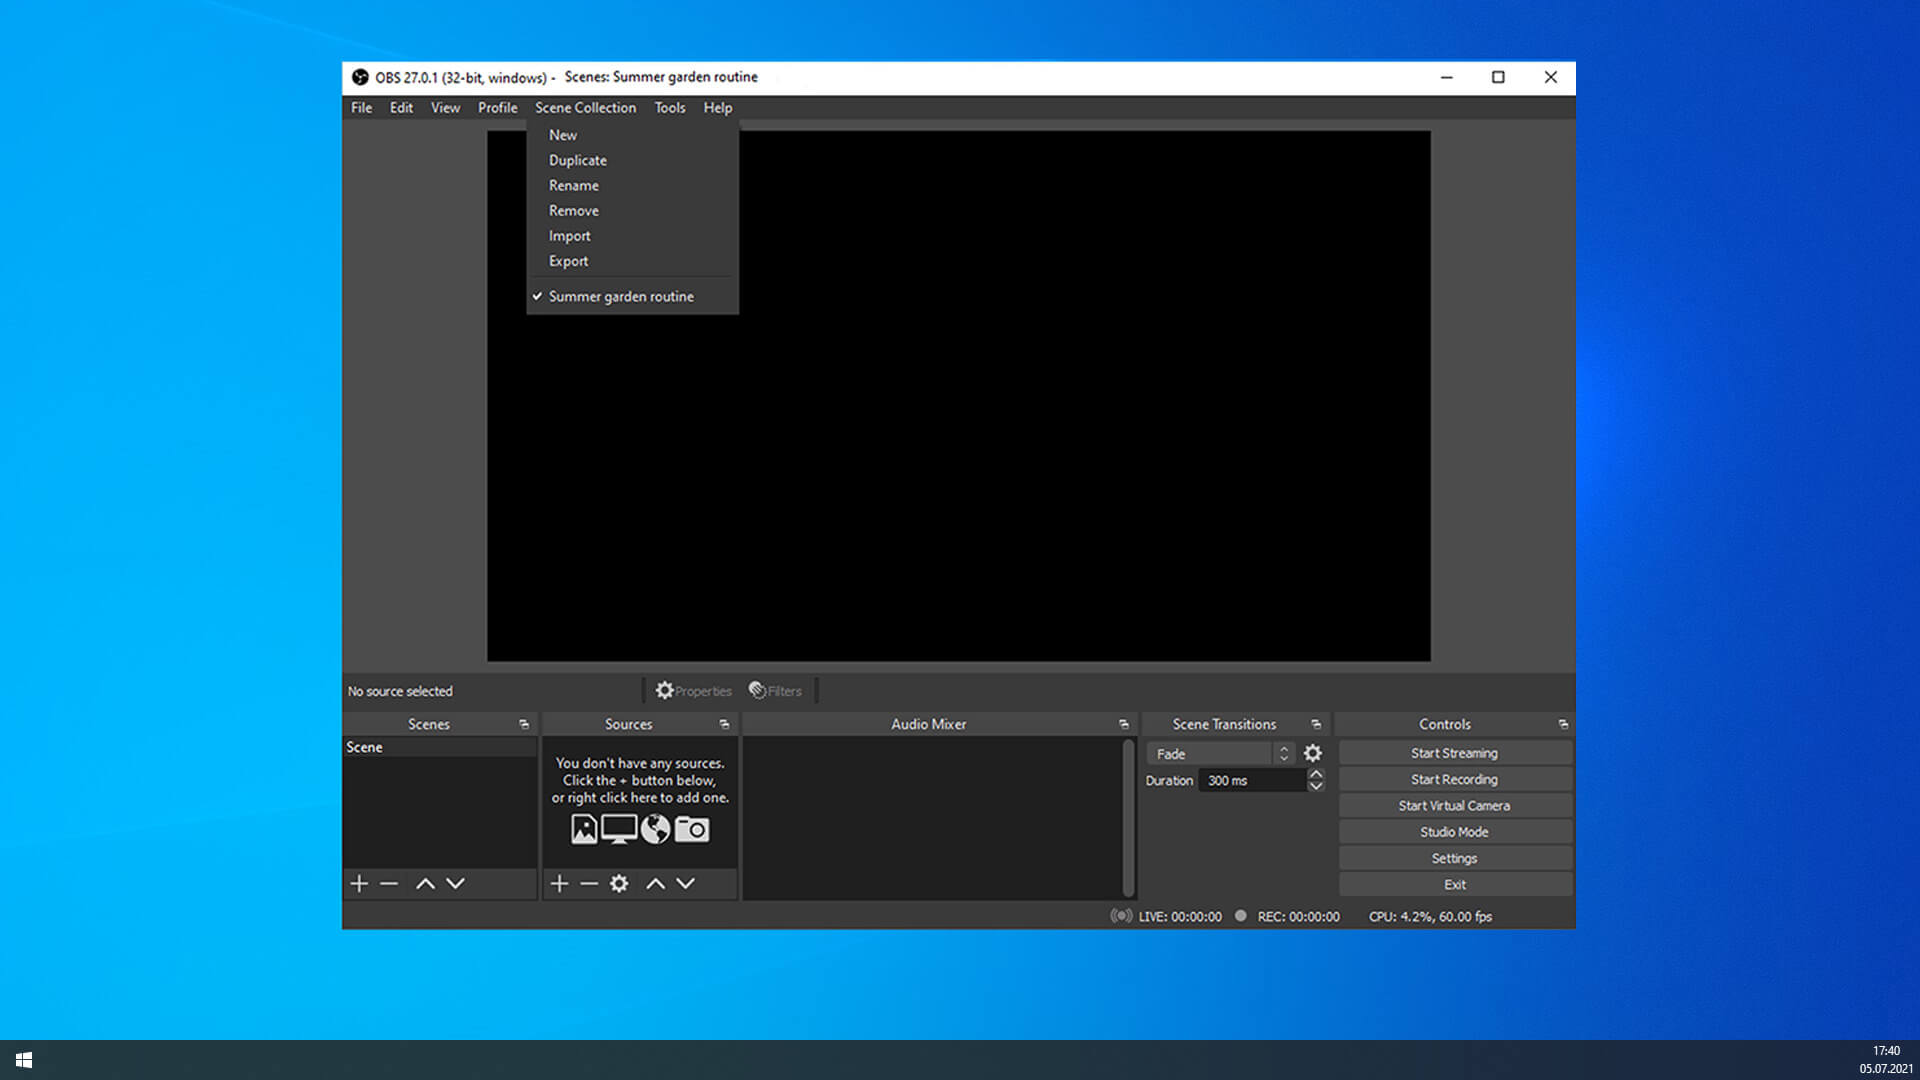
- Choose the Scene Collection in the top bar, then New. Think up a name.
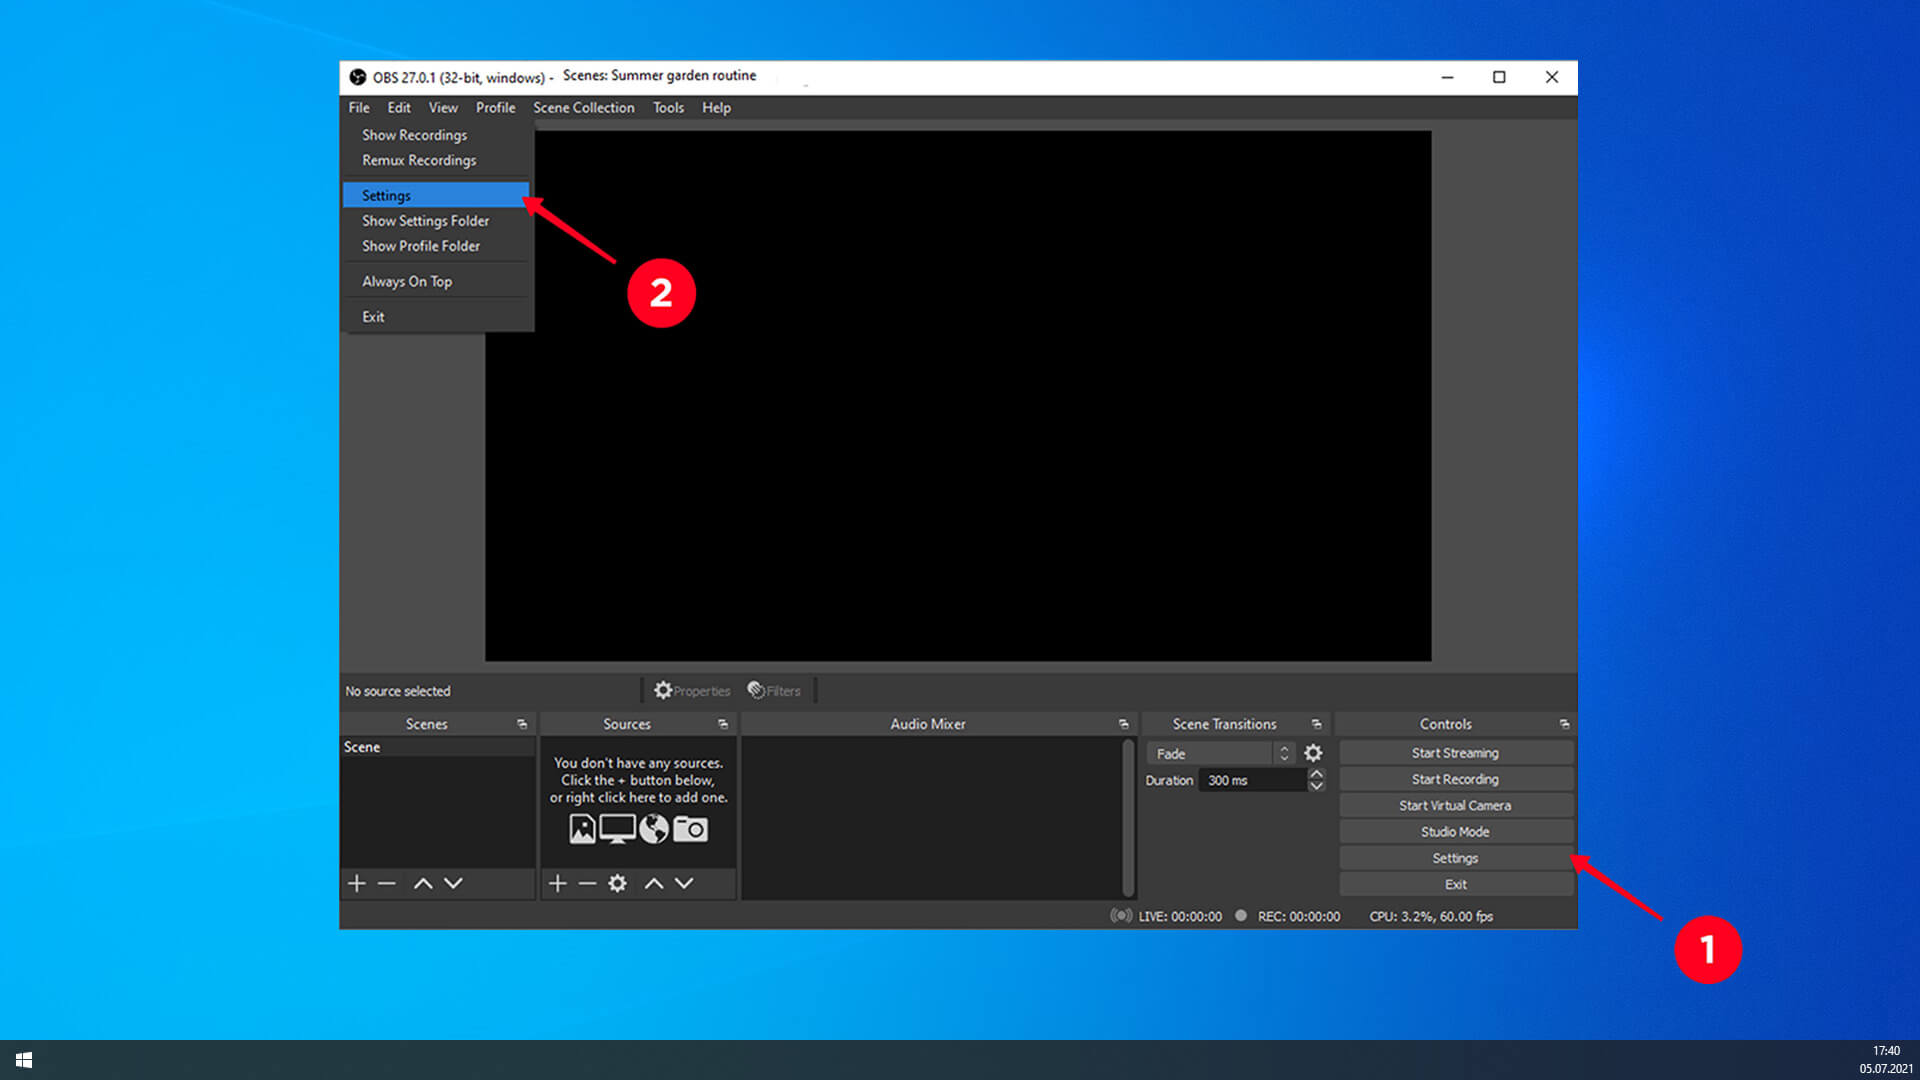
- In the right bottom corner choose Settings, or open the menu using the bar at the top - click File -> Settings.
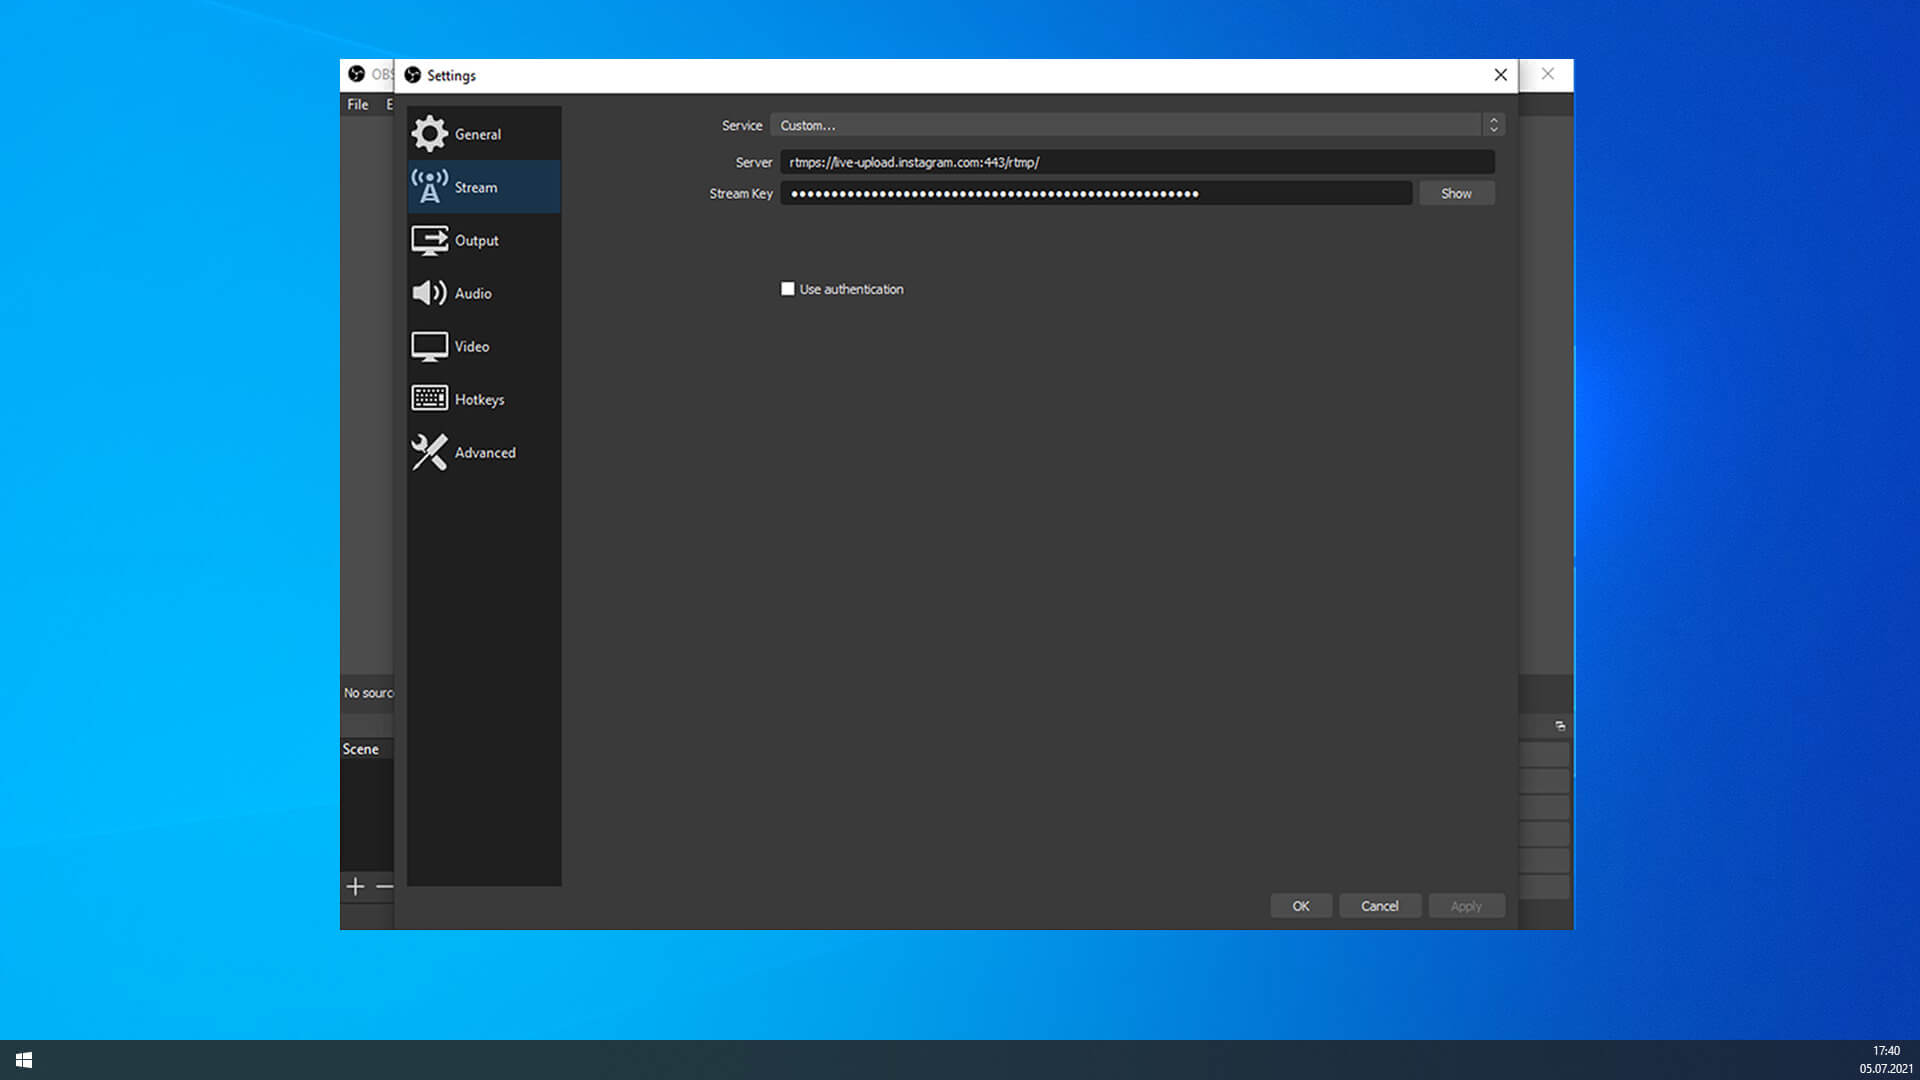
- Go to the Stream section. Make sure Custom is set in the Service line. Paste the generated RTMP link from YellowDuck in the Server field, paste its keyword in the Stream key field.
- Click Apply -> OK.
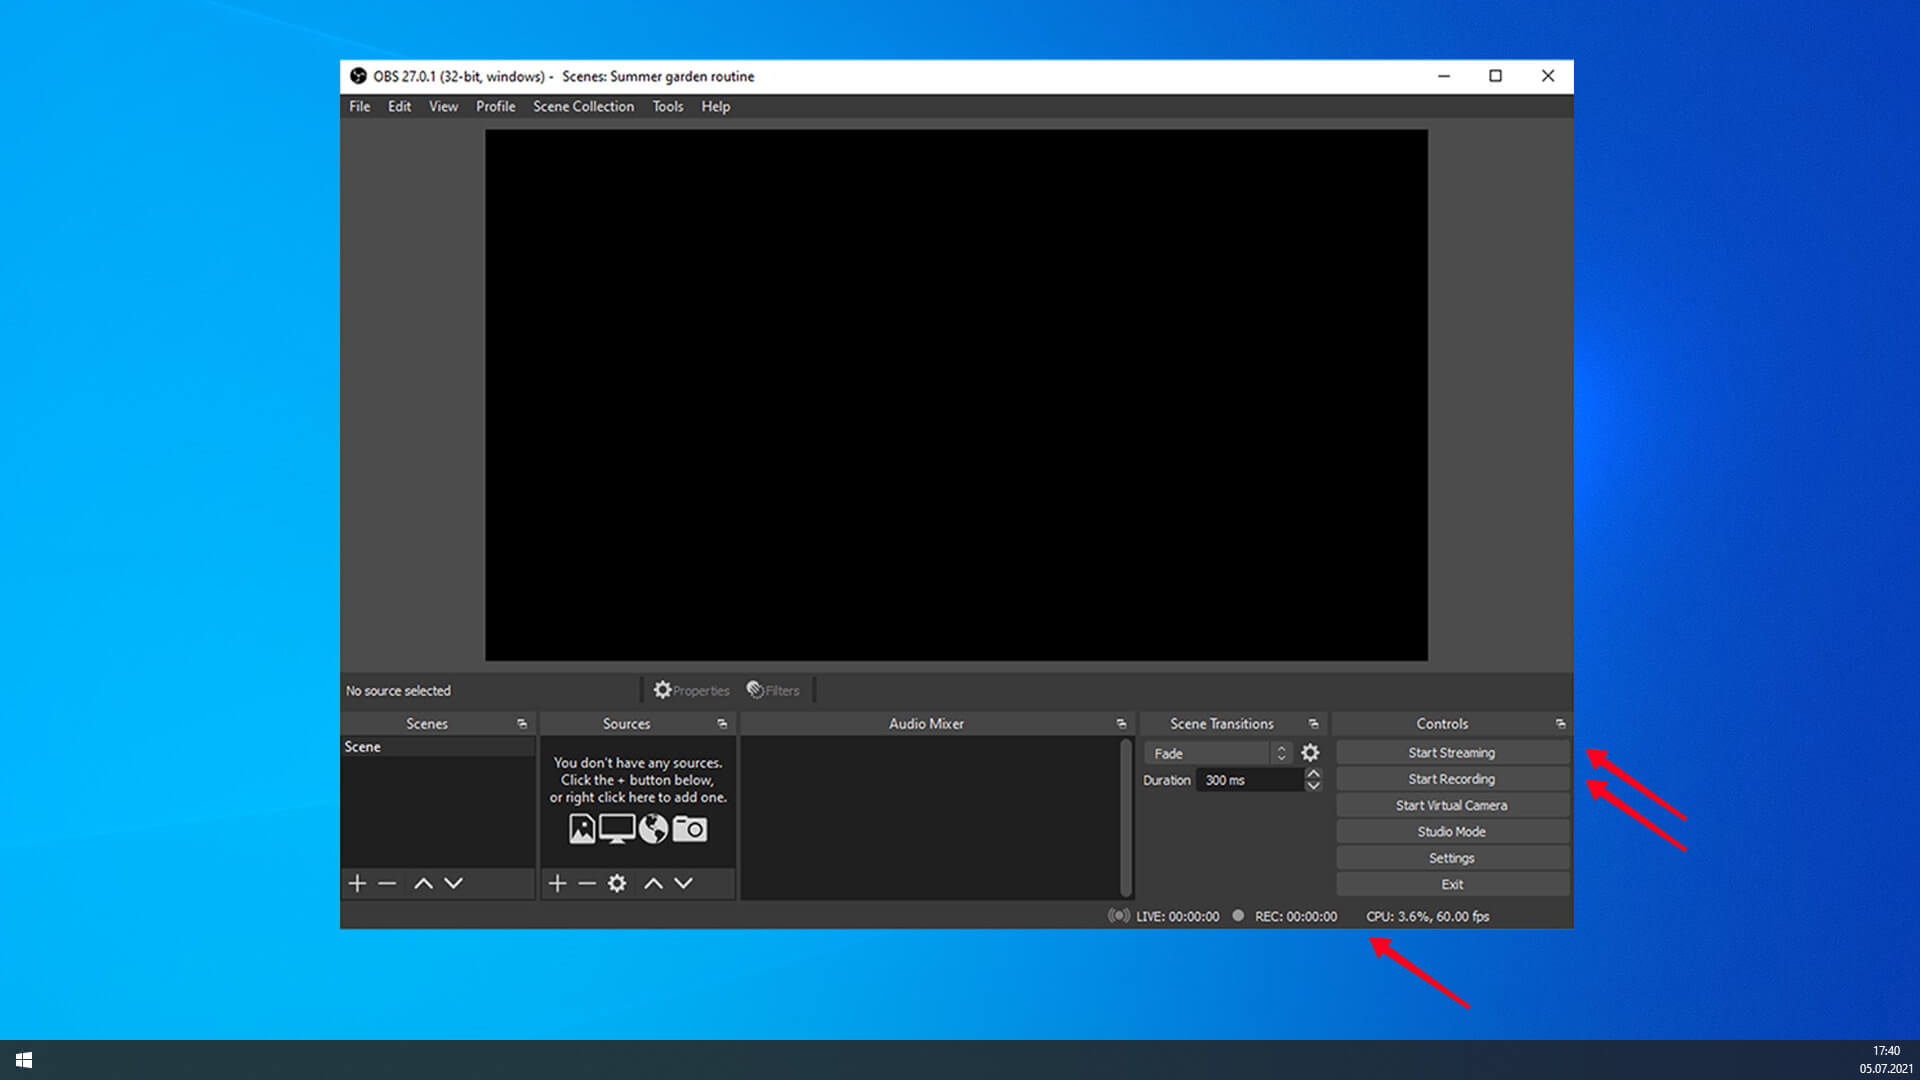
- Choose Start Streaming at the bottom right.
- Click Start Recording to record the screen and download it after the stream.
You can see the live duration and the quality of the video.
Turn off broadcast
Click Stop Streaming to end your Instagram live. Don’t forget to stop live in YellowDuck by clicking Stop broadcast.
Price: Free
Why YellowDuck and OBS Studio?
- Stream recording
- More than 70 social networks to broadcast
- Advanced video settings
You can stream on LoolaTv with any tariff, even a cost-free one. It gives enough tools to host multicasting on Instagram, Twitter, Twitch. Facebook, YouTube and using your own RTMP link, for example from YellowDuck. But work on the free paying plan is limited to 30 hours per month and 480р video resolution. There is a small watermark in the corner.
Paying plans begin from 19 USD per month. Video resolution increases to 1080p, the watermark is removed.
First of all, sign up on the Loola.tv website to go Instagram live on PC or Mac. You can only use it having a Google account. Before broadcasting you also need to download a Google Chrome extension. Click an Instagram icon at the top left. You will be redirected to the download page. Or go there by the link.
What you do next is authorize. Click the Instagram icon again to key in your account data. Authorize in other social media the same way if you want to broadcast there too.
There are video resolution settings in the camera screen corner. Adjusting them are only available on the paid tariffs.
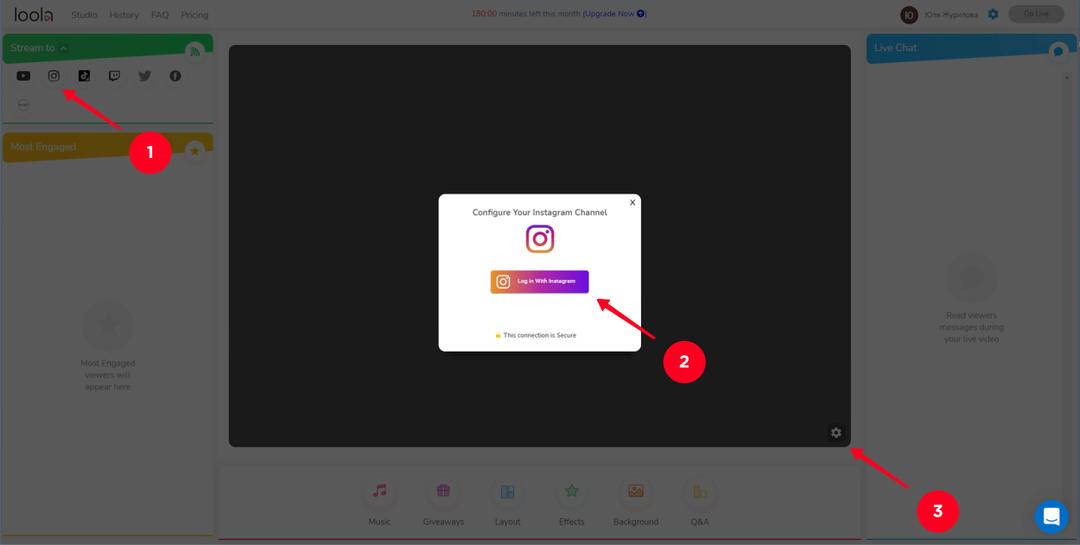
Click Go live when you are ready to start streaming.
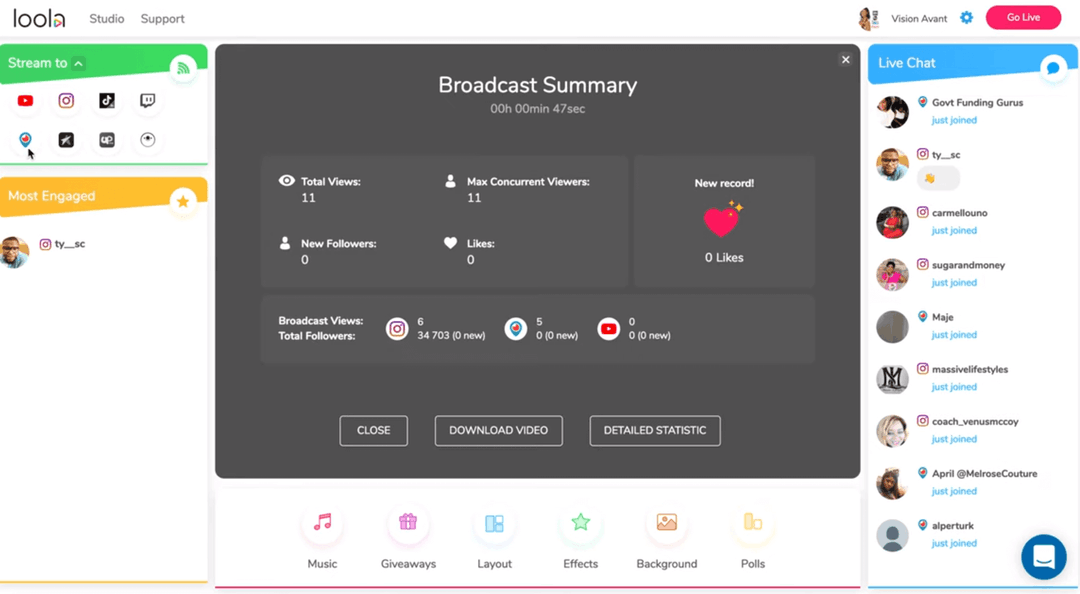
The most active users are displayed on the left, on the right are messages from social media. You can see the network where a comment comes from near a username.
After finishing the stream in live time, you will see general statistics and the figures for each social media. 10 lives can be recorded and downloaded on a free-cost tariff, there are no such limits on the paid plans.
Price: free, 19 and 39 USD
Why LoolaTv?
- Multicasting
- Statistics
There are several ways to watch and go Instagram live from a PC and Mac.
The easiest way to view Instagram live stream on PC and Mac, or laptop is using a browser. You can also see IG live using BlueStack. Windows 10 users can set up the official application to start Instagram and streams in it quickly.
BlueStack is also good to go Instagram live yourself. This is definitely your choice if you often work with IG content from a computer or through a laptop. It provides all the options available in the app. Those who focus strictly on streaming should opt for YellowDuck and OBS Studio. LoolaTv is the option for streaming in several social media concurrently.
You can also live stream for your Instagram audience on streaming platforms. They have features that make live streaming easy. Just give users a link to your channel or a live video in your profile. For example, you can add your Twitch link to your Instagram bio.
Whatever you choose, use these tips to make your live streaming on Instagram from PC or Mac better:
- Find the best topic for a live stream. You can know what your Instagram audience is interested in by making surveys in Stories and studying the figures in Insights.
- Choose the right place to go live. The best place to go live on Instagram on a computer is a quiet and beautiful spot with nobody around. If possible, rent a studio.
- Make sure your computer is ready for a live stream on Instagram. Check the Internet connection, speakers, mic and camera.
- Invite people to watch your live stream on Instagram. We recommend that you create a page about you and your live streams. Then, link to this page in your bio. You can also post it in Stories. Then, users can always go to your profile and see when to expect you live streaming next time.
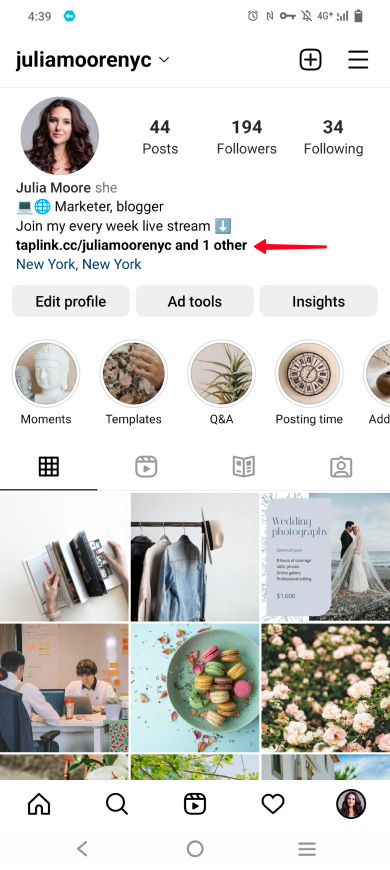
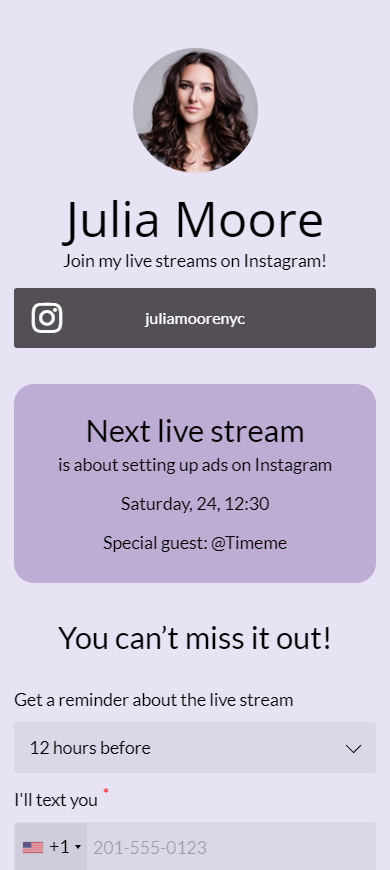
You can create the same page for your live streams on Instagram using this template after a quick sign-up. Or create a better one with your custom design.