Image carousel
In this guide, we explain how to add an Image carousel to your Taplink. Follow the instructions to add and adjust a carousel. Or you can go right to the instructions you need:
An Image carousel is what lets you show multiple images, taking less space on your page. You can add a description and a link to each image. This is how it looks on Taplink pages:

You can add an Image carousel if you have a Pro or Business plan. Choose one of these plans if you haven't done it yet.
You can add an Image carousel in your Taplink account:
- Tap Add block.
- Select Image carousel.
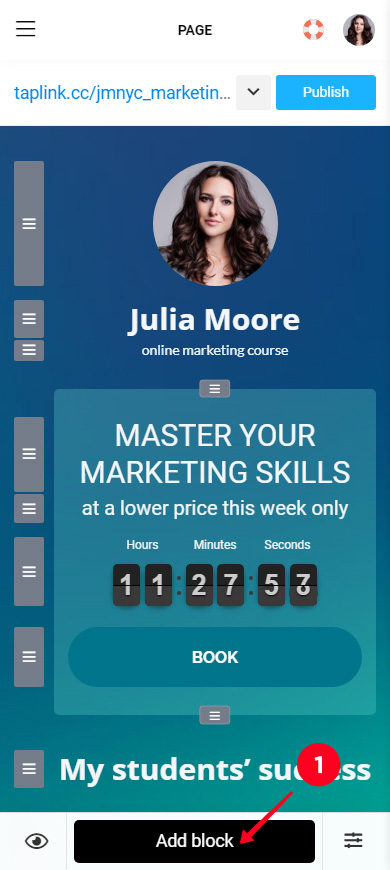
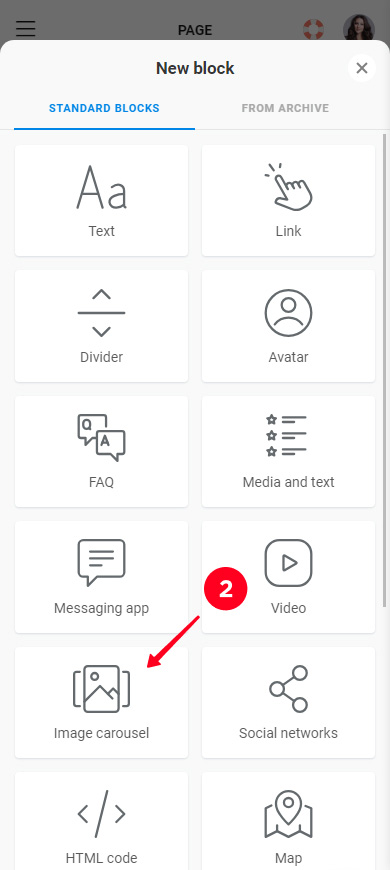
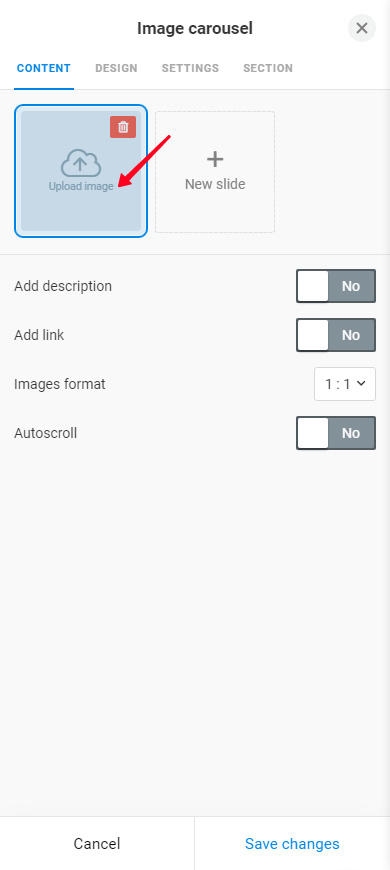
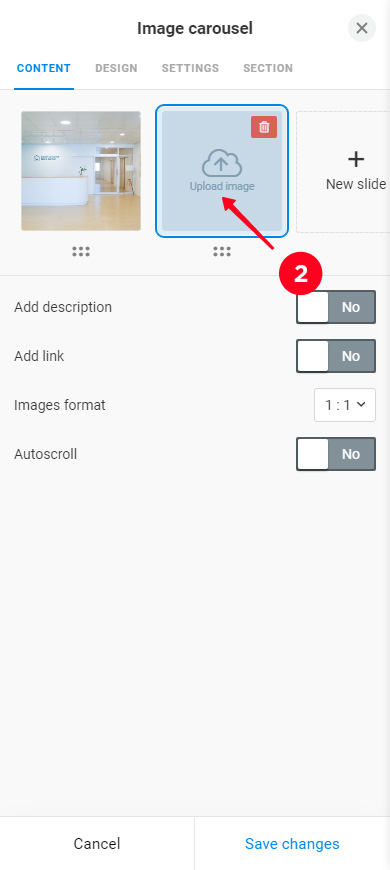
Upload the first image to the carousel. Tap Upload image and select an image on the device.
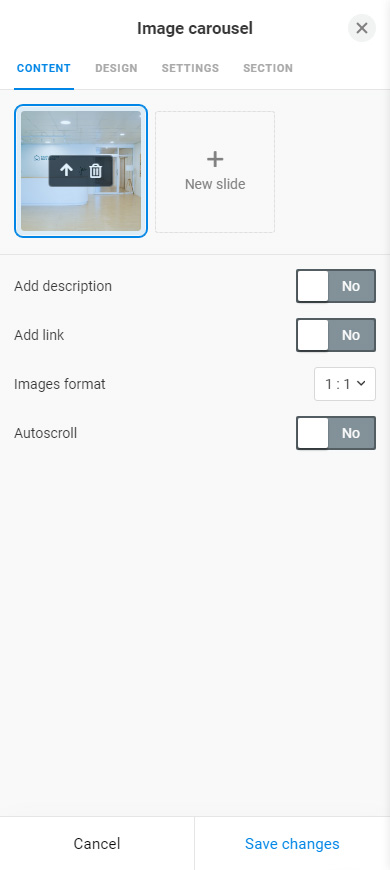
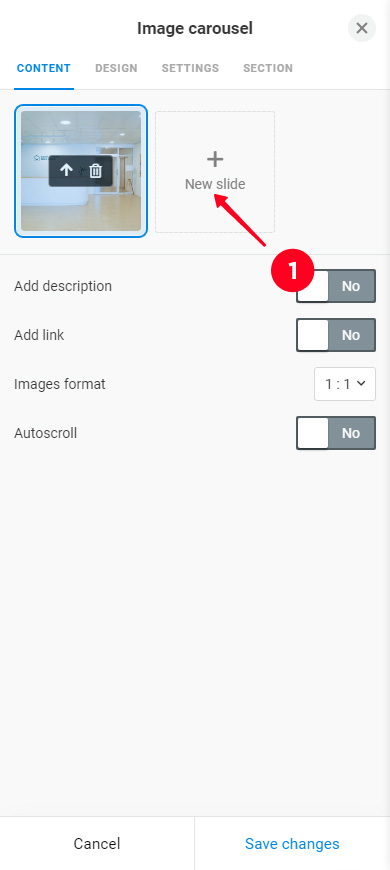
Add a new image to the carousel:
- Tap New slide.
- Tap Upload image and select an image on your device.
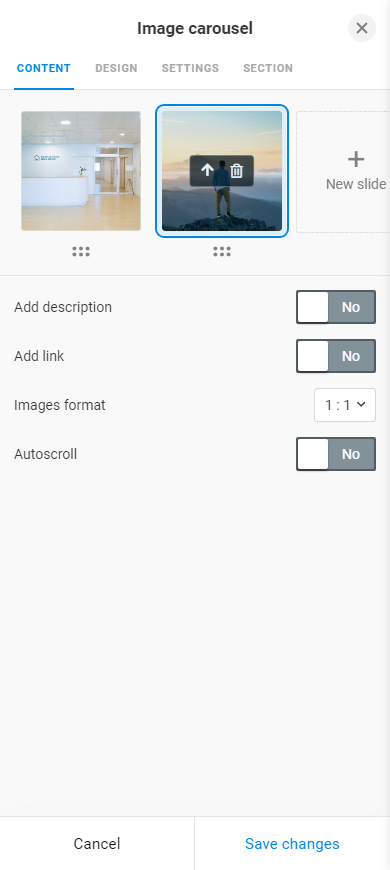
Add more images in the same way if necessary. There can be up to 15 images in an Image carousel. This is what a carousel with multiple images looks like:

You can add titles and descriptions to slides. First of all, turn on Add description:
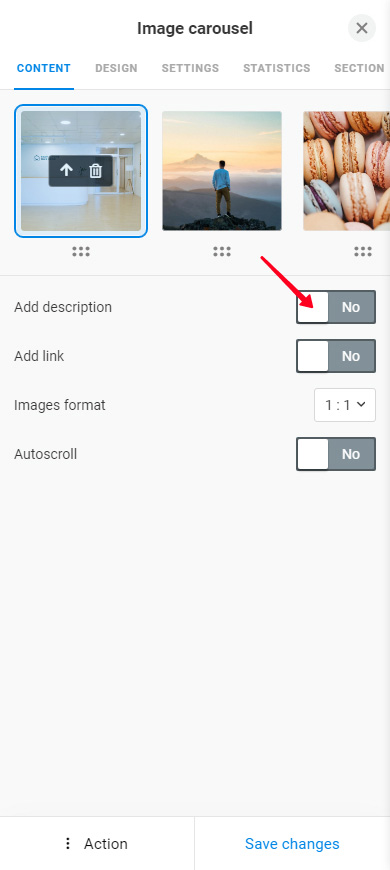
After that, the new fields Headline and Description appear under slides. Fill in these fields under every single slide.
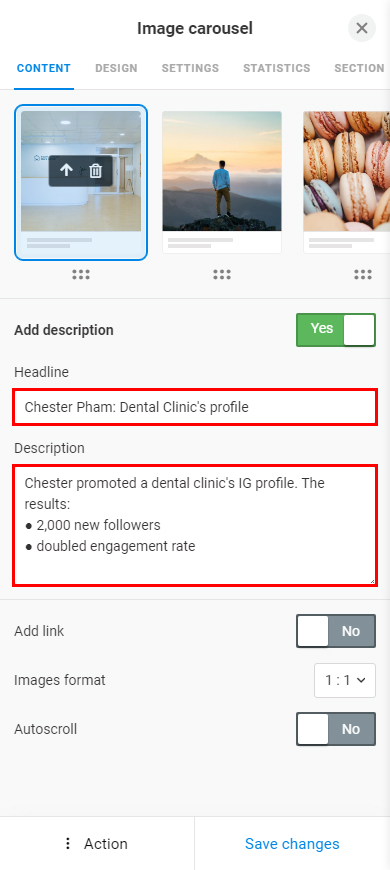
This is how a carousel with headlines and descriptions looks on a Taplink:

You can add links under images. Activate Add link for this:
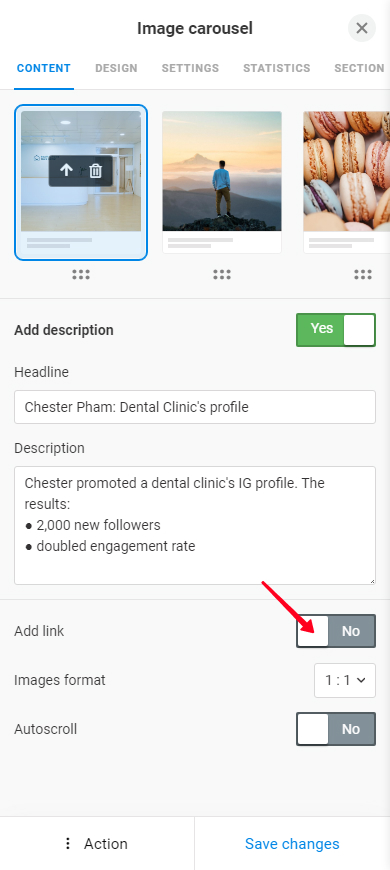
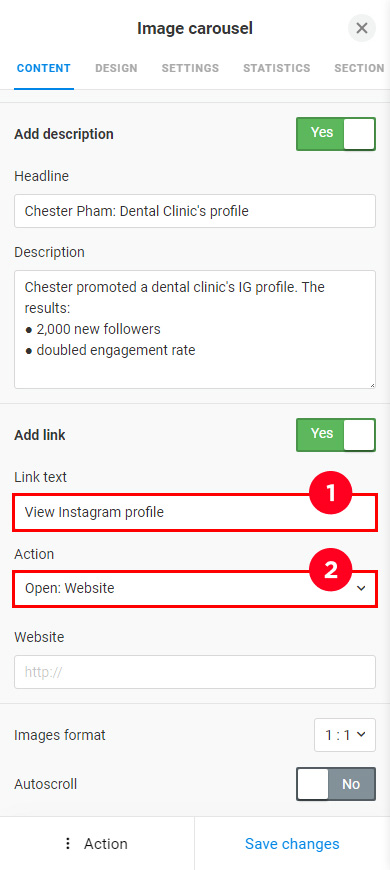
Now new fields Link text, Action, and Website have appeared under each slide. Note, if you turn on Add Link, then you need to specify a link for each slide.
Add a link to the current image slide:
- Specify the displayed link text.
- In the Action list, select what will happen when users tap the link. We chose to direct users to a web page.
- Paste a link.
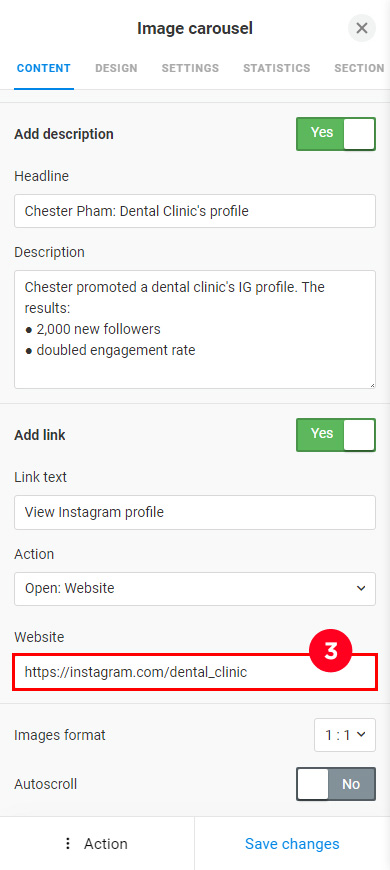
Add links to other image slides in the same way. This is how a carousel with links looks on the page:

You can choose the ratio of the images. The ratio is applied to all images in the carousel.
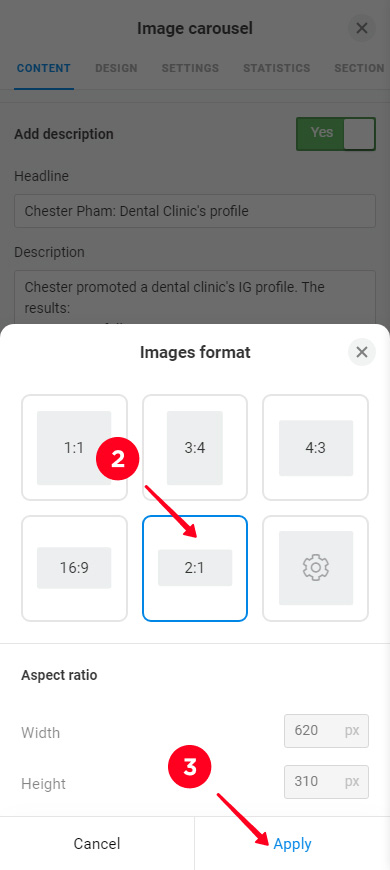
Choose the image ratio:
- Tap the ratio settings.
- Choose a ratio or tap the gear image to set custom image ratio.
- Tap Apply.
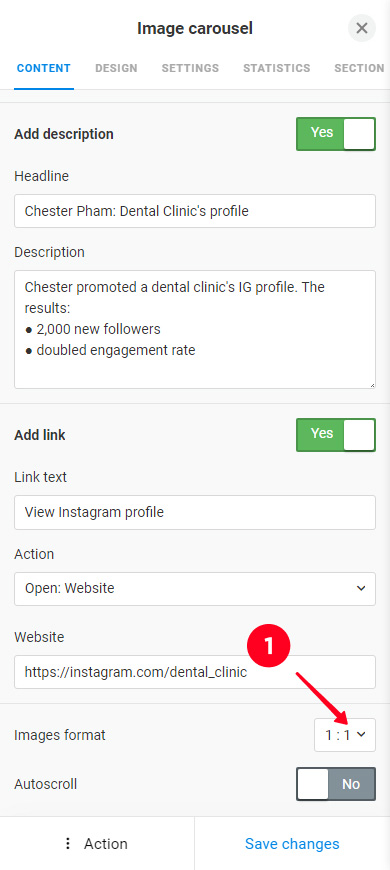
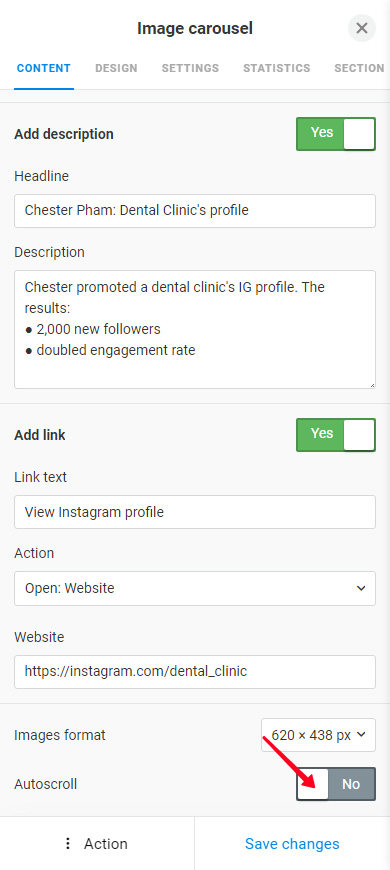
Slides can advance to the next one automatically. Enable Autoscroll. In the field on the left, you can set the time during which a slide displays before it advances to the next one.
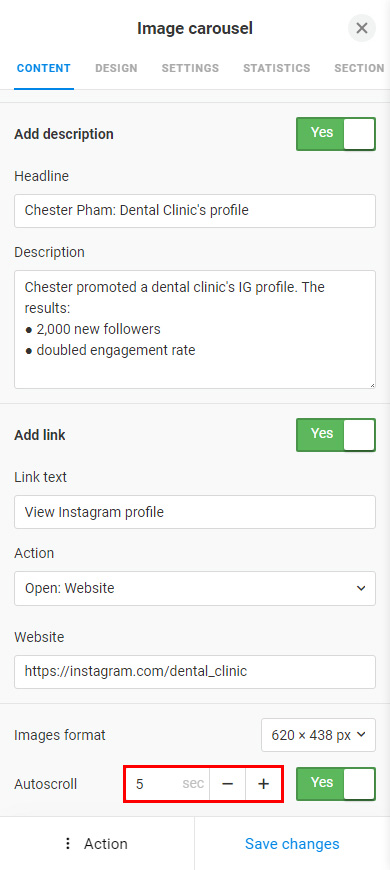
Now the slides change each other after the specified time. The last slide advances to the first one in the carousel, and then all the slides are shown again in the same order.
Well, you can call it a day now, an Image carousel has been added. A row of image slides with texts and links has appeared on the page. Next, we explain additional settings for accurate adjustment.
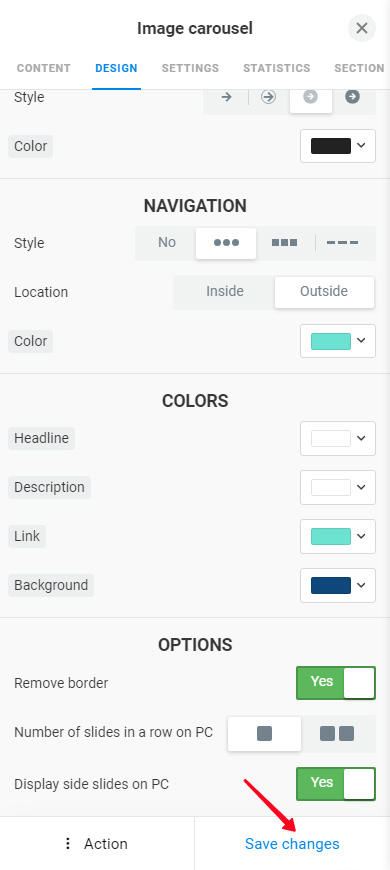
When your Image carousel is all set, tap Save changes.
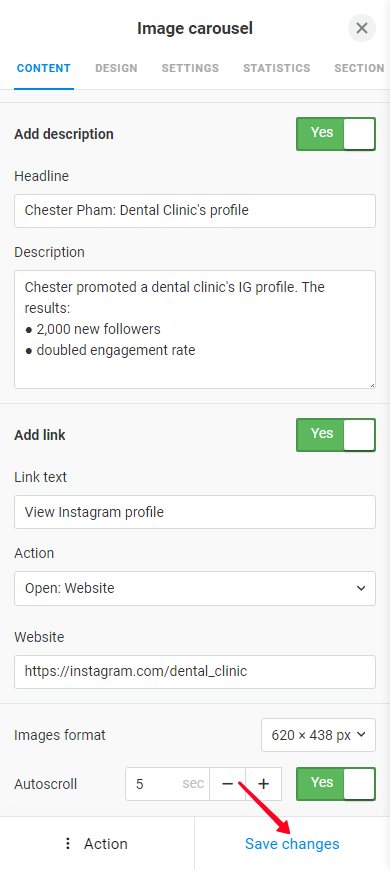
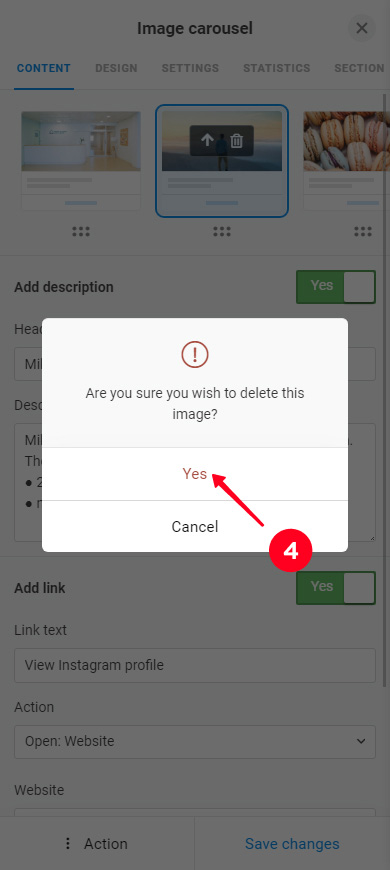
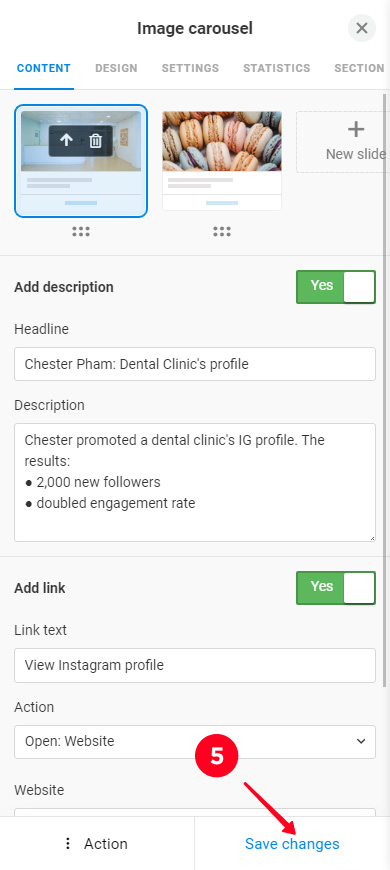
If you don't need a slide in your carousel anymore, delete it:
01. Tap the image carousel.
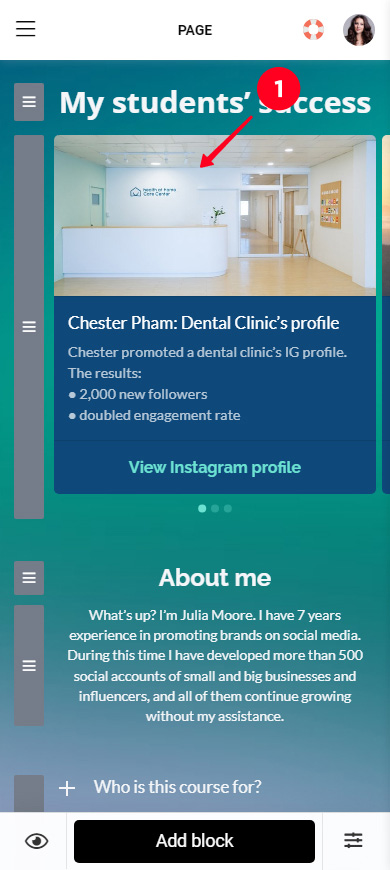
02. Tap the slide you want to delete.
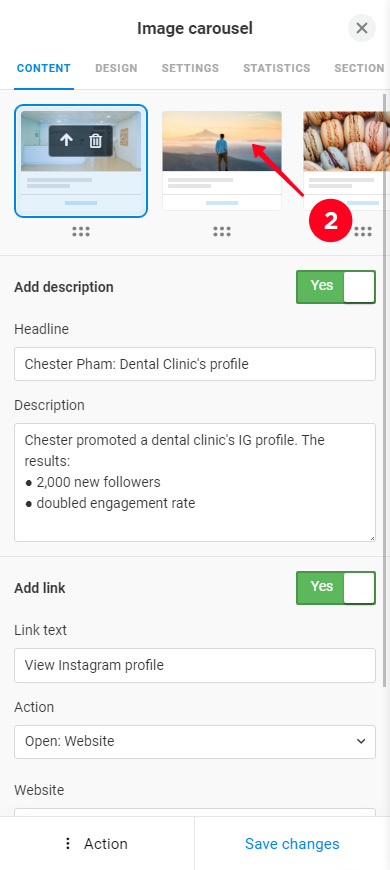
03. Tap the trash icon.
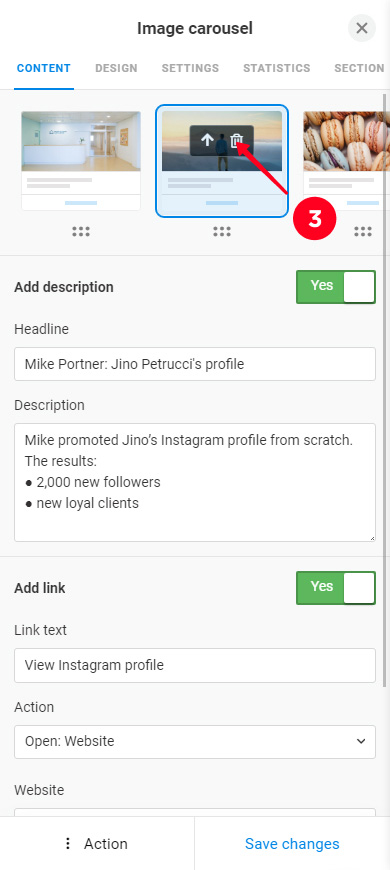
04. Tap Yes.
05. Tap Save changes.
If you want to delete the entire Image carousel from your page, read how to do this here.
You can customize the carousel design in the Design tab:
- Tap the image carousel.
- Go to the Design tab.
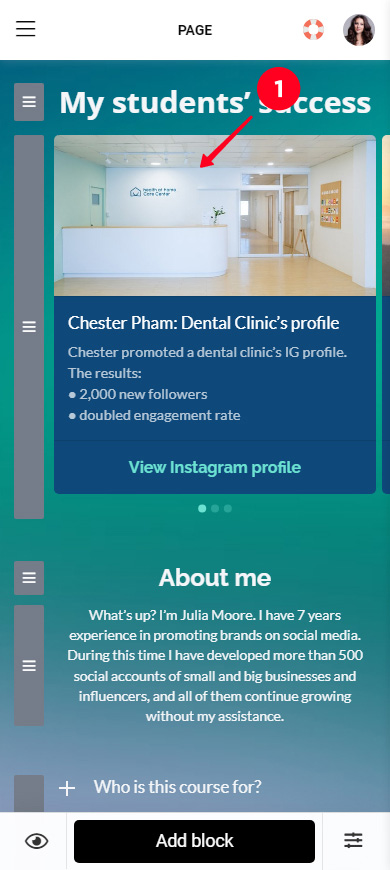
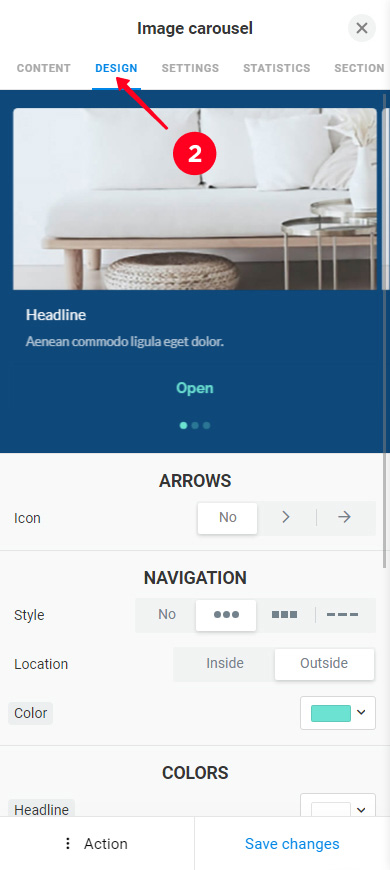
There you can see the following design settings:
- Arrows.
- Navigation.
- Colors.
- Options.
You can add the arrows for switching between slides.
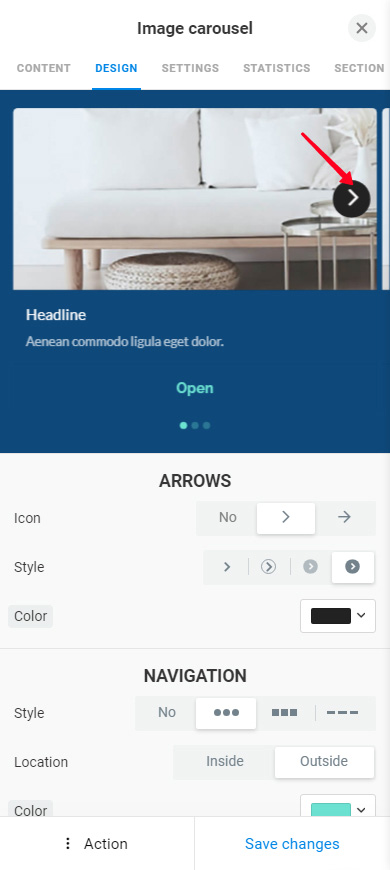
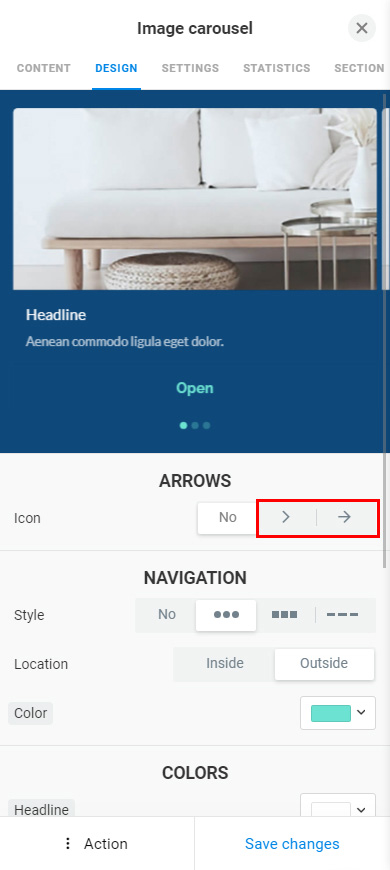
Choose the Icon:
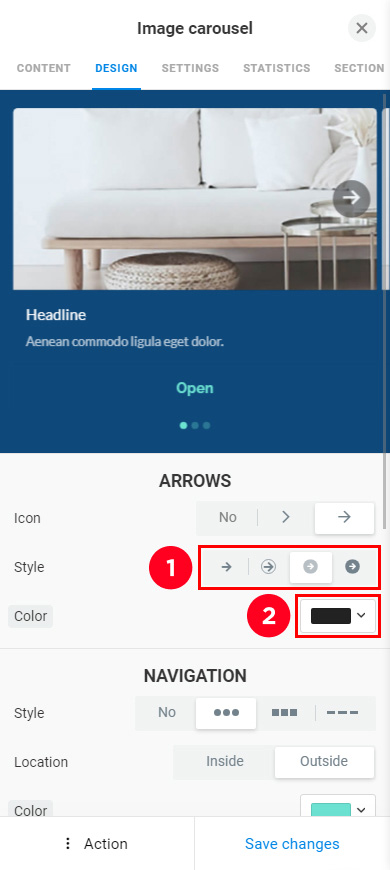
Now you can adjust the arrows appearance, choose:
- Style. The arrows can be simple icons, icons in a circle, or icons on the semi-transparent or opaque background.
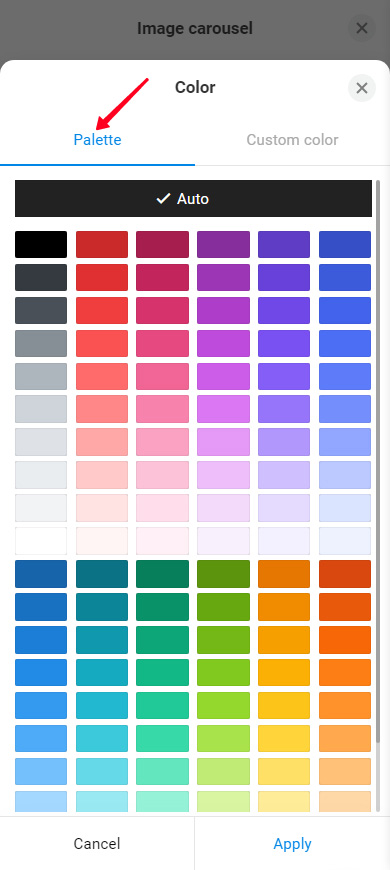
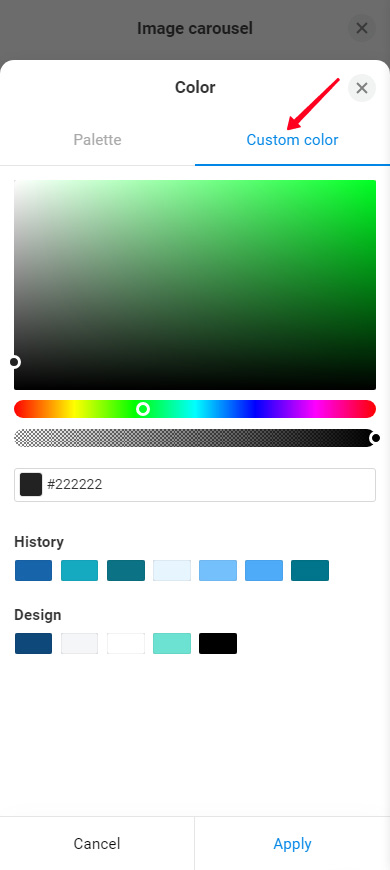
- Color. Select a color in the Palette tab (second screenshot) or paste a code of a precise color in the Custom color tab (third screenshot).
In the Navigation settings you can adjust the appearance of the dots that are used for slide navigation.
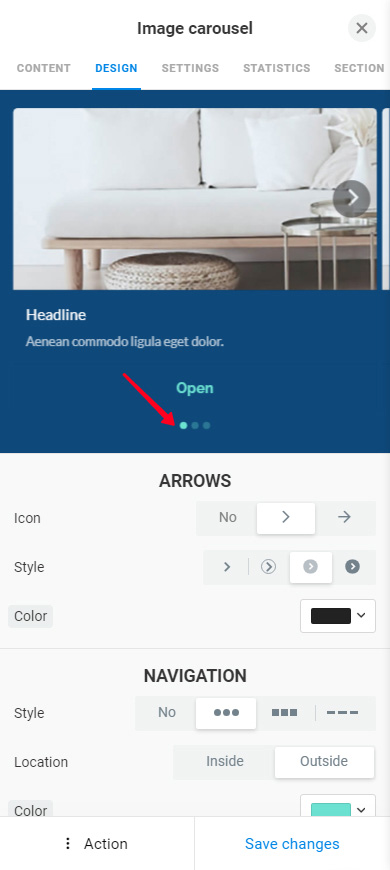
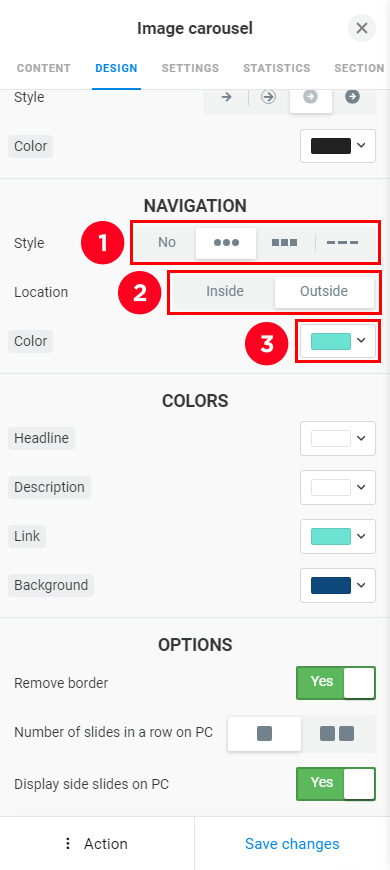
Choose the navigation dots:
- Style: round, square, rectangle. If you don't need the navigation dots, choose No.
- Location: inside or outside the carousel.
- Color: tap the settings and set a color.
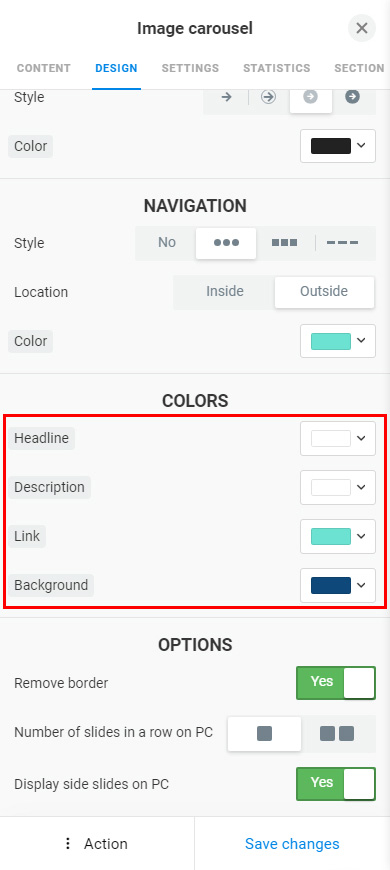
Here you can set colors of the carousel elements:
- Headline.
- Description.
- Link.
- Background.
These are additional Image carousel settings:
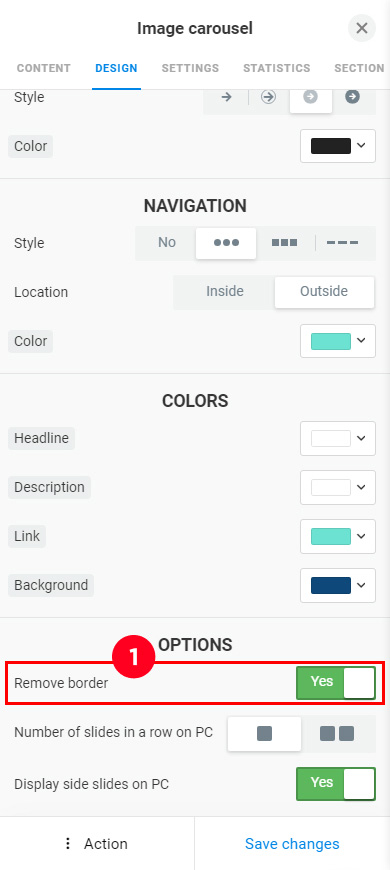
- Remove border. Activate the feature to delete the carousel outline.
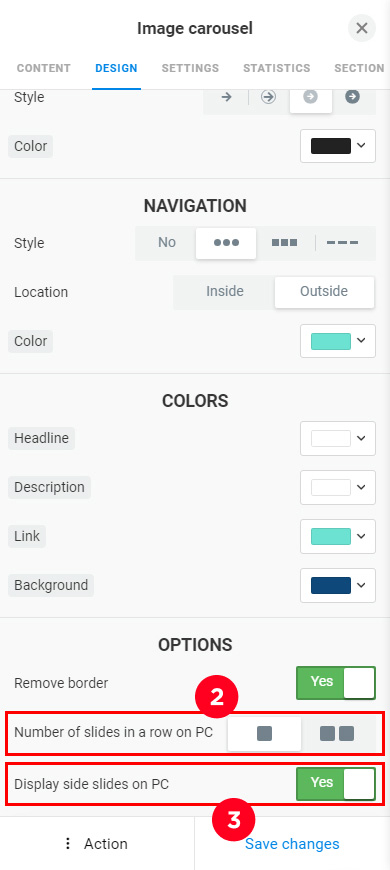
- Number of slides in a row on PC. Set how many slides at a time a user sees when viewing your Taplink on a computer.
- Display side sliders on PC. Activate the feature, then users will see the previous and next slides on the left and right of the current slide when viewing the page from a computer.
When the design is set, tap Save changes.
This is how slides are displayed on a computer if the side slides are enabled:

There are more precise settings that you can adjust:
- Tap the image carousel.
- Go to the Settings tab.
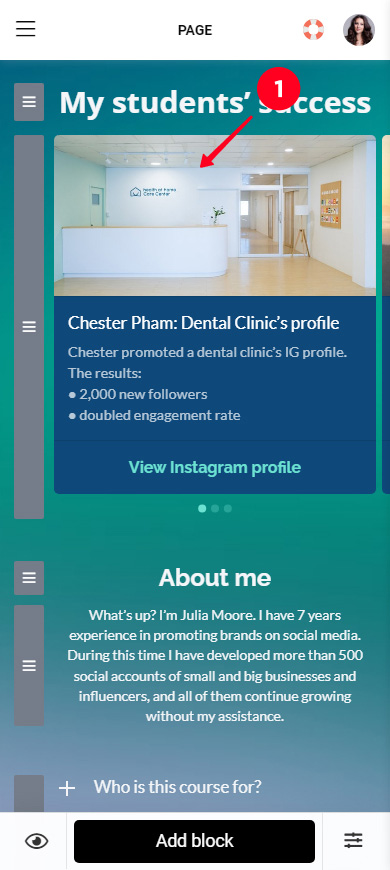
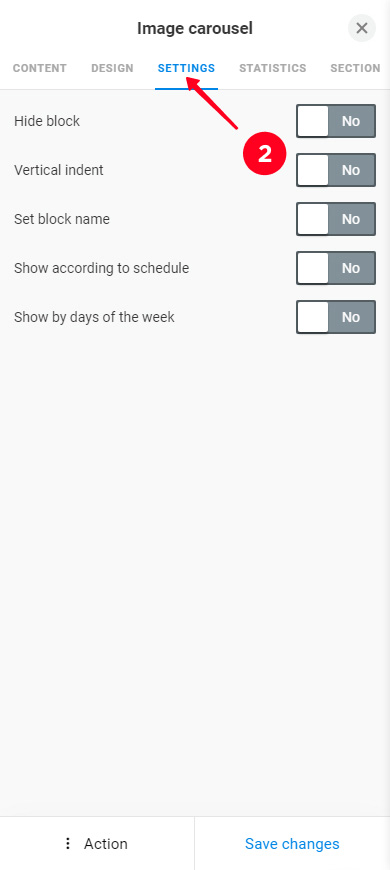
You can enable or disable the display of an Image carousel on the page. Read how to:
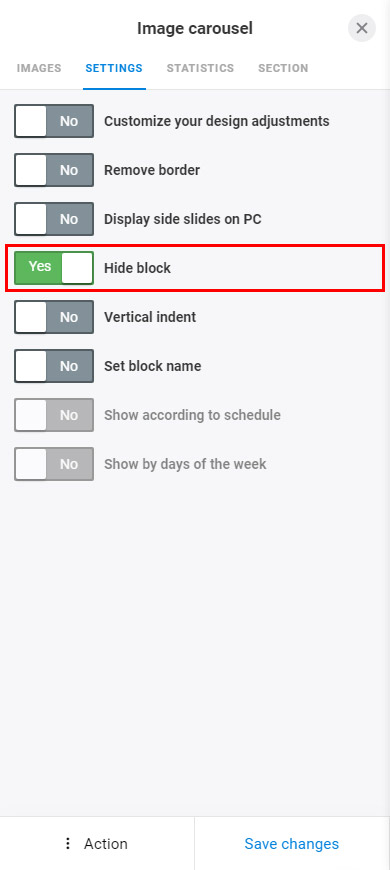
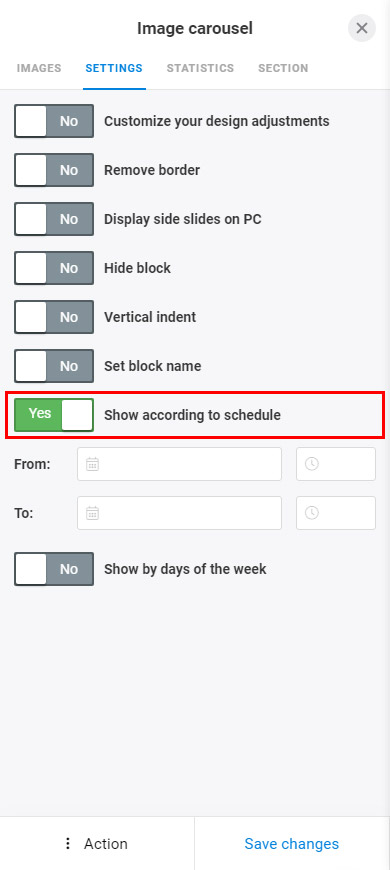
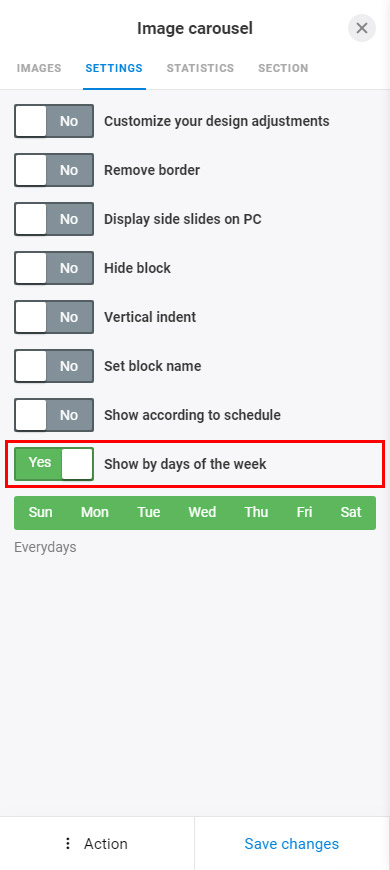
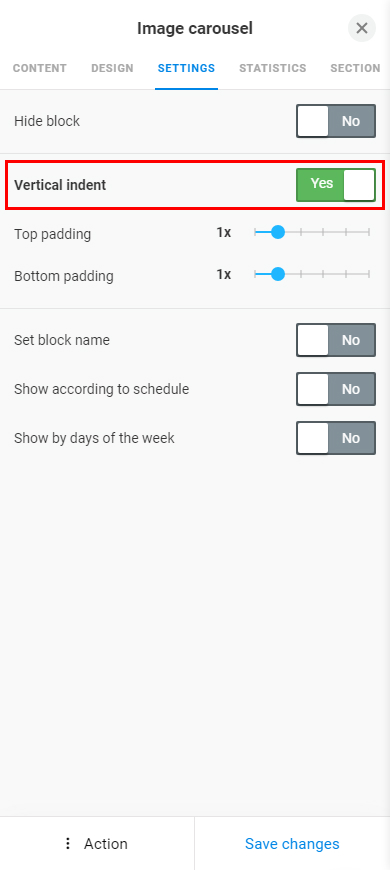
Set the vertical indents to adjust the distance between the Image carousel and the elements above and below it:
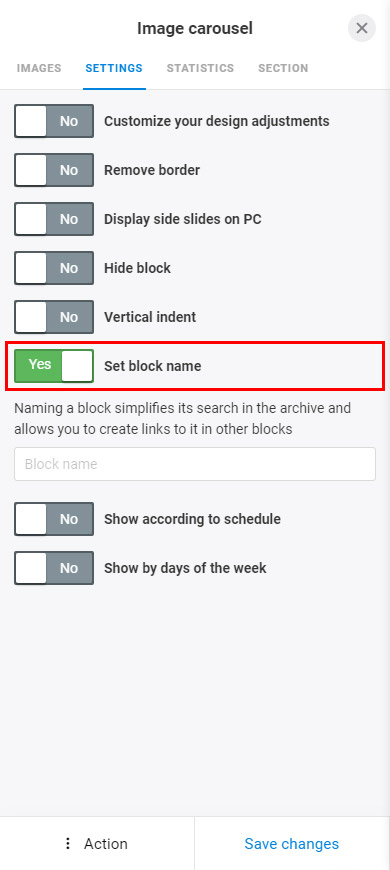
Set the carousel block name. Then, you can add the link to the navigation menu that directs users to the carousel. Here you can read how to create a menu and add items for specific blocks to it.
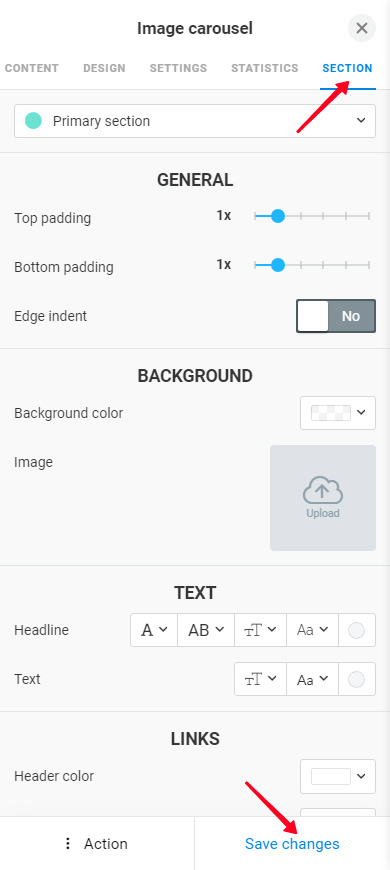
Apply a section to make the Image carousel stand out on your page. Enable it in the Section tab. Read more about setting up sections here. Tap Save changes after you finish setting the block.
Now you know how to add and adjust the Image carousel block so you can create a carousel for your page. Show your products and services from different angles using it. Also, add Messaging app buttons so that users can contact you and buy the product or service.