Resize a photo on iPhone or iPad — step-by-step guide

Apple developers added Shortcuts to reduce the size of pics. Therefore, users don't need to search for a third-party app in App Store.
But before you jump to resizing your photos on iPhone, decide on the size you need. If you want to post a photo on a social network, check its recommendations. For example, recommended Instagram Story size is 1080*1920 pixels. As for posts, keep the width 1080 pixels.
Here is an instruction on how to use this pre-installed app on devices with iOS 15. The interface may look a bit different if you have one of the previous versions, but steps have to be the same. If you have any difficulties with creating a shortcut, write to us in the comments, we'll try to help you.
01. Open Shortcuts.
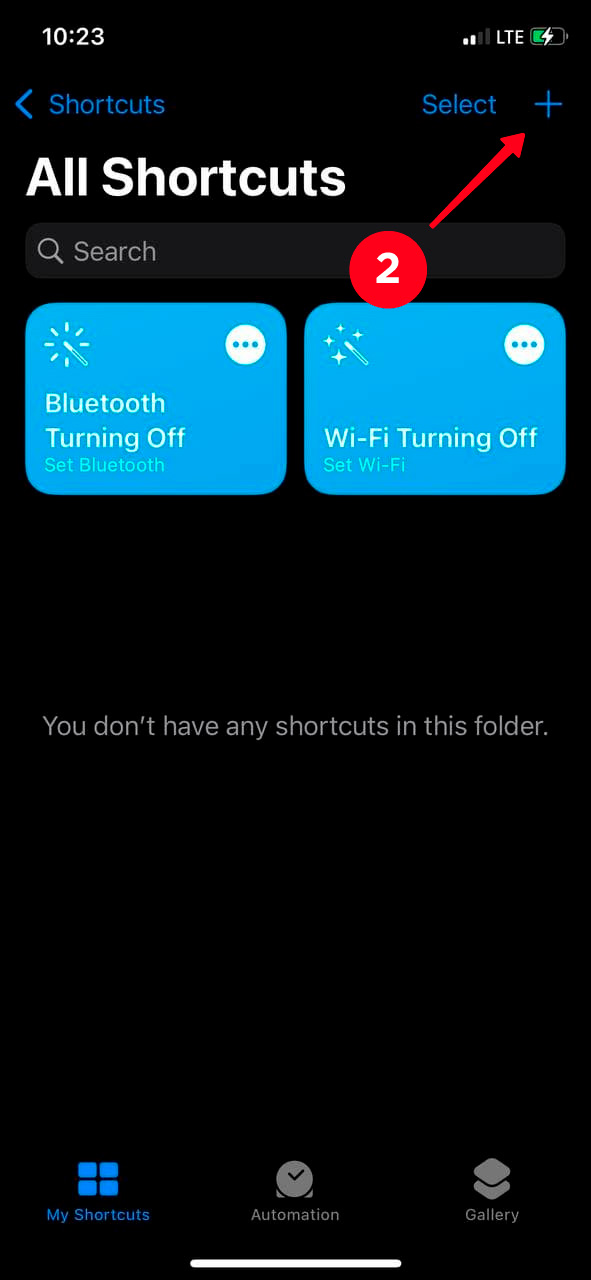
02. Tap a plus icon in the upper right corner.
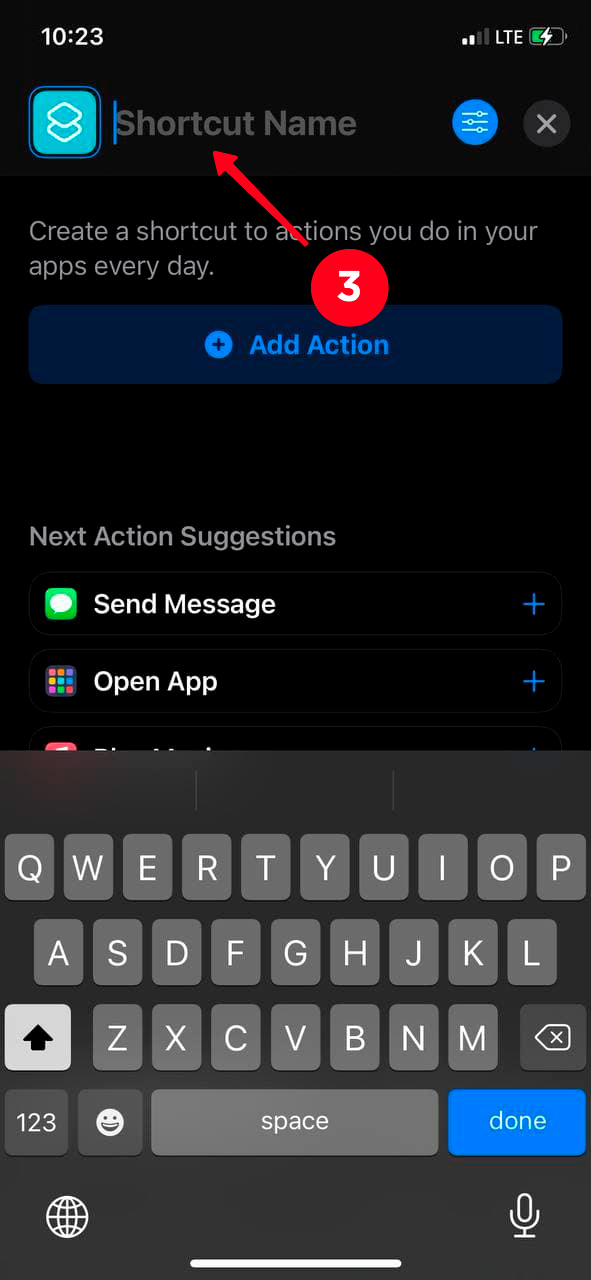
03. Type a title in the Shortcut Name field. You can come up with any name.
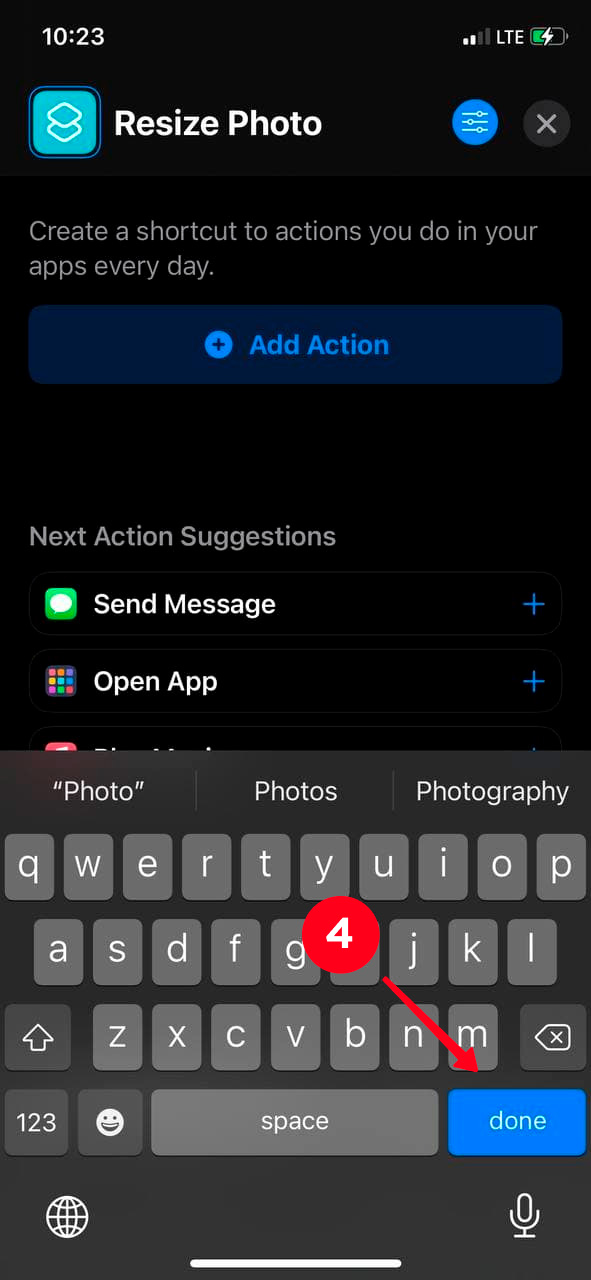
04. Hit Done.
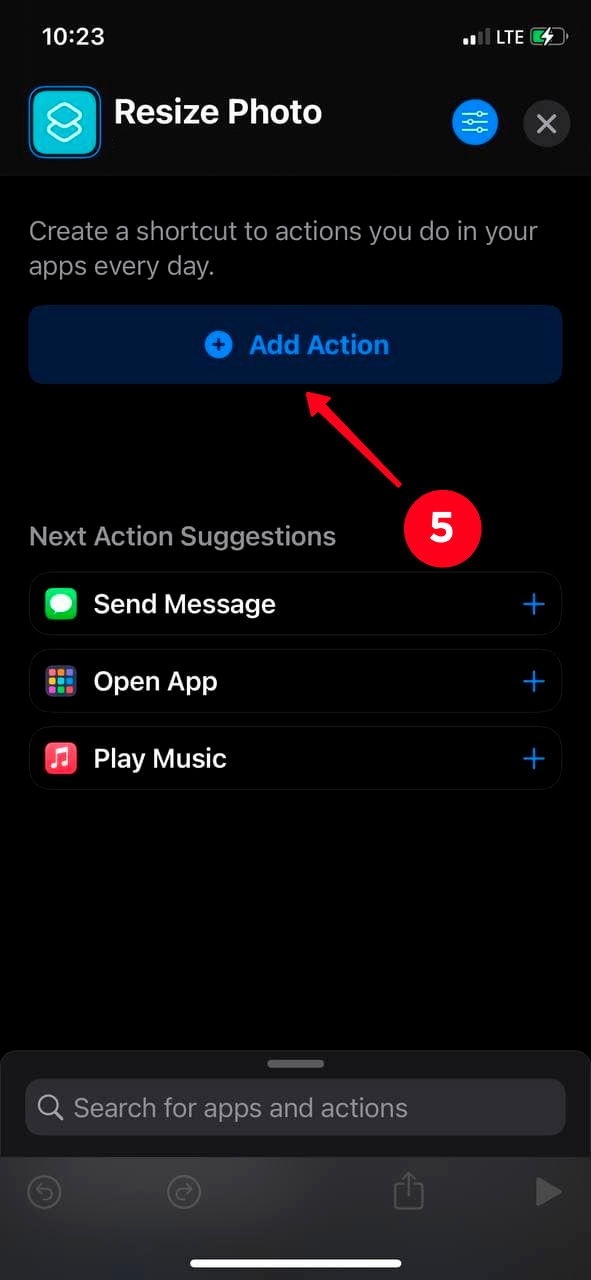
05. Then, tap Add Action.
06. Type Get Images from Input in the search bar.
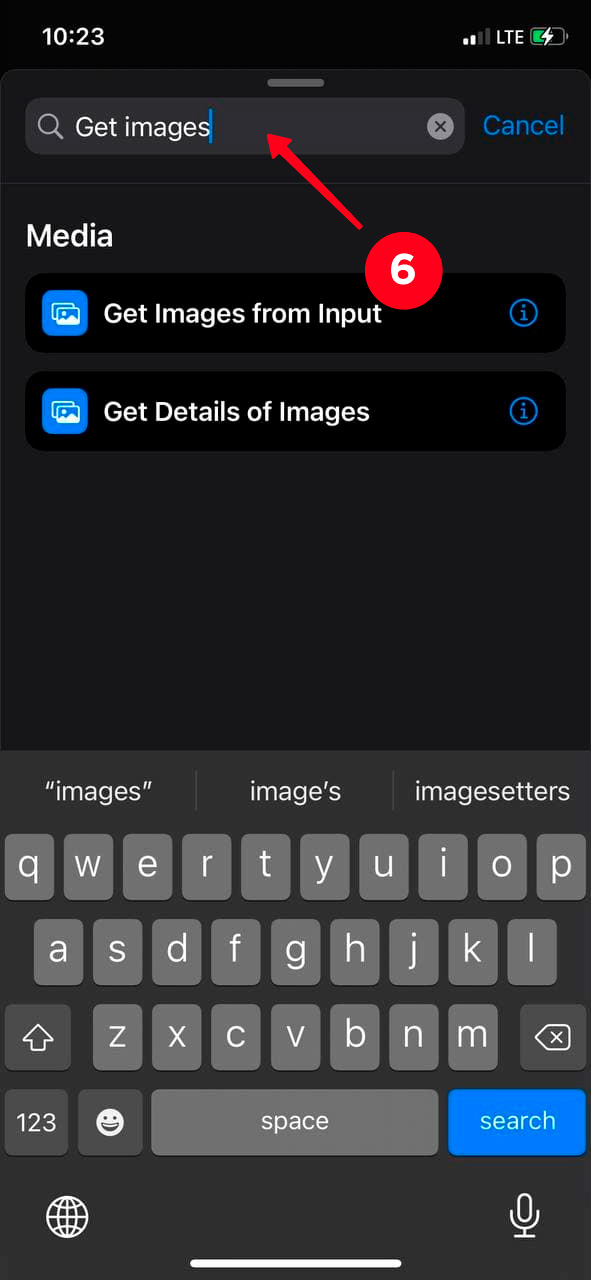
07. Choose Get Images from Input. The first action is ready.

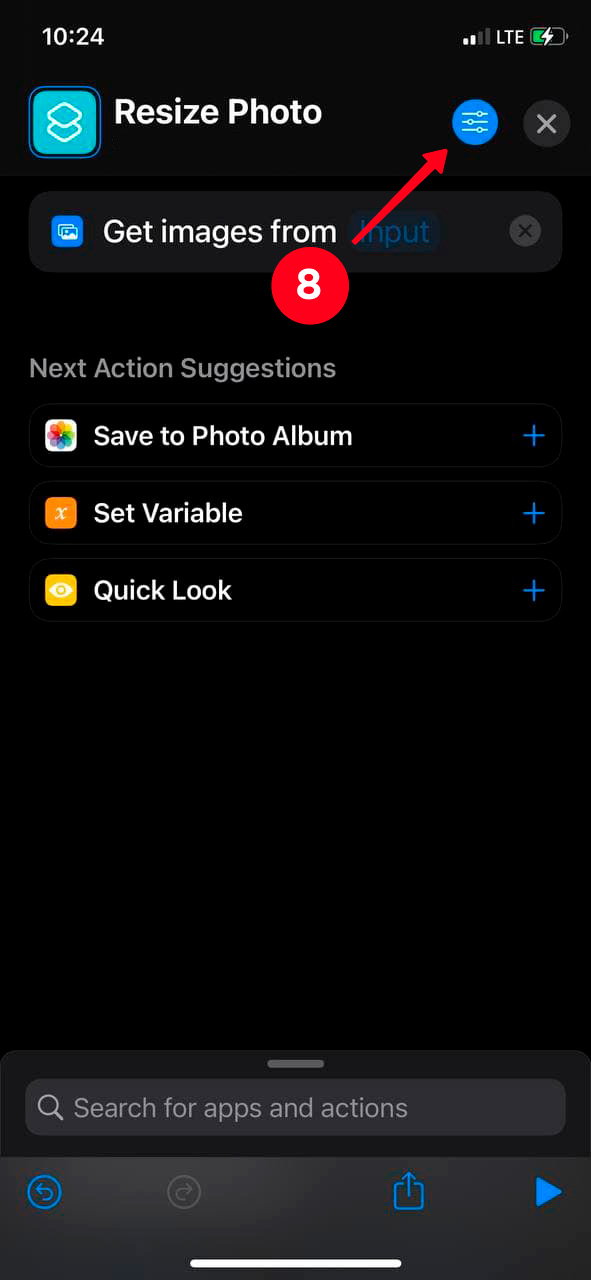
08. Tap a blue button with parameters in the top-right corner.
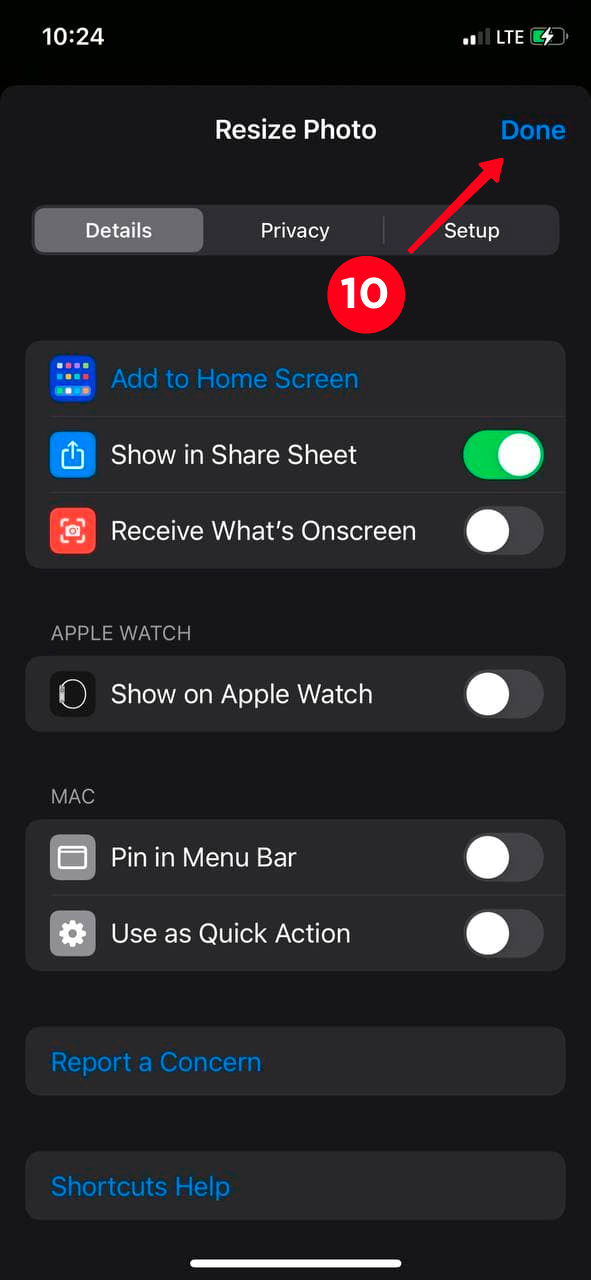
09. Move the slider to the right next to Show in Share Sheet.
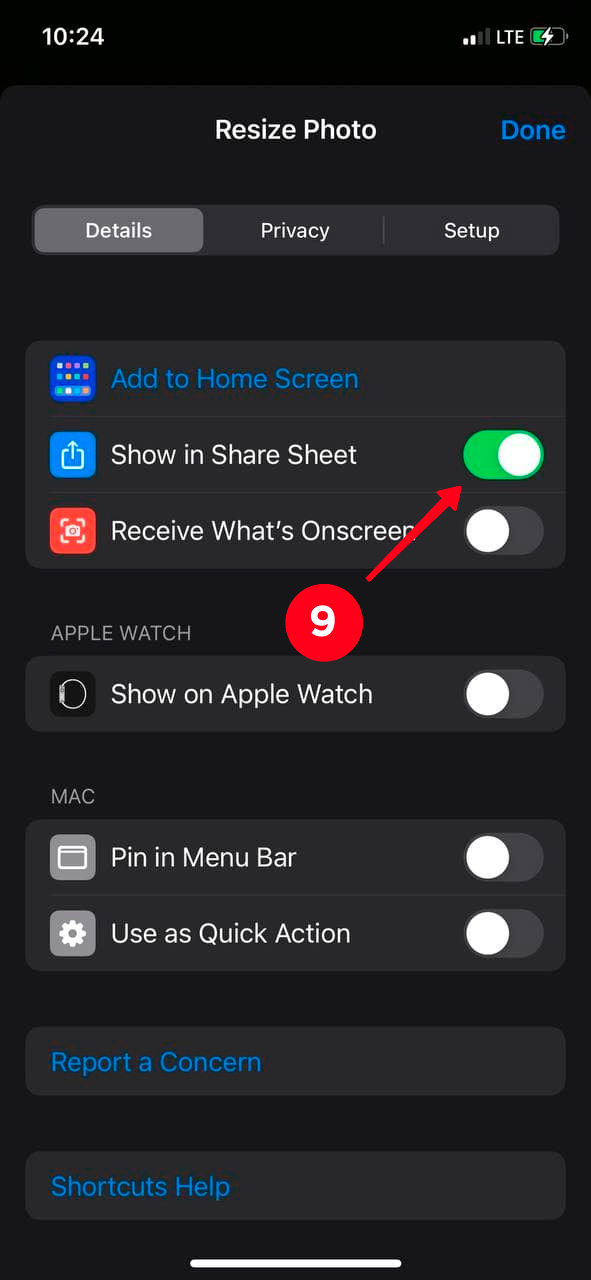
10. Hit Done.
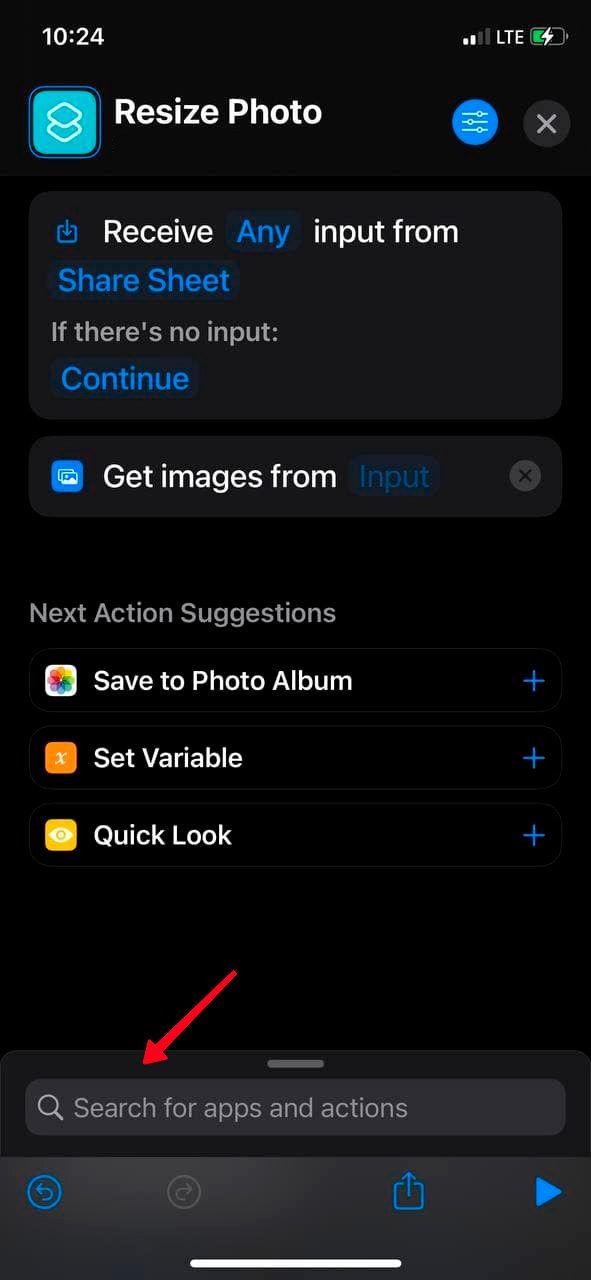
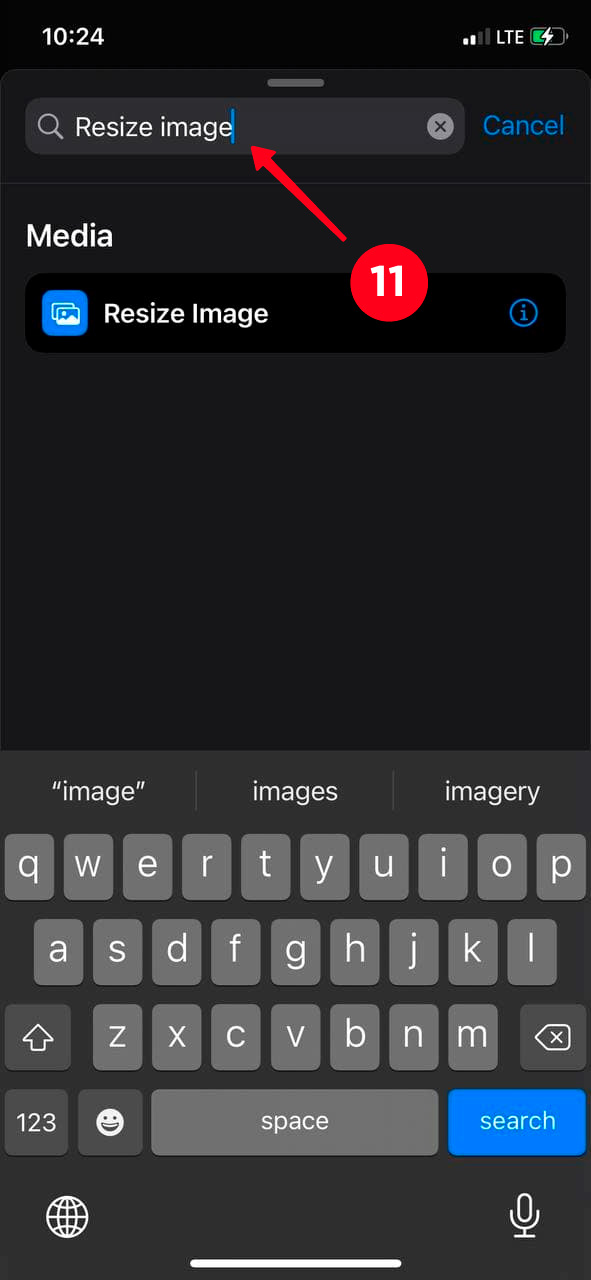
11. Tap the search bar and type there Resize Image.
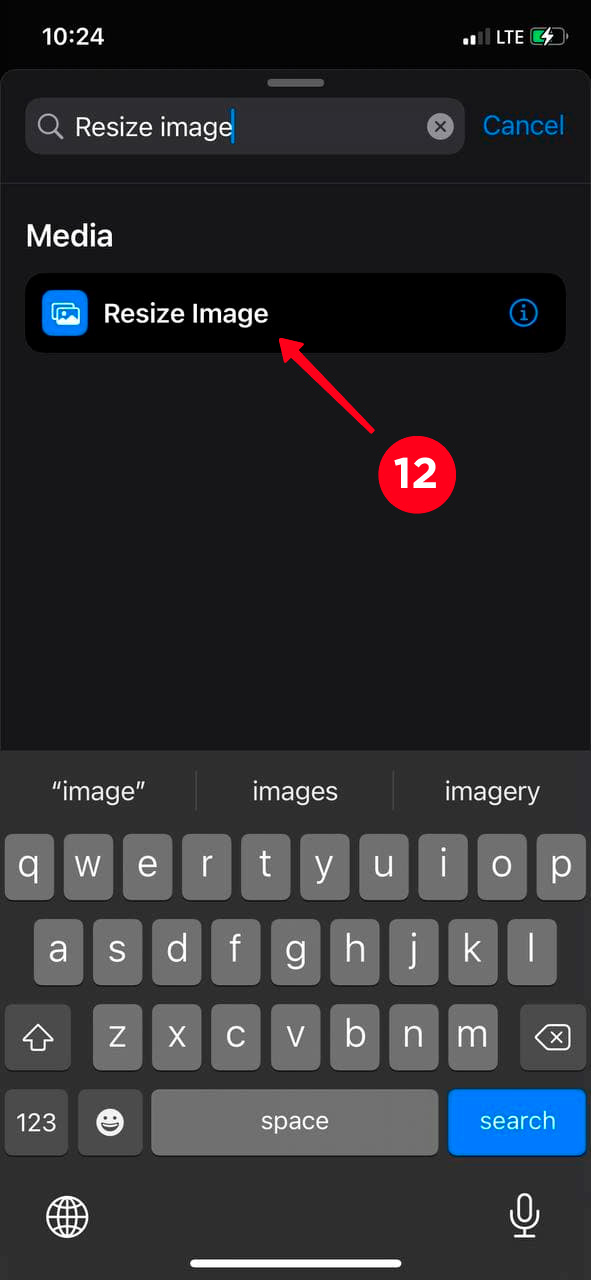
12. Choose the action.
You can change the size of photos on iPhone, reduce or enlarge their height and width, right away during creating a shortcut. Another option is to choose Ask Each Time to manually adjust the resolution on each photo.
We advise you to set up the required parameters while shortcut creating so that you won't waste time on that every time.
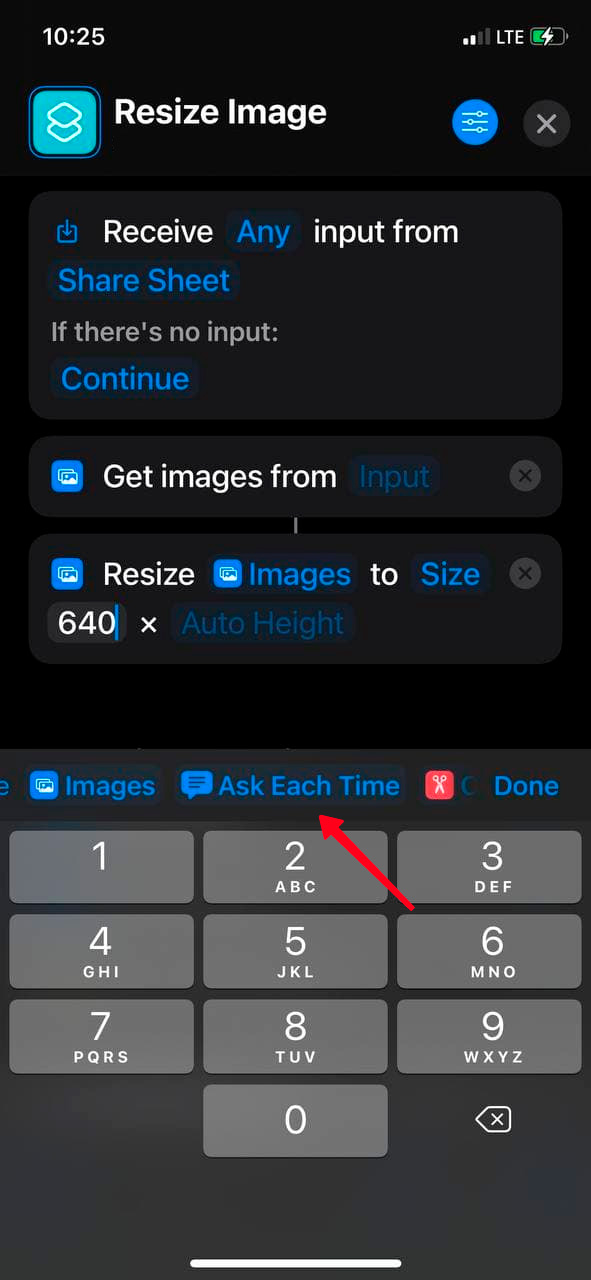
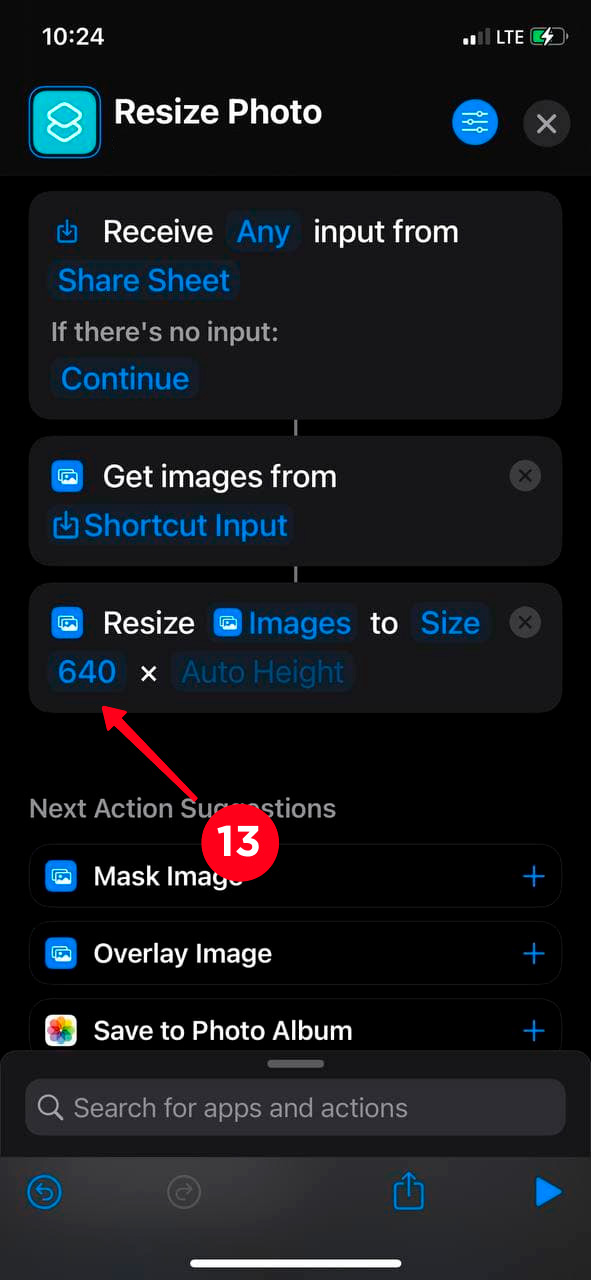
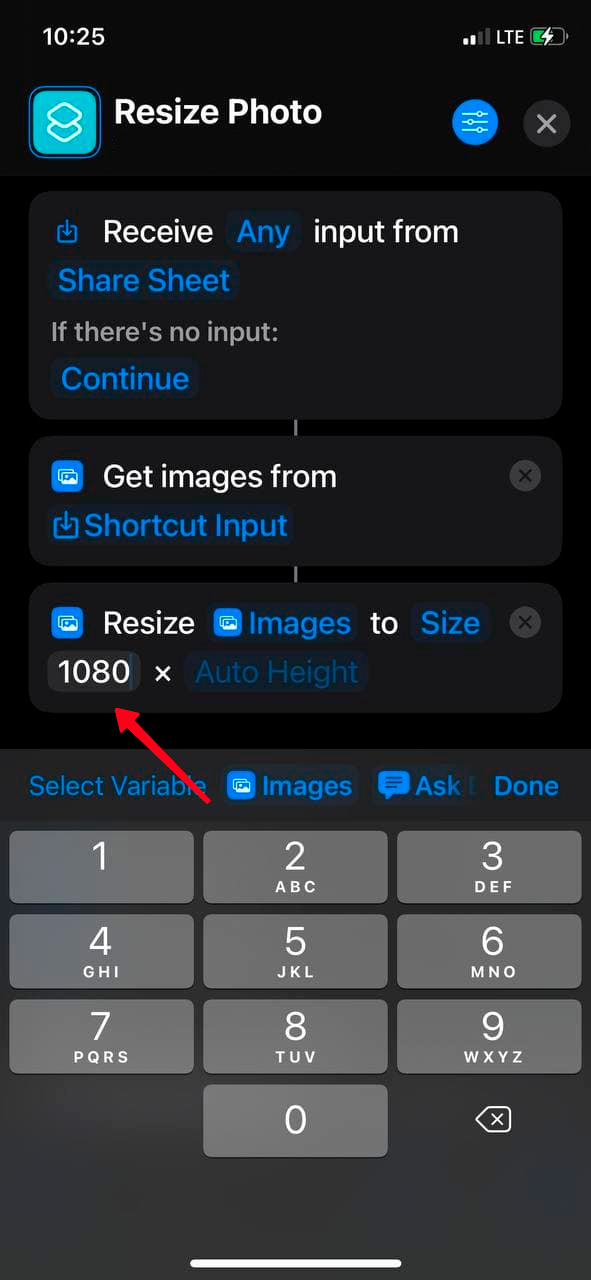
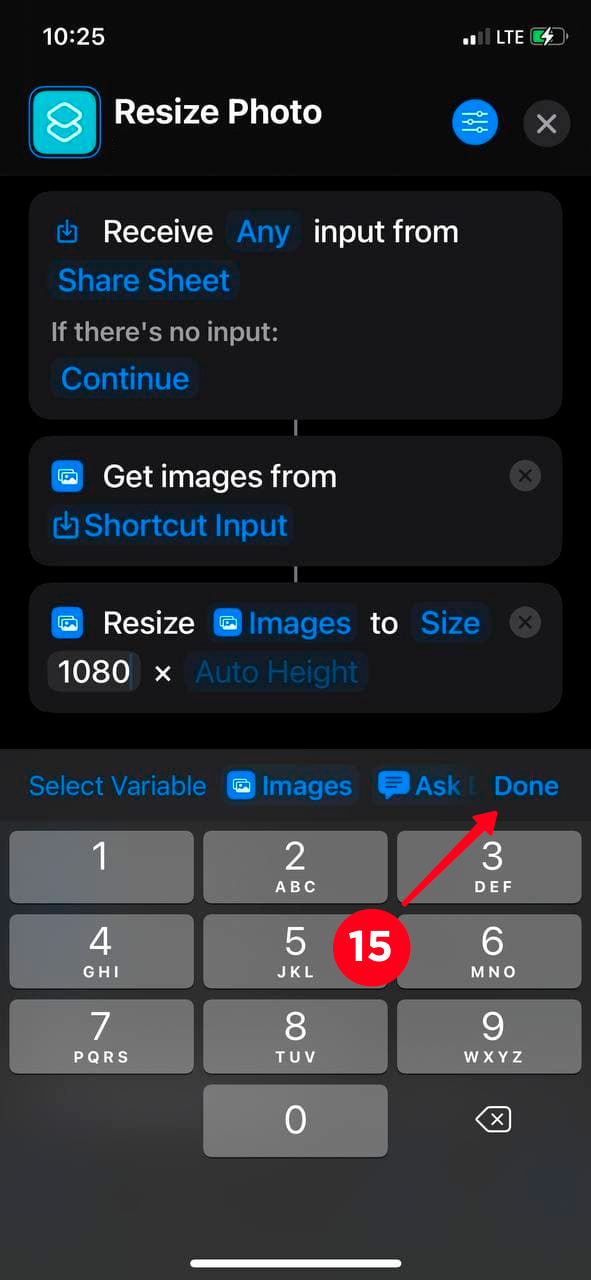
13. The width is set to 640 by default. Tap the width parameter to change it to 1080. It's the standard value for Instagram Stories and posts.
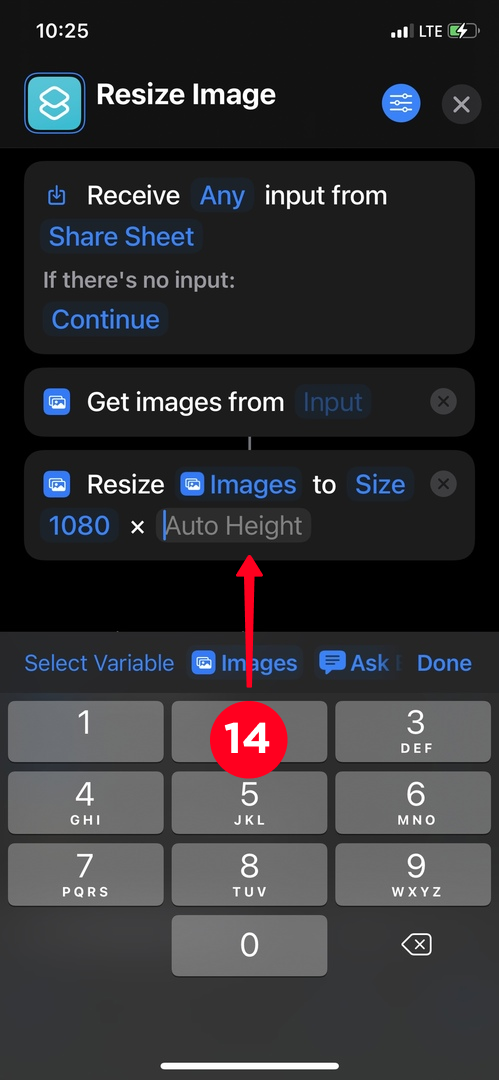
14. Leave Auto Height so that the images don't shrink or stretch. Then the device itself will select the appropriate value height to maintain the proportions.
15. Hit Done.
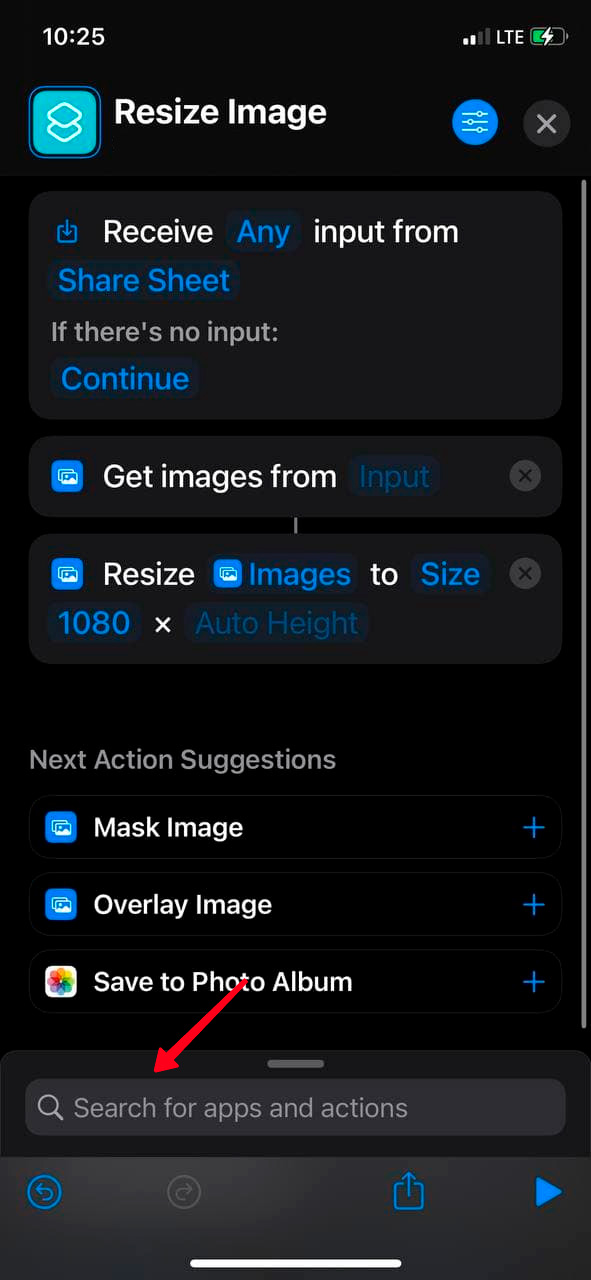
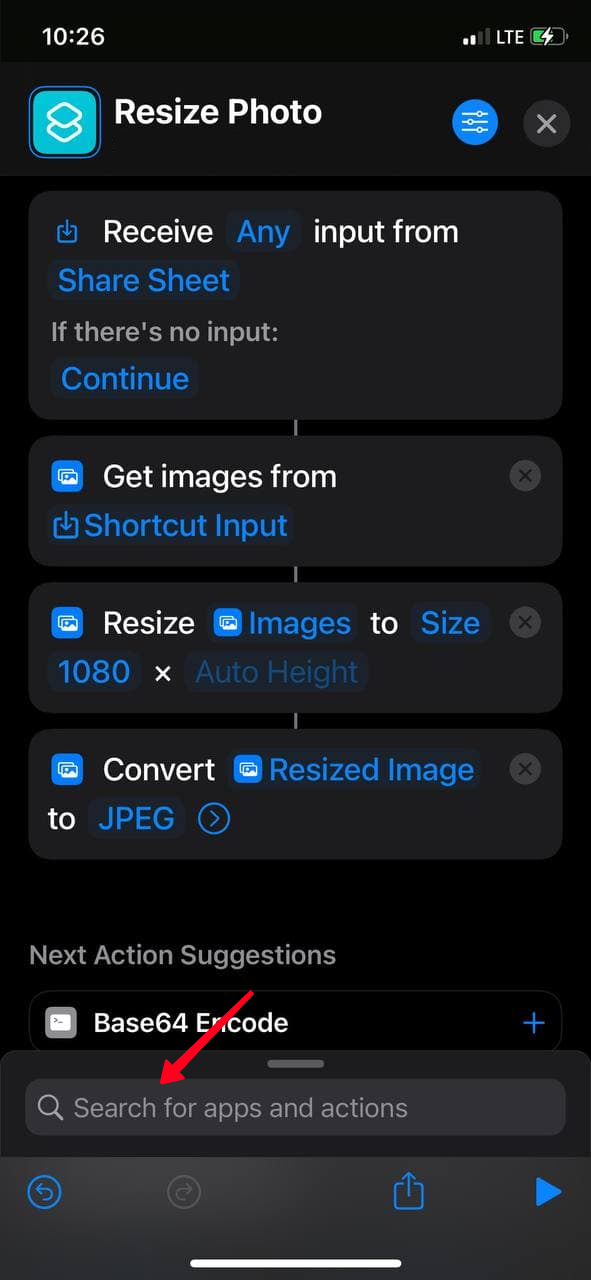
16. Next, tap the search bar again and type Convert Image.
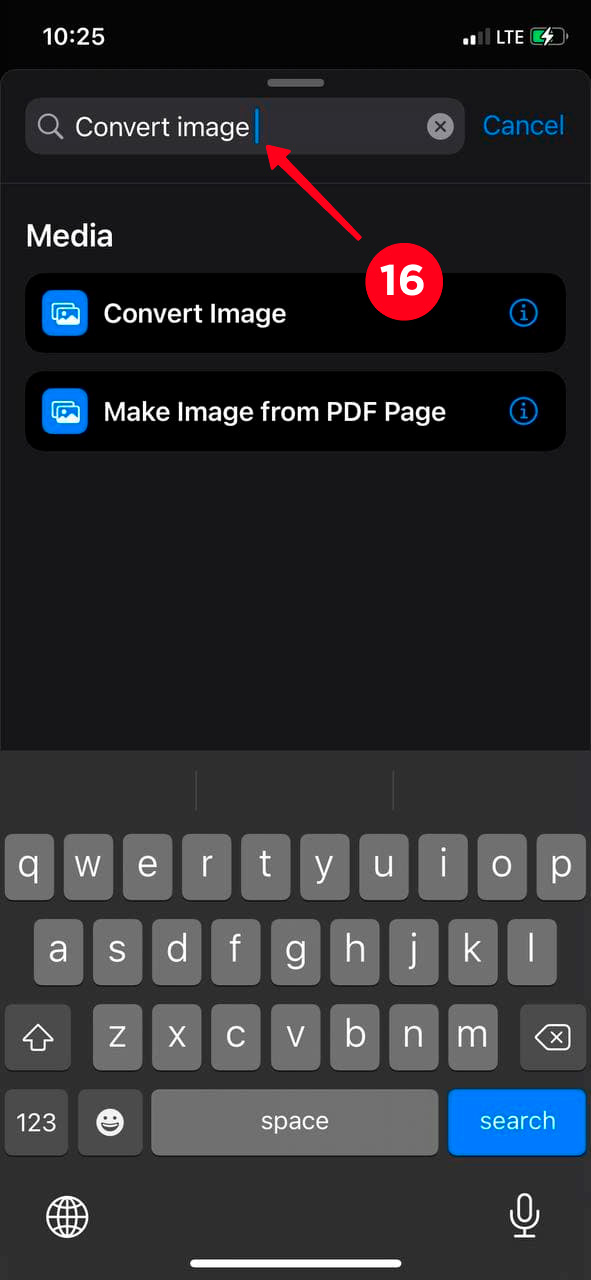
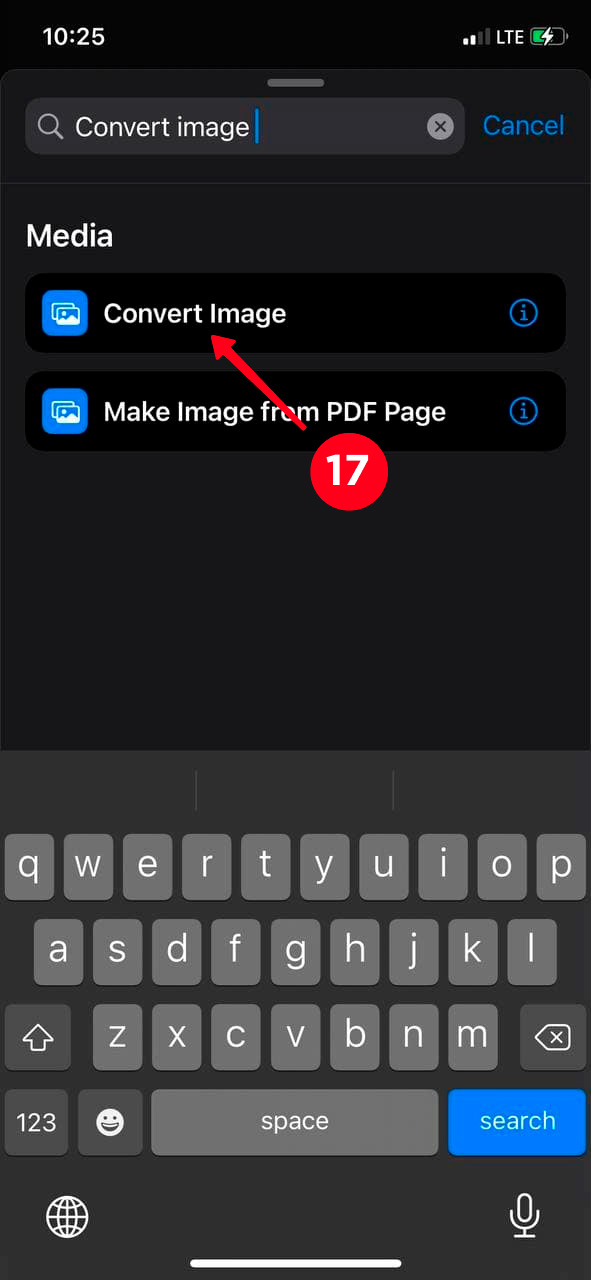
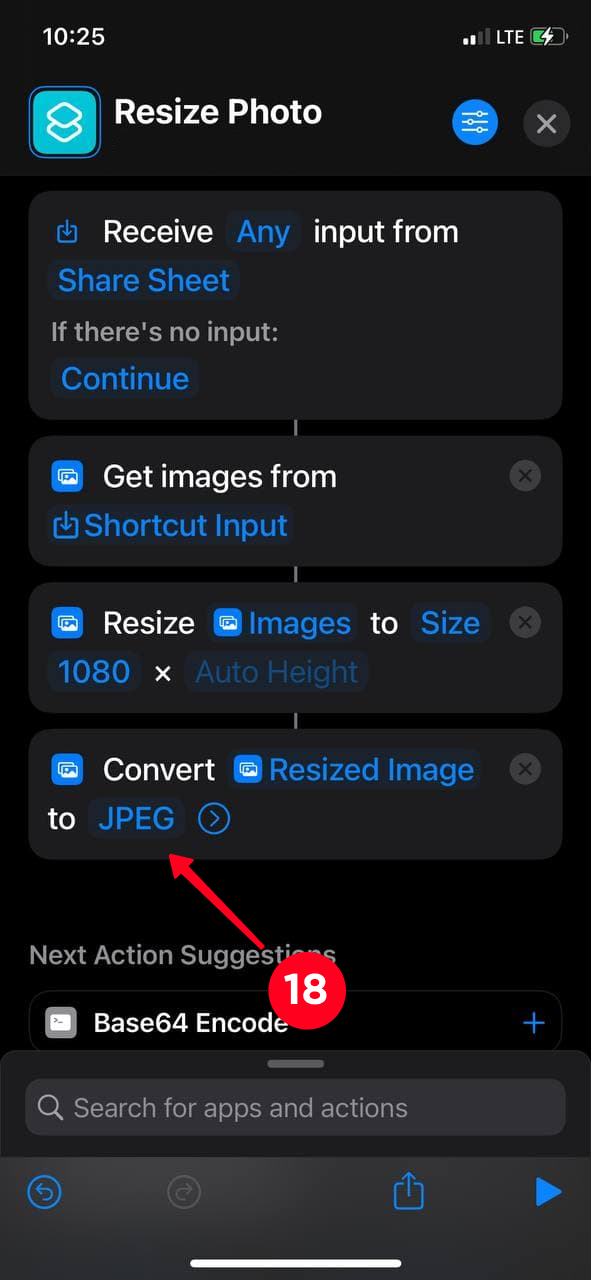
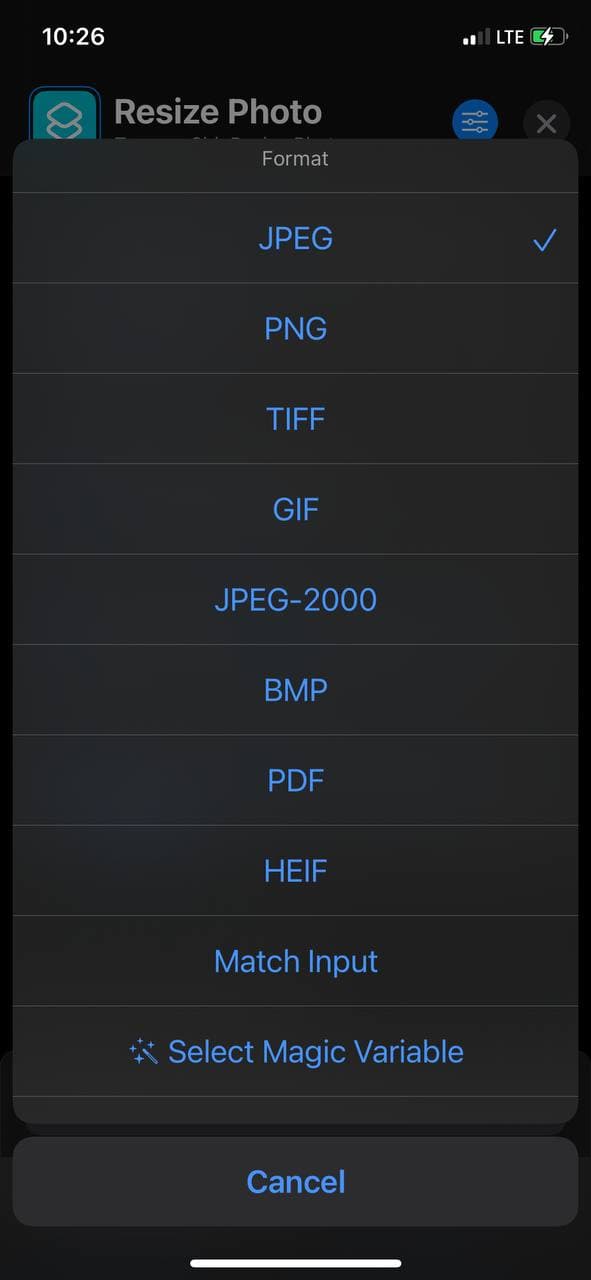
17. Choose the action. This step allows you to change the original format of the picture to any other.
18. If you want to get images in another format, tap JPEG to choose the appropriate one.
19. The last thing that you have to do is to add Save to Photo Album action. For that, tap the search bar one more time and type it there.

20. Hit the Shortcut action.

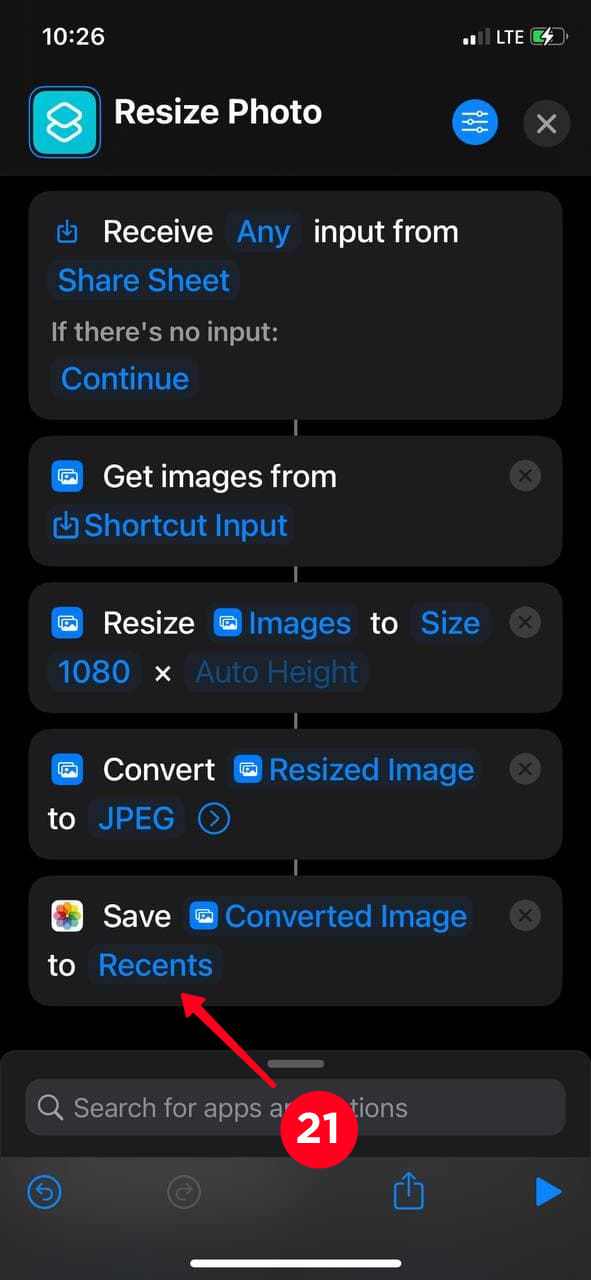
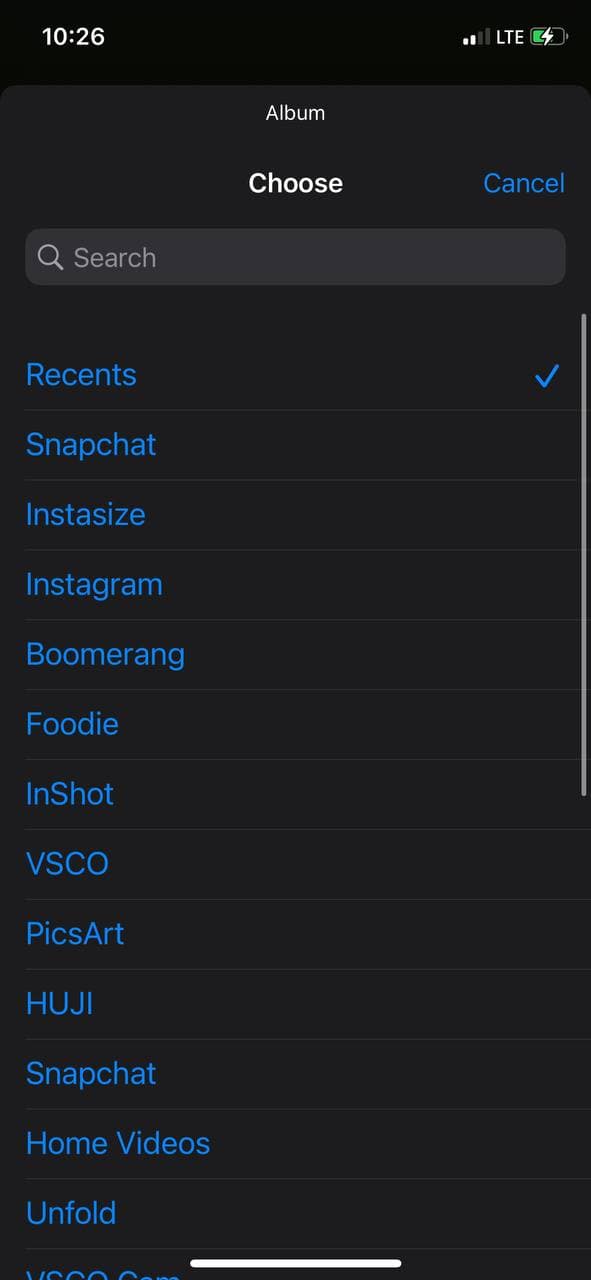
21. The resized image version will be saved in Camera Roll in Recents. If you want to save photos to a specific folder, you can select the appropriate one by tapping Recents.
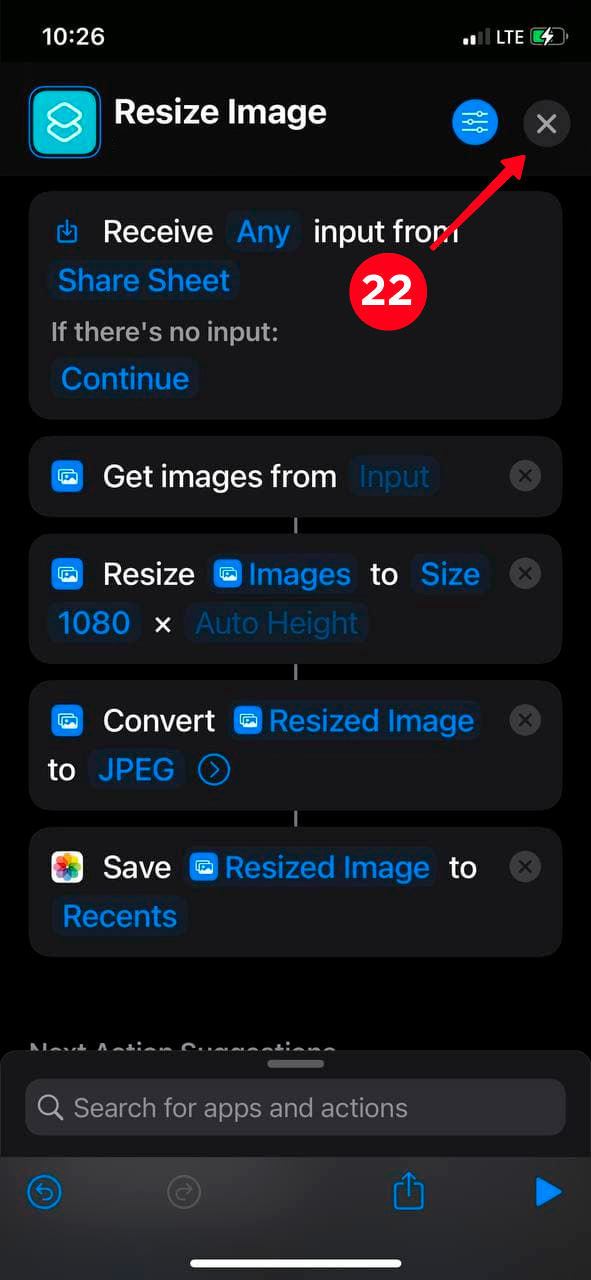
22. Tap the cross icon to save the shortcut.
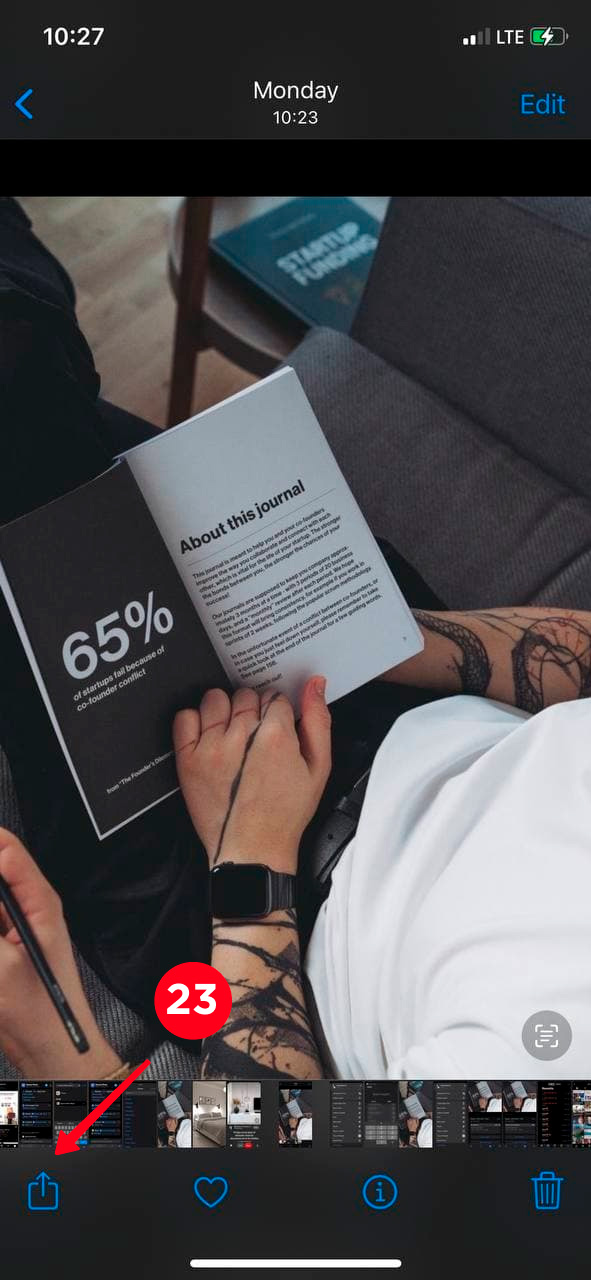
23. Let's check how Shortcut will work. Open any of your photos. Hit the share icon in the bottom left corner.
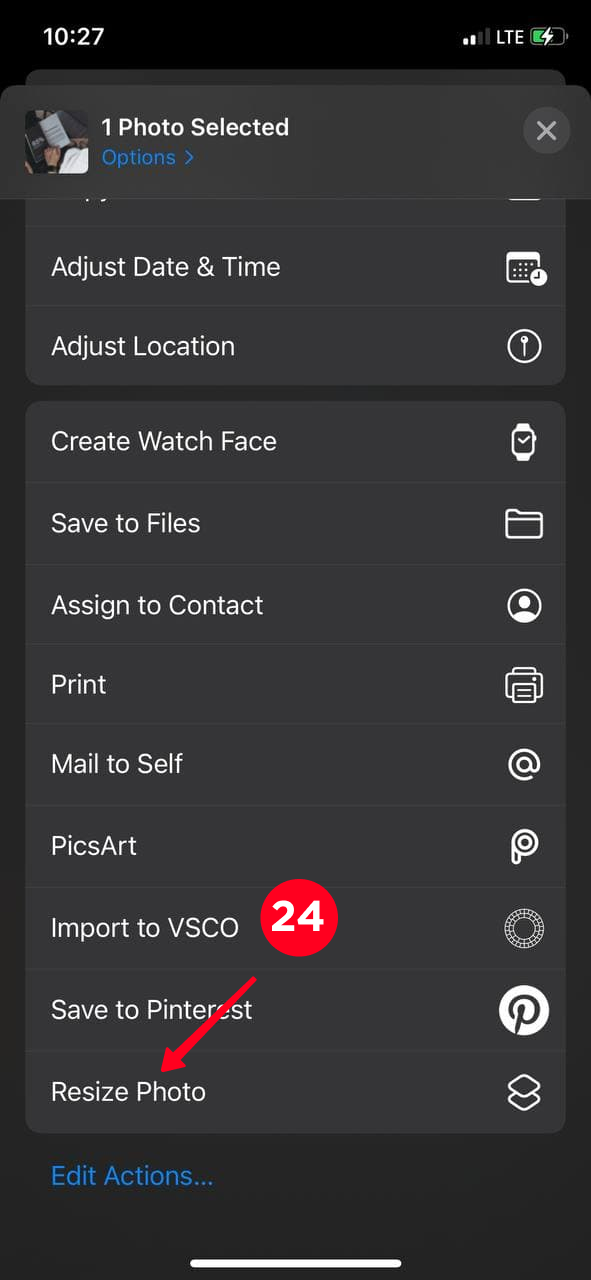
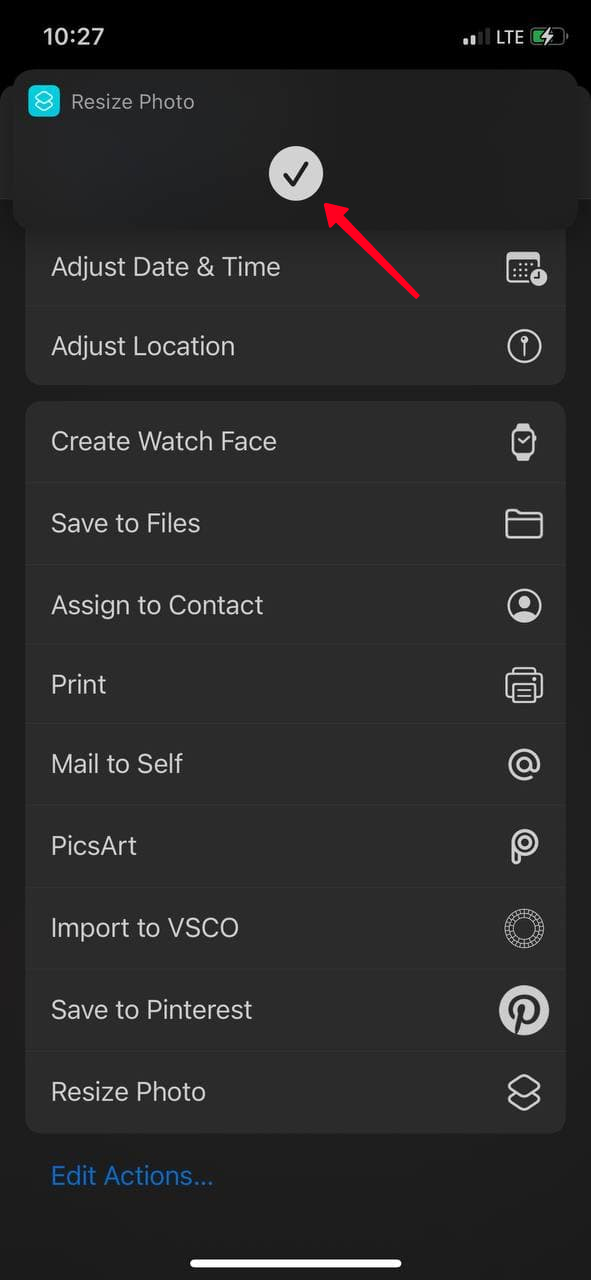
24. Scroll down till you see Resize Photo. Choose this button. When a resized photo is ready, you'll see a check mark in the top part of the screen.
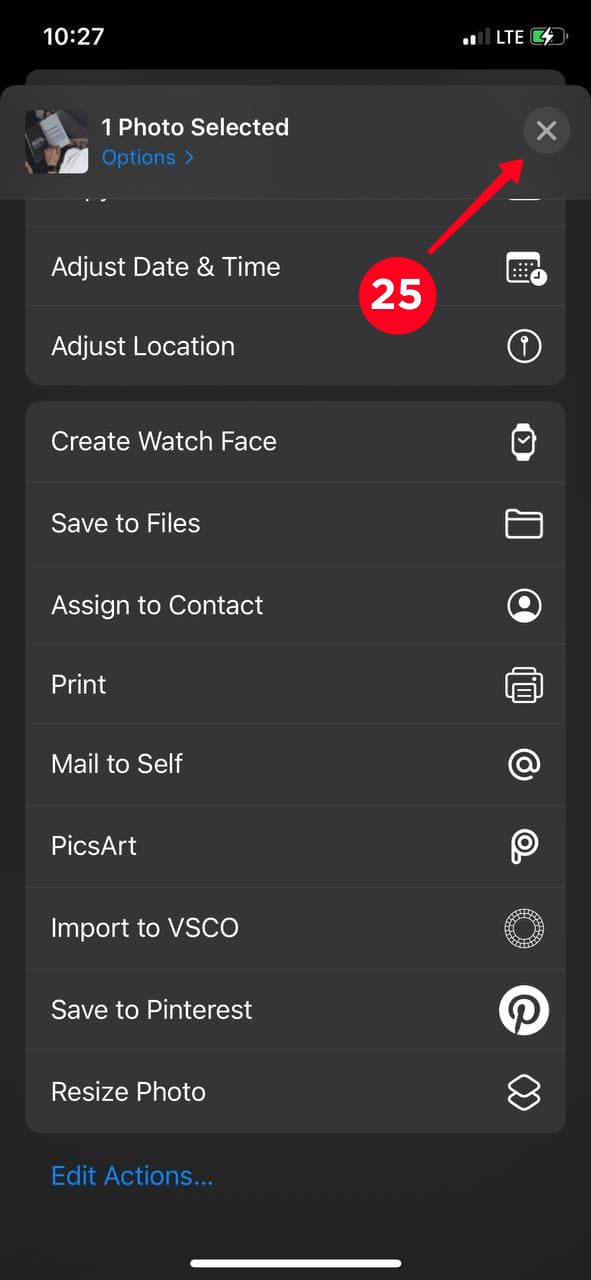
25. To exit the menu, tap the cross icon in the upper right corner.
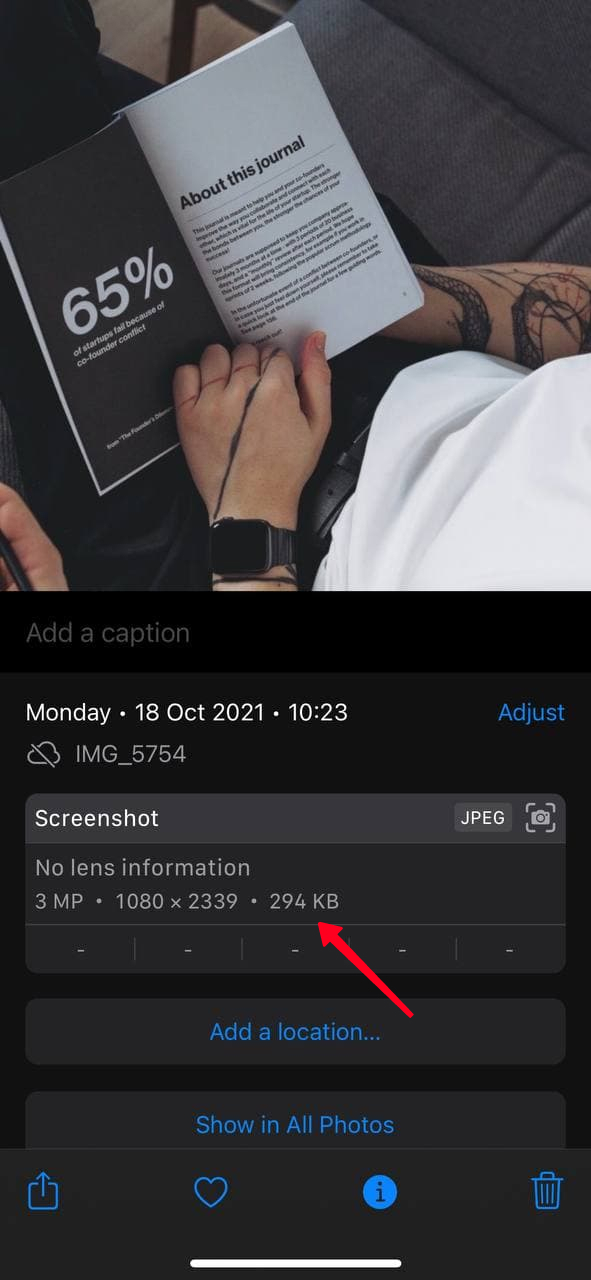
26. Done! The result is saved to Recents. Now, the picture in the reduced version weighs 246 KB. The original size was 6.3 MB.

You don't need to repeat all the steps every time to shrink or stretch the image on your iPhone. All that you have to do is tapping Resize Photo under the snapshot.
If resizing photos via Shortcuts seems too challenging to you, we suggest trying to reduce or enlarge the size on your iPhone using Mail.
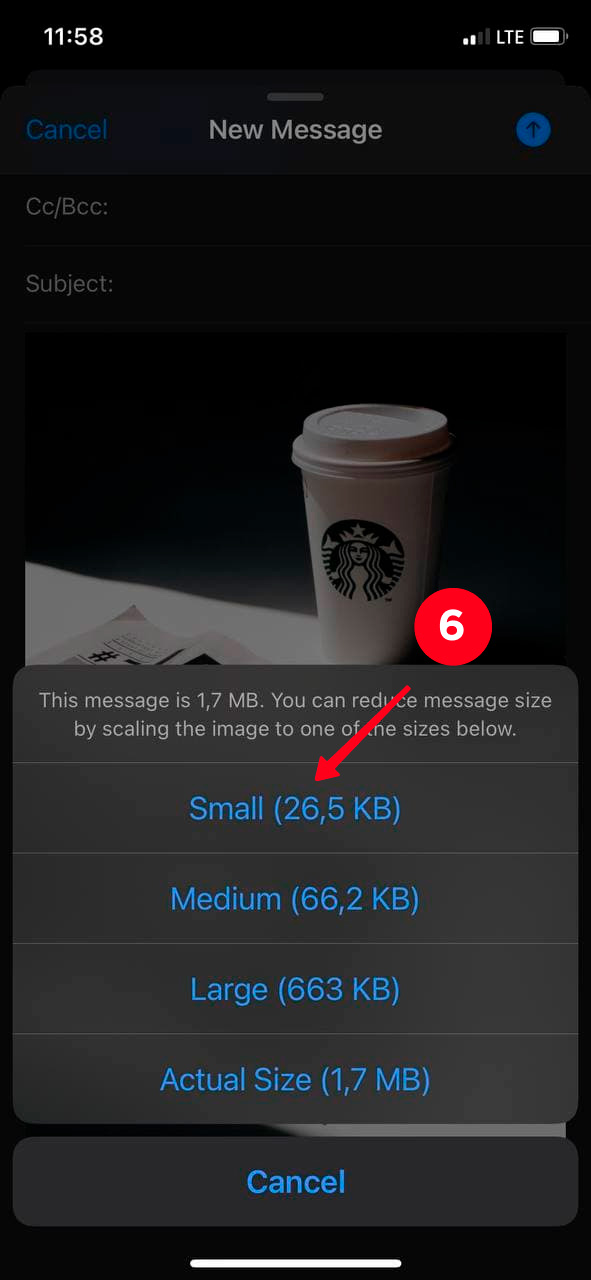
The advantage of this method is that you can immediately see the weight of the original image on your iPhone and that you can choose the weight to which it will be reduced. Mail will offer you 4 options for reducing the weight: small, medium, large or original. This method affects both the weight of the image and its resolution.
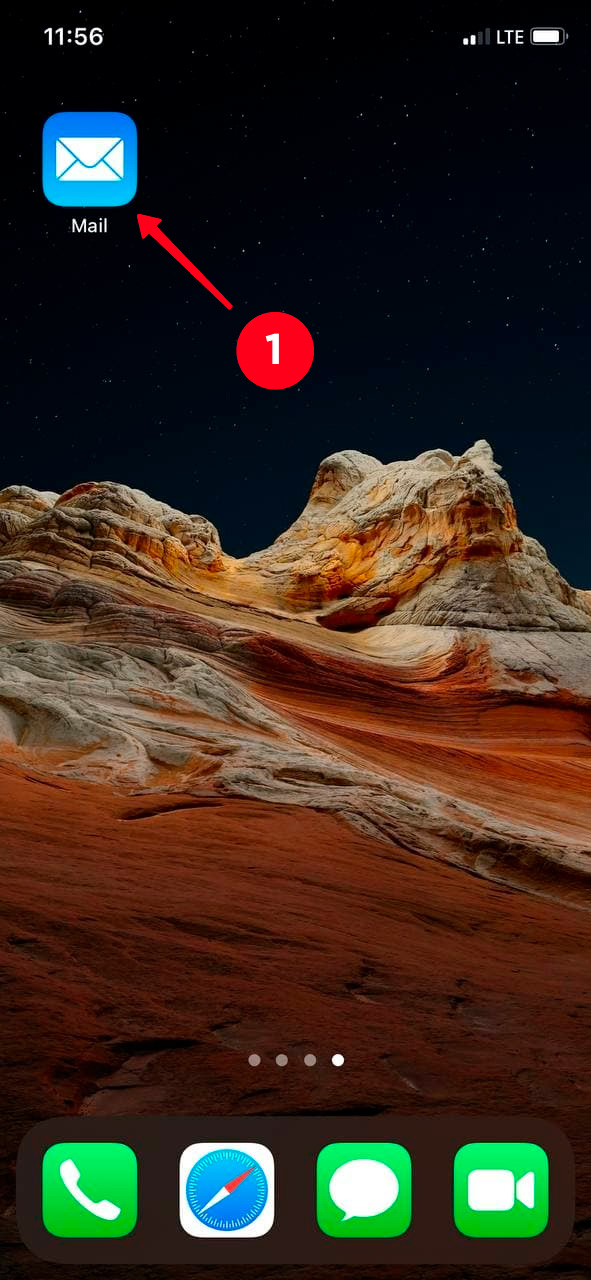
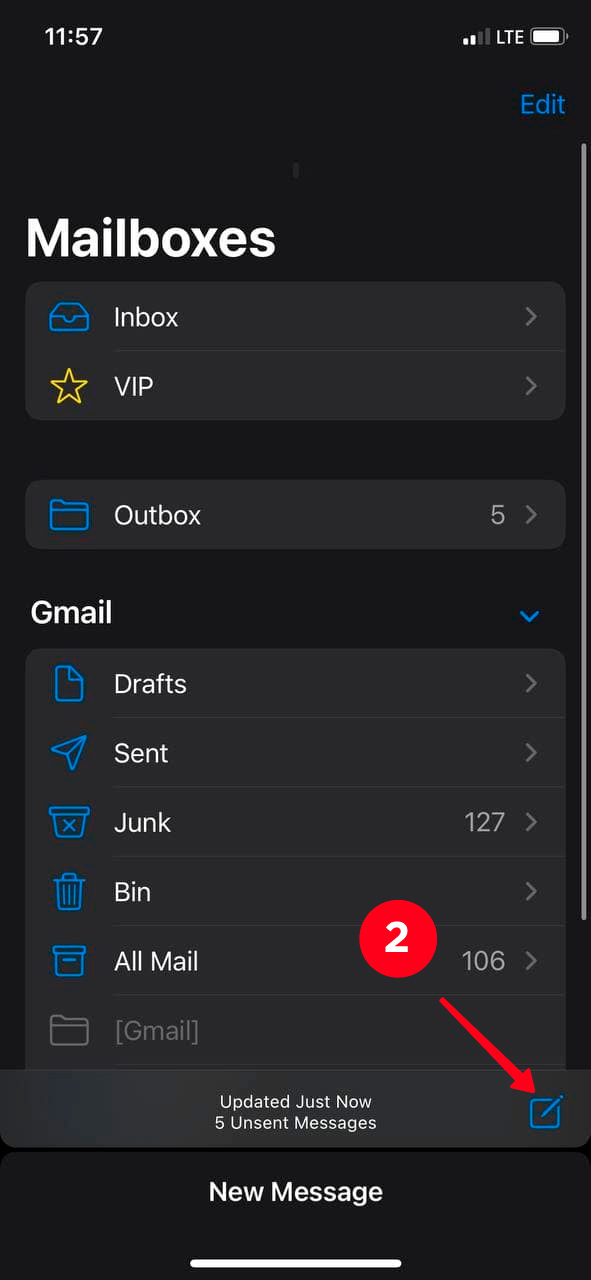
01. Open Mail.
02. Create a new message by tapping the icon with a pen and paper in the bottom right corner.
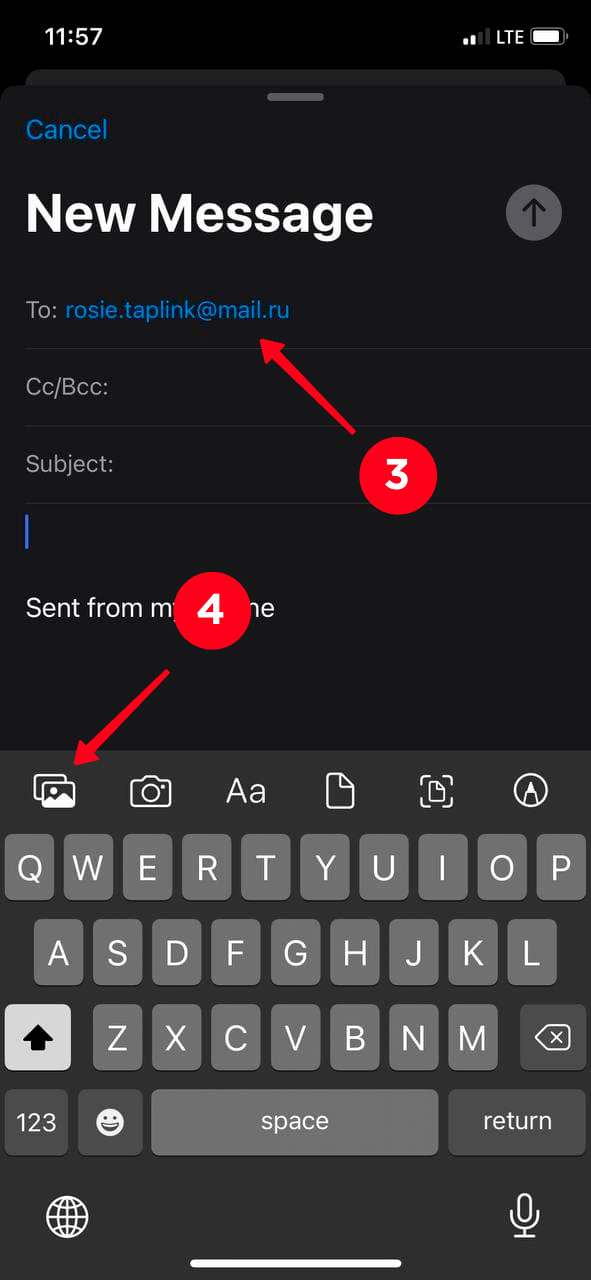
03. In the To field add an addressee. You can choose yourself or the person to whom you want to send the photo.
04. Hit the image icon to attach the file.
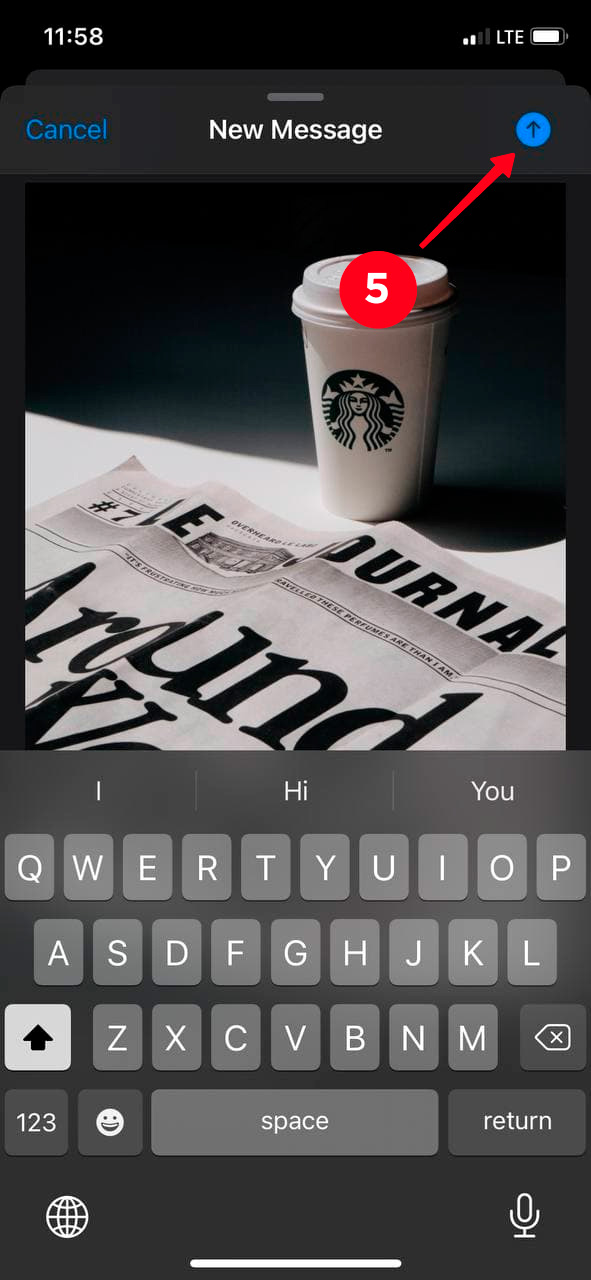
05. Tap the arrow icon in the upper right corner to send the message.
06. Select the size that's appropriate for you.
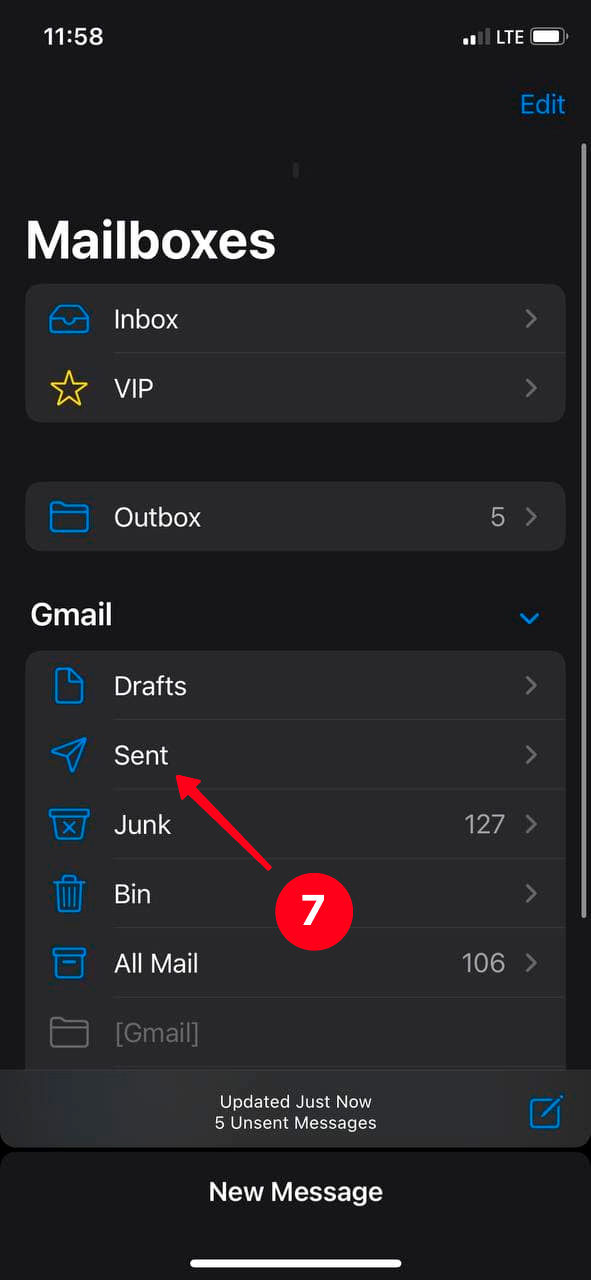
07. To save the sent photo to your phone, go to Sent and find the email with the picture.
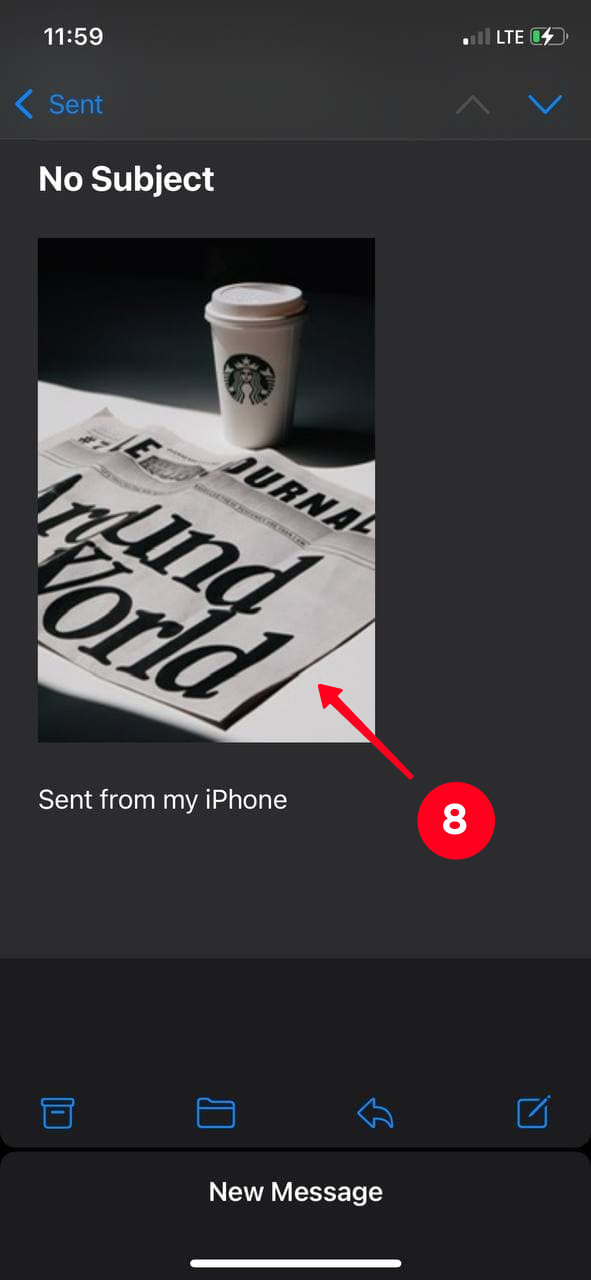
08. Tap the attached photo.
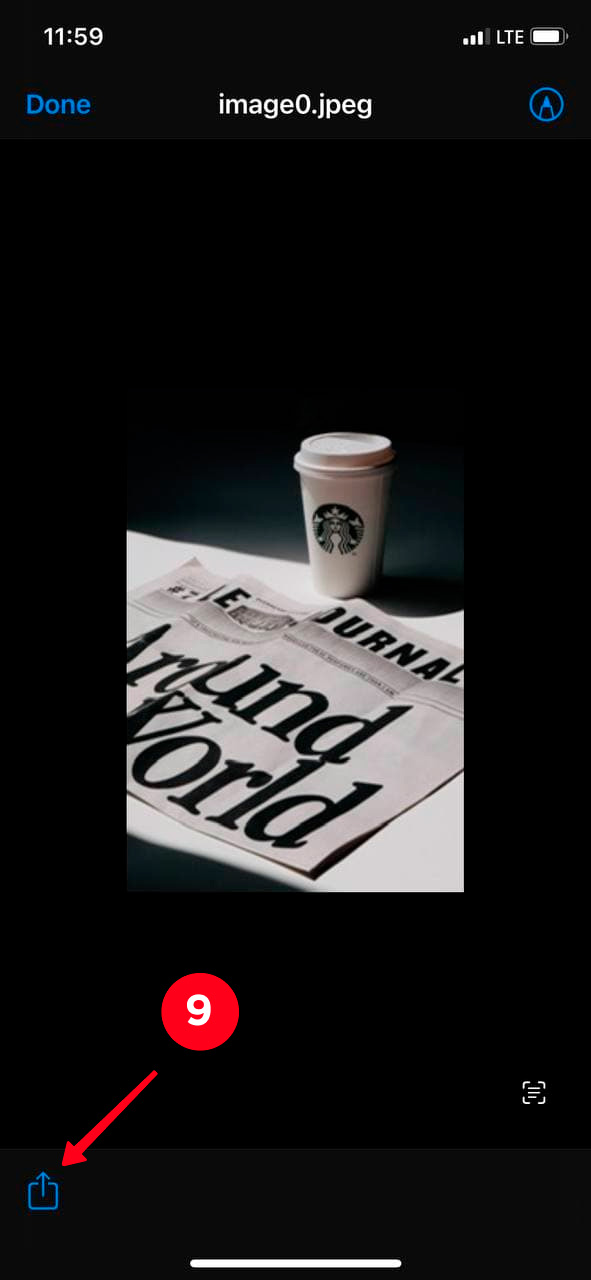
09. Hit the share icon.
10. Choose Save Image.
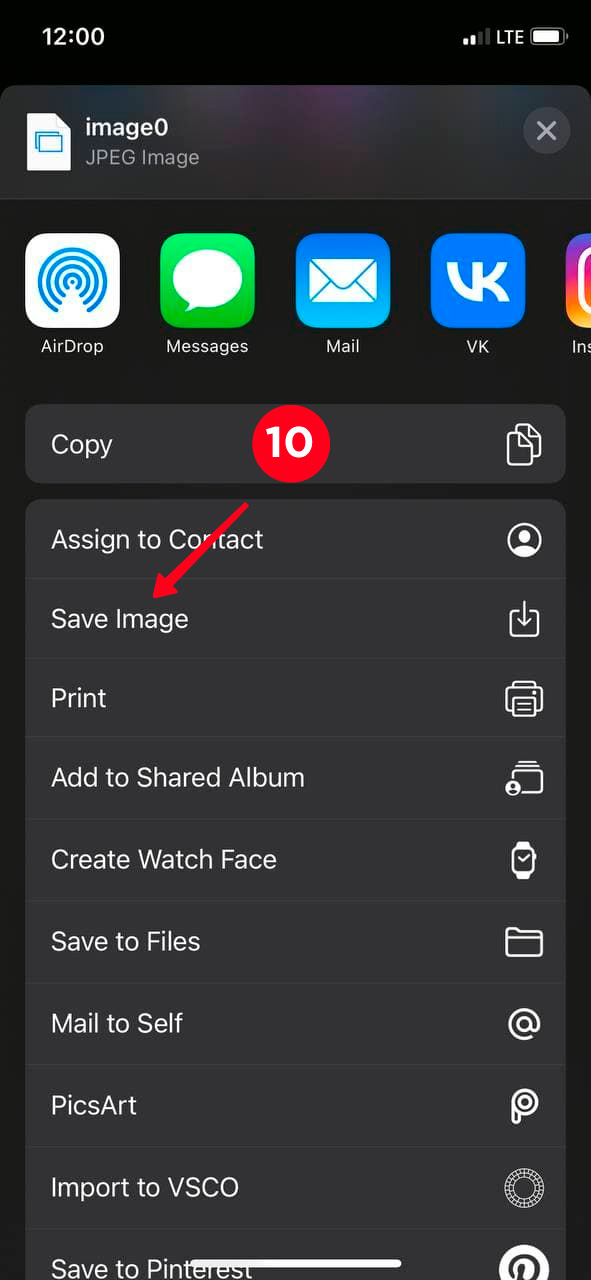
Thus, you will have two identical photos of different weights in your Camera Roll. If your goal is to free up memory in your iPhone, then don't forget to delete the original version.
It also happens that you don't like the way the photo looks. For example, it was taken too far from the object, or something got into the frame from the edge that spoils the picture. In this case, you can change the size of the photo by cropping it on your iPhone.
You can change the size of a photo using the built-in iPhone features.
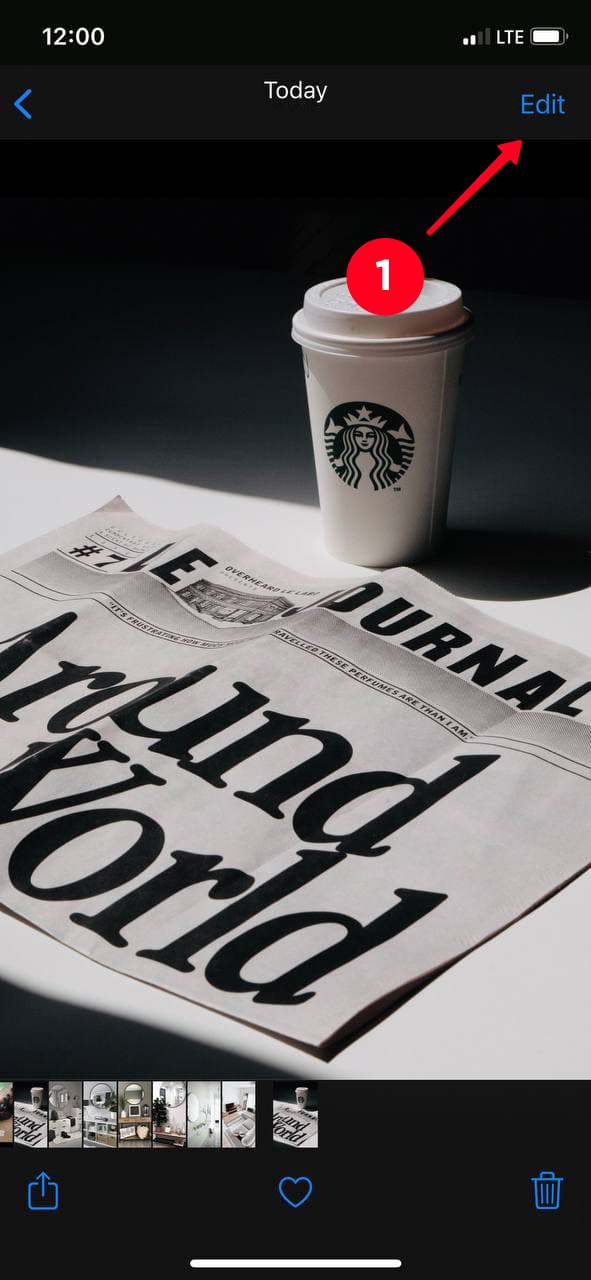
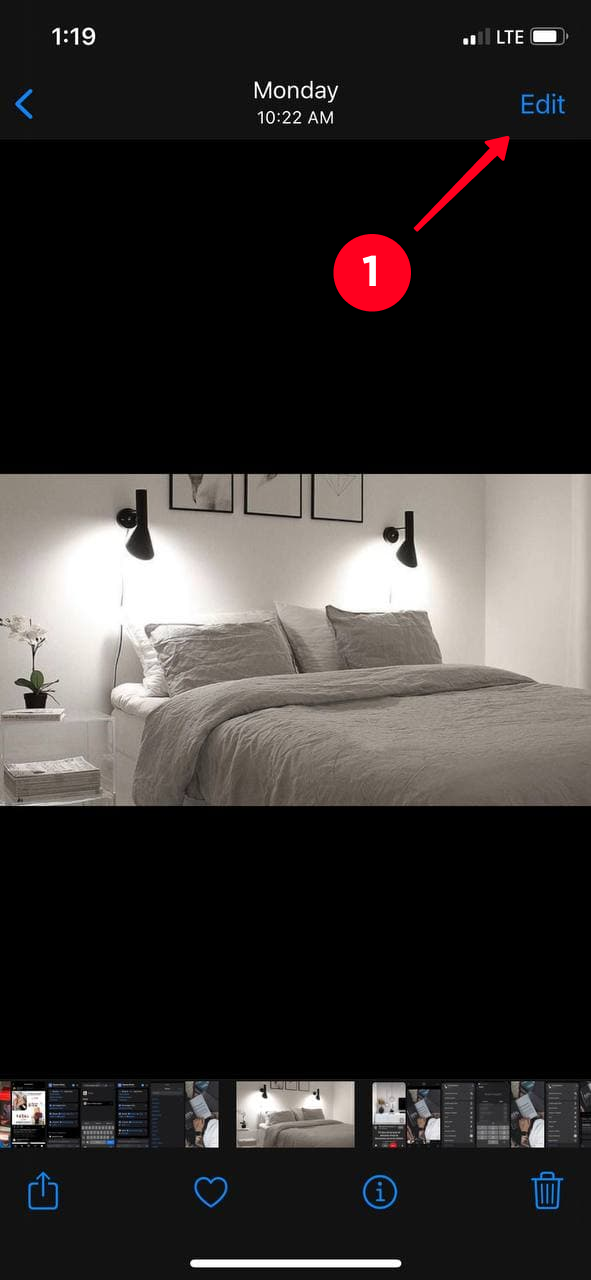
01. Open the gallery and select the photo you want to crop. Hit Edit.
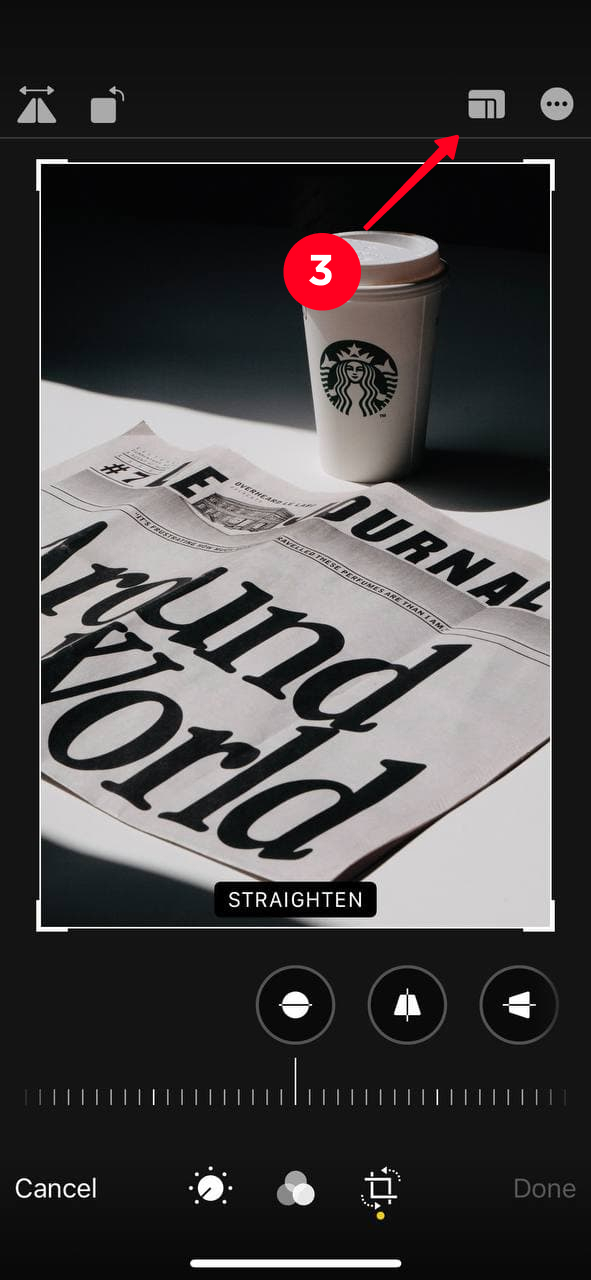
02. Tap the crop icon at the bottom of the screen.

03. At the top, select the icon with rectangles near the three dots.
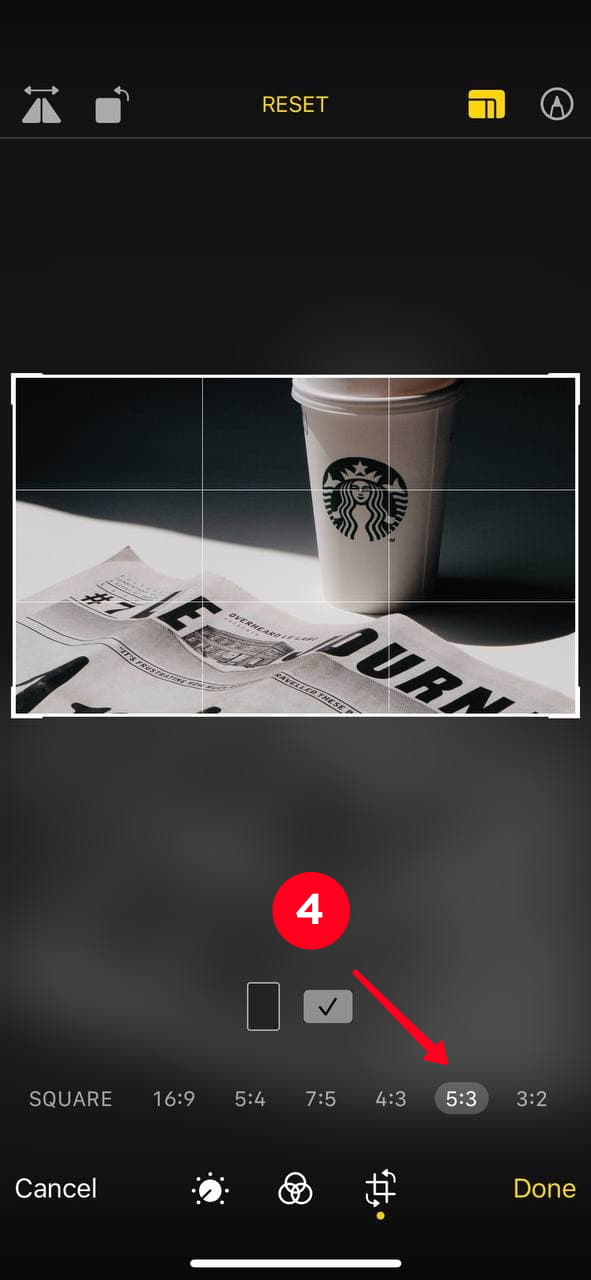
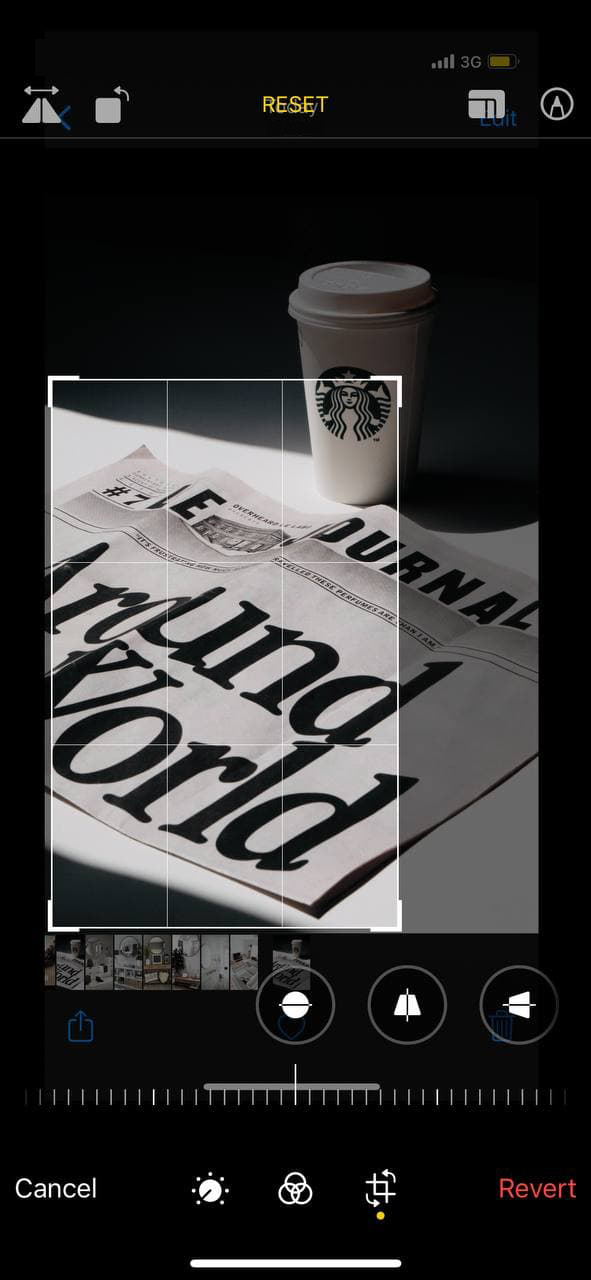
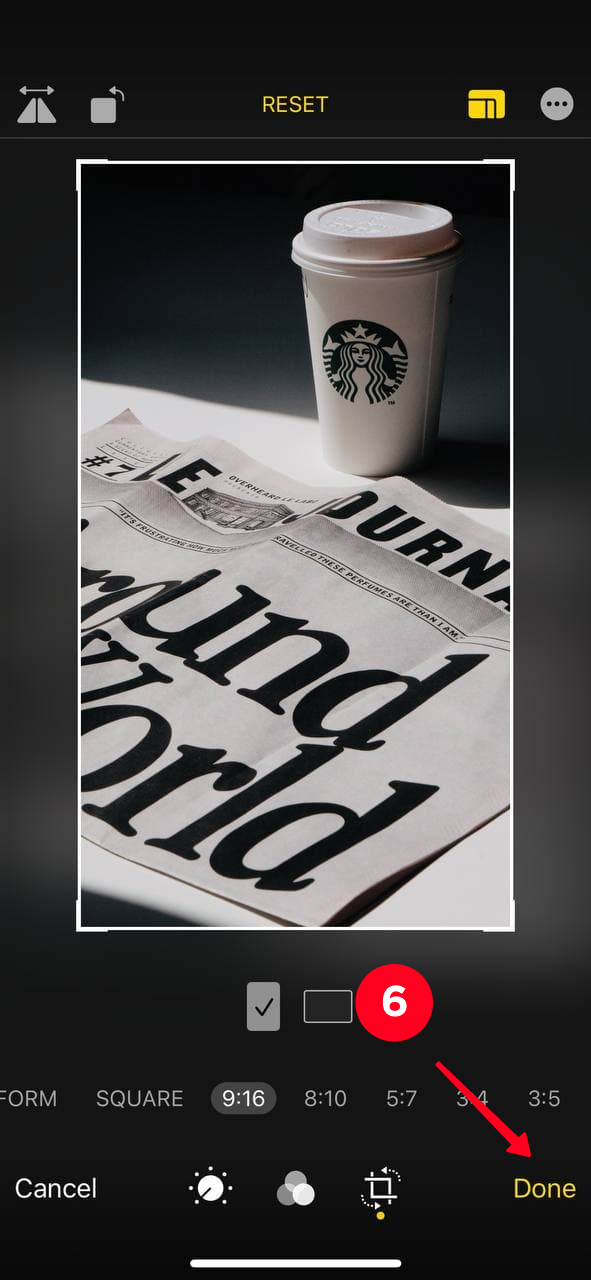
04. Select the aspect ratio. This will allow you to get a horizontal image from a vertical one and vice versa. At the bottom part of the screen, you can see combinations of numbers. The first number is the width. The second one is the height.
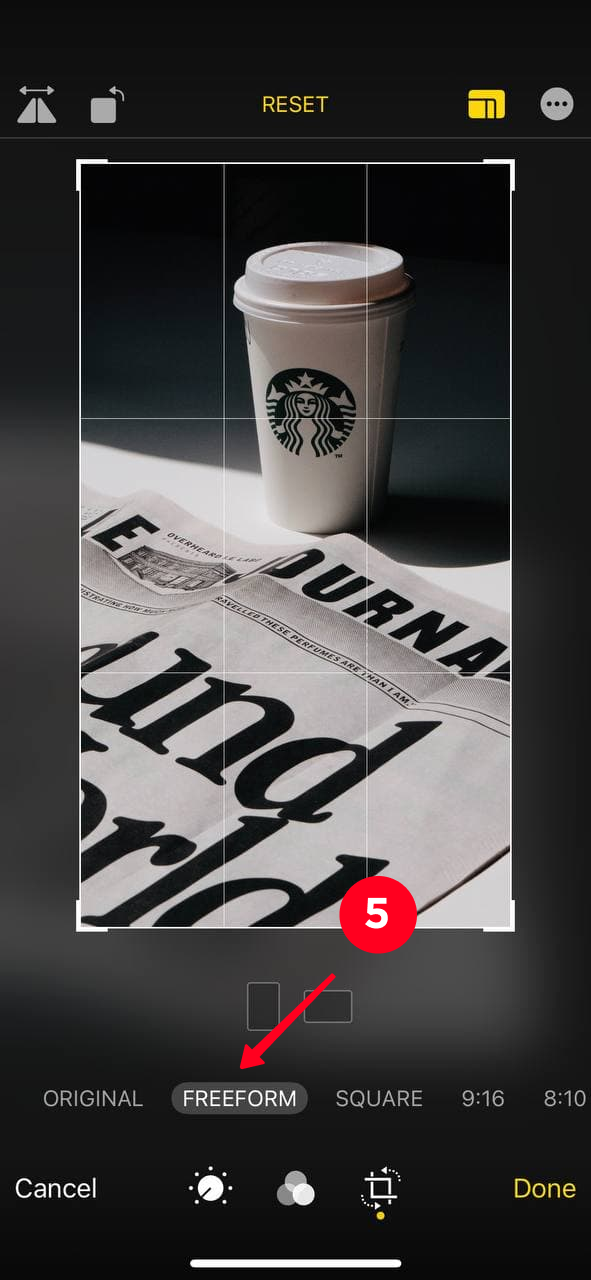
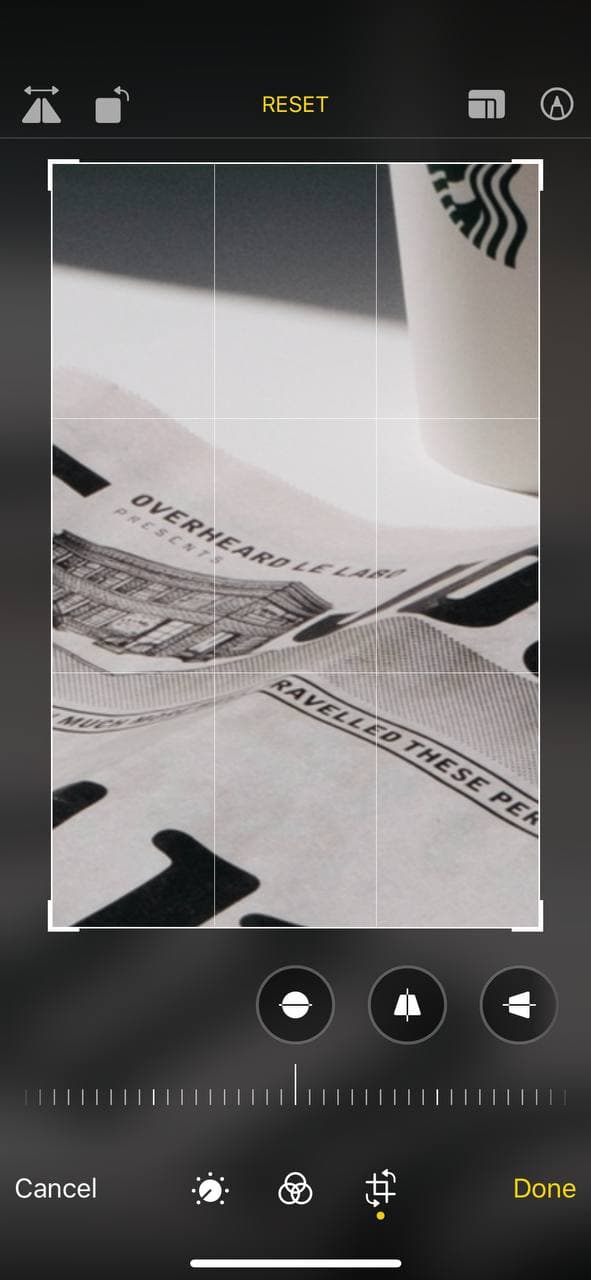
05. If you want to manually crop the photo, then choose Freeform. To crop a picture, you can make it by sliding the edges of the frame, or enlarge the picture by placing two fingers on the screen and bringing them together.
06. To save the result, hit Done.
It's important to know that the original parameters of the photo don't disappear anywhere after you resize, and you can always return to them on your iPhone.
If you want to shrink or enlarge the resized photo on your iPhone back:
- Go back to Settings and tap Edit.
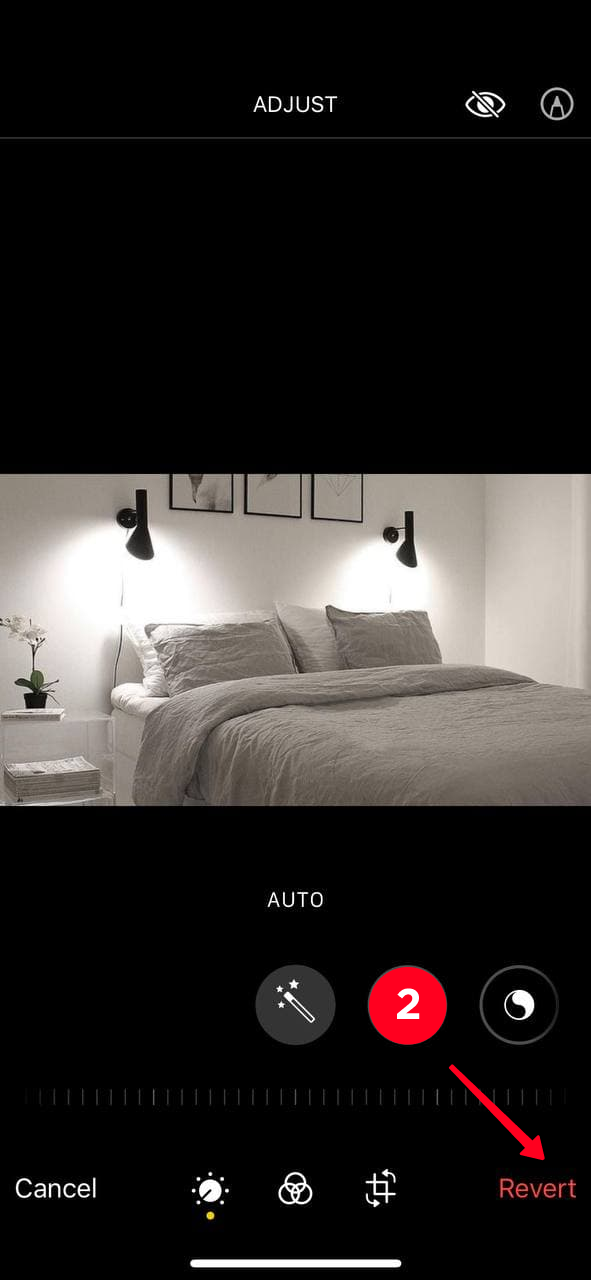
- In the lower right corner of the screen, hit Revert.
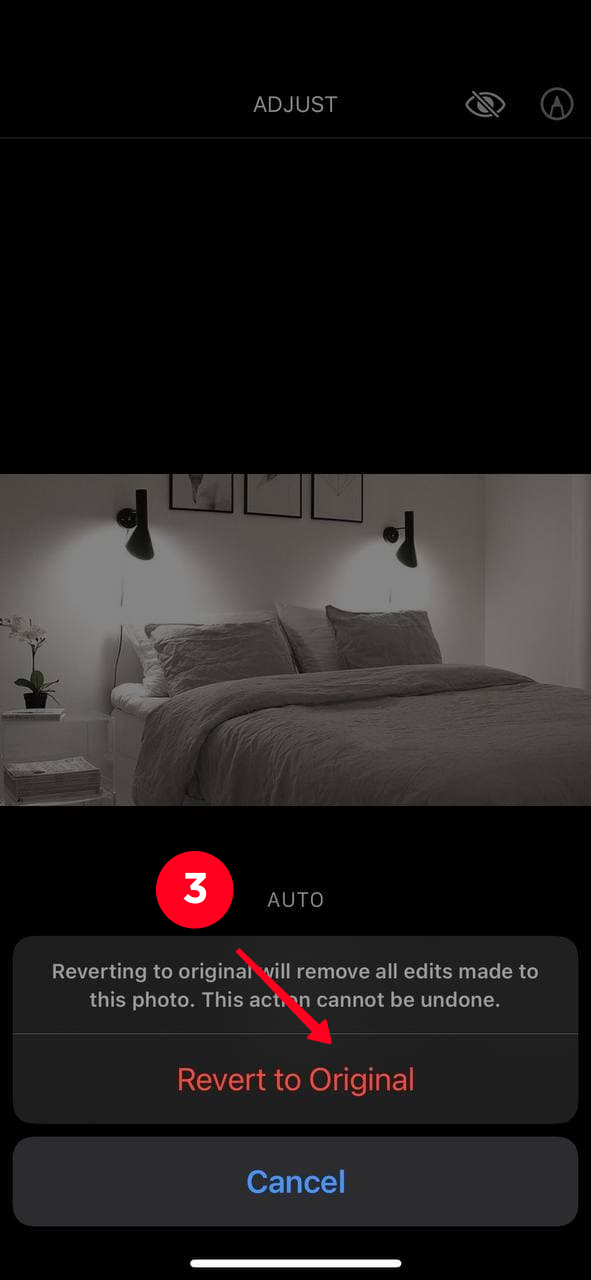
- Confirm Revert to Original.
If the purpose of resizing was to improve the picture with your iPhone, and cropping didn't help you in this, then try to edit your photos for Instagram these ways: add filters and work with the colors of the picture.
The release of the iOS 15 made it much easier to find out the size of a photo on iPhones. Previously, you had to create a Shortcut. Now you can do it in a couple of steps.
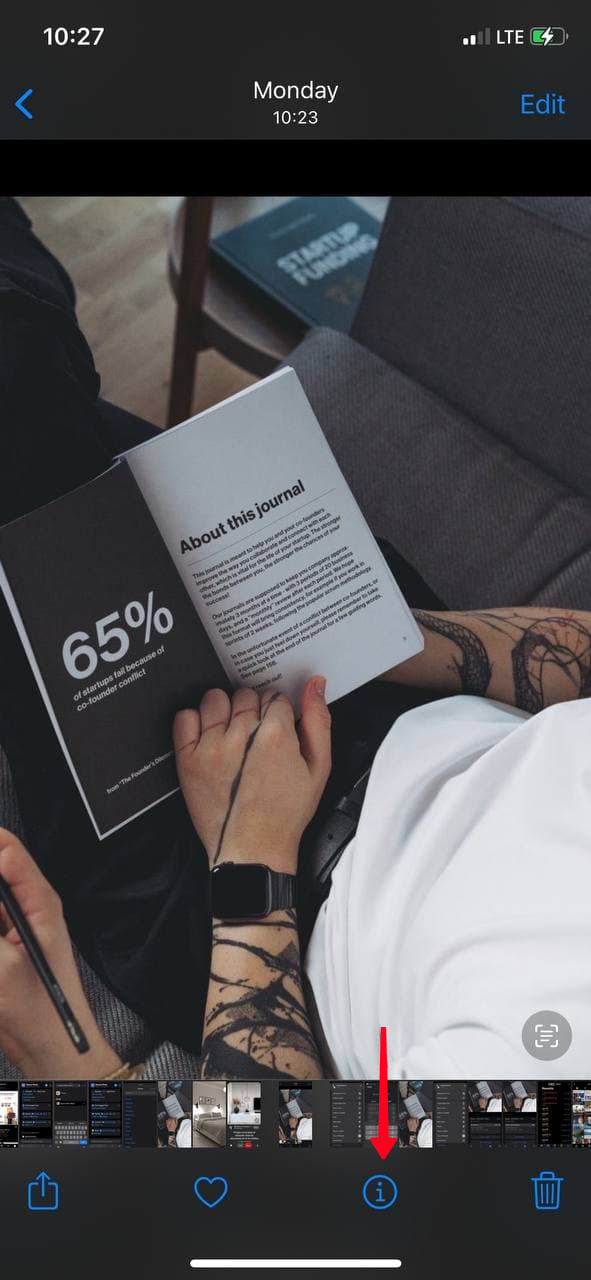
- Open Camera Roll and select the photo or video.
- At the bottom of the screen, tap on the information icon.
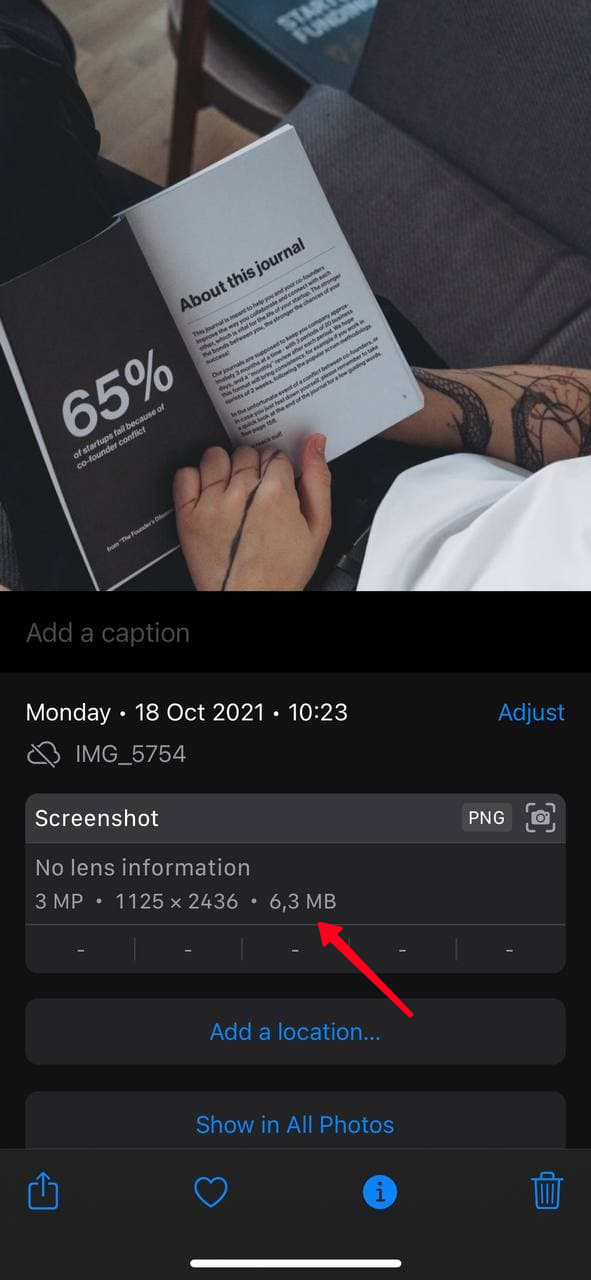
Done! Here you will see the weight of the file, its resolution, format, and file source.
You can easily upload pictures in reduced weight and resolution from your iPhone to Instagram or to your website. If you don't have the second one, then create a landing page on the Taplink in just a few minutes. What is its advantage over the site?
- Landing pages are perfectly displayed on mobile devices.
- They load instantly due to the optimized page code.
- You don't need to be a programmer or a designer.
When you upload a photo for a banner or a carousel of images to a landing page, you don't need to bother cropping the pictures. Taplink will compress and optimize the images itself. Start your acquaintance with the Taplink from the main page.
Now that you know the tricks of using the iPhone's capabilities, the problem of overflowing memory or the inability to upload a picture to Instagram will no longer bother you. Shortcuts makes resizing on iPhones easy. You can reduce or enlarge the size of a photo without downloading third-party applications.
The quality of photos is important on Instagram. That's why you need to keep it high. And with the tools from this article it is possible without overloading your phone memory. There are more social networks where visuals are the priority. You may gain more followers and likes on each of these networks if you link your accounts on them. Read how to: