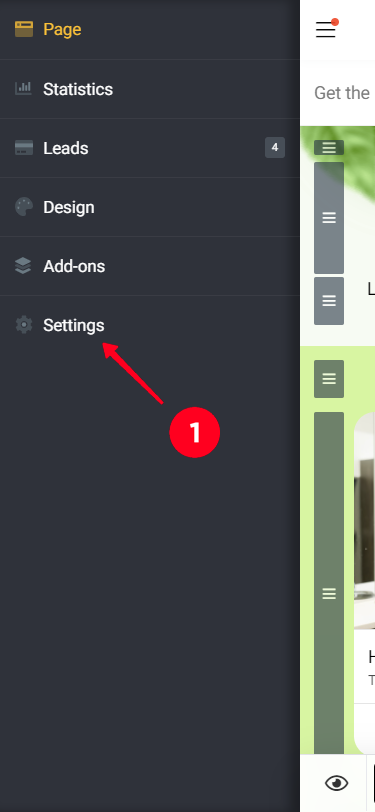
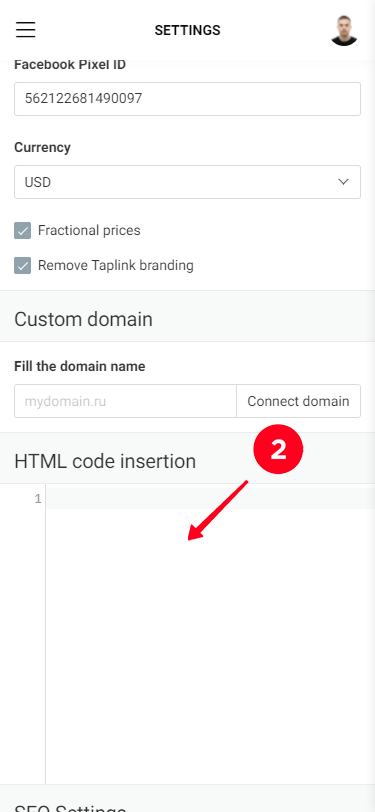
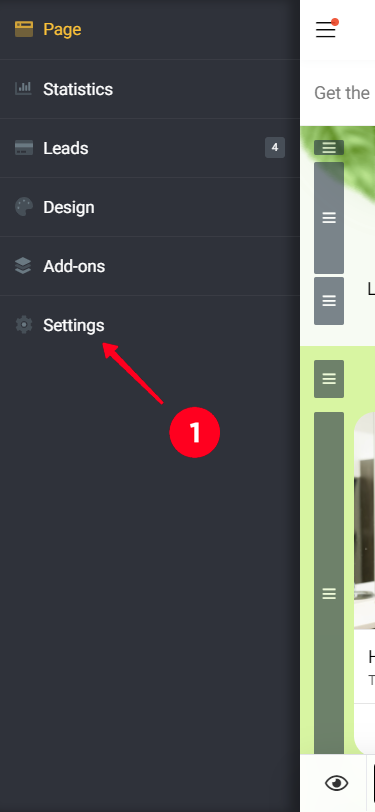
To install Pixel on your Taplink page, you need to add the necessary code in Settings - General - HTML code, then click "Save".Keep in mind that when working from the built-in browser of the Instagram app, people are not authorized in social networks, which reduces the effectiveness of the pixels.


To add a Facebook Pixel, you don't need to insert a code, just enter its ID.
Facebook Pixel allows you to track people who visit your page and therefore launch targeted Facebook advertising campaigns.
How do I install Facebook Pixel on my Taplink page?
To install a Pixel on the Taplink page, you need to specify its ID in Settings - General.


Note, you don't need to install the code of the Pixel itself in Taplink, the system generates it automatically based on the ID data. When you create a Pixel in Facebook, you need to specify the url of your Taplink home page (https://taplink.cc/YOUR_NICKNAME) as the site address.
Taplink is already set up to send events to Facebook whenever you click on links (messengers, social networks).
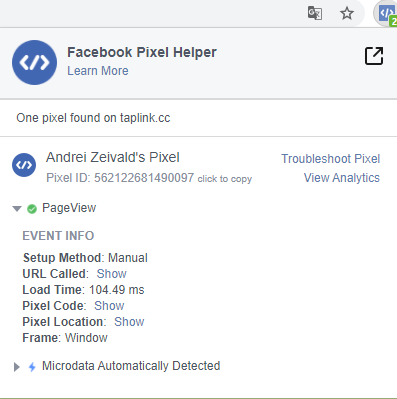
Pixel can be tested using Facebook's tools. You can learn more about this in their help system and related materials. The main checker is the Facebook Pixel Helper, a special browser extension. It displays both your Pixel ID and recorded event data.

How do I process Pixel data on Facebook?
Taplink is set up to give Pixel data about all events. Each Taplink item has its own events.
Click the buttons on your Taplink from different devices. Go to Facebook and look at the stats. You should see events that you need to handle with Facebook. All Taplink events are prefixed with Taplink, followed by a block designation (e.g. "link" - link) and its part. The events also have custom_param, which allows you to further refine the object.
For example, you have a link that leads to http://udsgame.com/download. When setting up the conversion, select taplink:link, and in custom_param specify http://udsgame.com/download (or a unique fragment of that URL).
We recommend using the Facebook Pixel Helper browser extension (for Google Chrome) to check if the pixel is working. This is the official Facebook extension that shows the presence of the pixel (and its ID) on the page (of any site) and keeps track of the events it generates.
Information about the events collected by Facebook Pixel is displayed in Events Manager.
Facebook Pixel transmits all button press events.
PageView - Taplink page view
taplink:link - click on the "Link" block with the link to the site
taplink:email - click on the "Link" block with "Write email" function
taplink:phone - click on the "Link" block with the "Call" function
taplink:page - click on the "Link" block with the transition to the internal page
taplink:messengers - a transition to messengers (any, through the block "Messengers"). If you want to track transitions in a specific messenger - you need to select the corresponding event in this subgroup. For example, for Whatsapp - taplink:messengers:whatsapp.
taplink:socialnetworks - transition to social networks (any, through the "Social networks" block), if you want to track transitions to a particular social network - you need to select the corresponding event from this subgroup. For example for VKontakte
taplink:pictures - transition from "Carousel of pictures".
Taplink:market - transition to the "store" (goods).
In the store, we send standard e-commerce events to Facebook. When you add an item the AddToCart event, when you start checkout the InitiateCheckout event, when you go to pay the Lead event.
After a successful payment (any, "Form and Payments" or "Goods") the Paid event is generated
The conversion is created by creating a "Custom conversion" in Facebook for the Taplink event you want.
You can see the events that are sent to FB and their parameters through "Test Events".
For example, to create a conversion by clicking on the Whatsapp button, we take the "taplink:messengers:whatsapp" event and do not create any more rules for it, because the target traffic is already there.
Filling out forms can be tracked by viewing the thank you page.
Conversion "Lead" by clicking on the go button in any messenger (taplink:messengers event, without separating into messenger types)
Conversion of the "Lead" by clicking on the switch button to WhatsApp messenger (taplink:messengers:whatsapp event)
Conversion of the "Lead" by pressing the switch button to WhatsApp messenger with a certain number (taplink:messengers:whatsapp event + custom_param with the required number)
To turn on animation for links, go to the "Settings" tab of this block, turn on the "Animation", then switch and select an appropriate effect.
The design settings can be found on the "Design" tab in your account
On the basic (free) rate, you can choose one of the standard page themes.
The design theme is selected on the Design page.
Press the "Preview" button to switch to the page design preview mode and use the arrow buttons to browse through the selected theme design options. Press the "Select" button to choose the design you like.
A paid plan (PRO or BUSINESS) is required for custom Taplink design. You can customize the design on the Design page of your personal account.
You can choose any standard design theme from the Simple, Advanced, and Animation tabs as the initial design theme. Click on the "Edit" button to make changes to it. Your personalized design theme options are available on the My Designs page. You can create several variants of your design and make changes to them at any time.
Go to the Design - My Designs, click the + button on the empty design theme image, confirm the new design and make any adjustments you want.
To delete your own design theme, go to "Design" - "My Designs", click on the desired theme, and then click the trash can button.
To customize the button design, switch to the Design theme editing mode ("Design" -> "Edit" button for the desired design theme) and specify the necessary parameters in the Link section.
You can set fonts and colors in the button captions, button transparency, rounding and link style (centered text or left-aligned with an arrow). After making all the edits, click "Save".
To make transparent buttons, go to the theme editing mode and set the necessary parameters in the "Link" section
To create a button in colors different from those set in the design theme, you need to enable "Custom design settings" on the "Settings" tab of this block and set the background colors / caption.
To create transparent buttons you need:
1. Turn on transparency for buttons in the settings of the design theme (transparent buttons are created only in this way).
2. Activate "Custom design settings" in the settings of the buttons that are to be background-filled.
It is necessary to choose a design style other than "Application icons".
If you enter your own color codes - don't make sure that the # before the color code is specified.