How to create a QR code menu

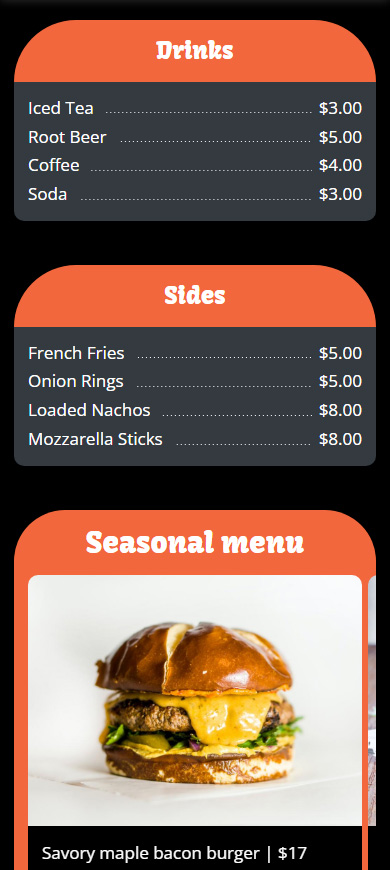
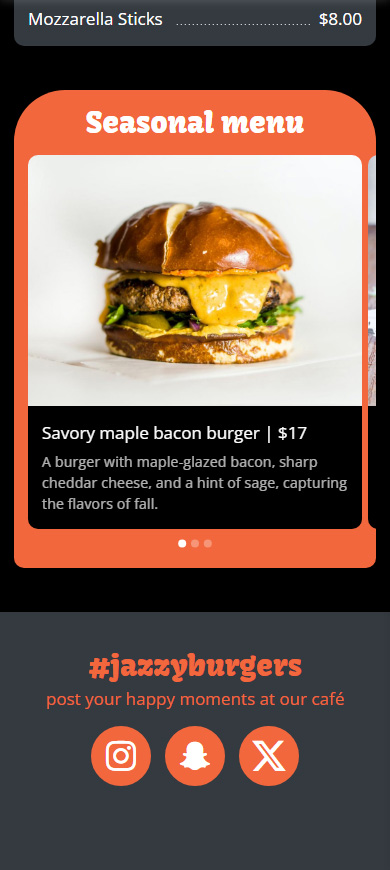
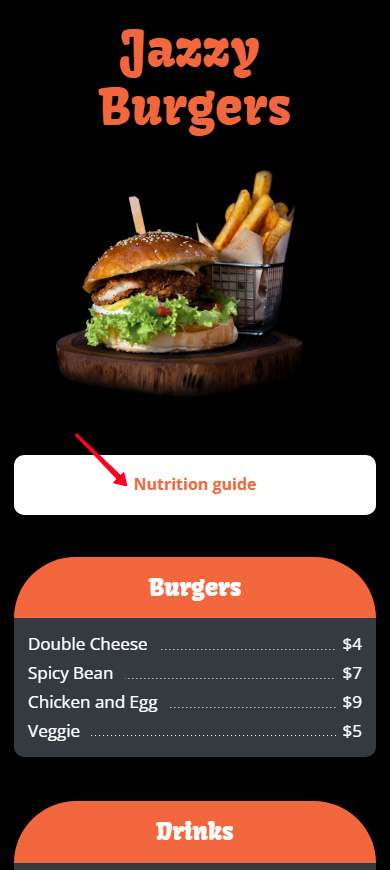
A QR code menu is a digital menu for your place. Guests only need to scan the printed code to view the list of the served snacks, dishes, drinks, etc. This is what it looks like:
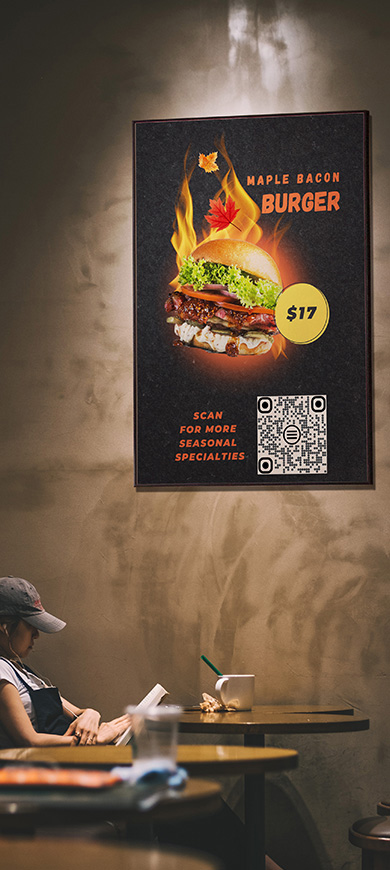
Follow the link to view the full menu page made for a QR code.
The QR code menu has many advantages over a physical menu, such as:
- Economy. You don't have to pay designers and spend money on printing.
- Sustainability. You do not spend paper for printing menus, and thus you save trees.
- Safety. Visitors and staff do not touch printed pages, so they do not leave bacteria, germs, and viruses on the pages and do not pick them up.
- Efficiency. Visitors can view the menu right after they take seats without waiting for the staff to bring the menu. This reduces the overall time guests occupy seats before new guests can take them.
- Productivity. The waiters have more time for other work besides running around with the menus.
Now let's look at how to create the QR code menu that is the best for your place. We explain how to make the QR code menu shown above as an example.
There are two ways to create a QR code menu for your restaurant, cafeteria, bar, etc. You can create a QR code for a menu that is:
- a PDF or image. This way to create a QR code menu is behind the times, but it's still a way. You create a PDF file or an image for your menu and upload it to some online storage. The disadvantage of this way is that every time you need to edit the menu, you have to ask a designer for it. What's more, you have to upload the edited menu file to online storage and get a new QR code for it.
- a web page. This is a progressive and simple way to create a QR code menu that's good for everyone. You get a page on Taplink and place the menu items' names, prices, and images on it. At any time, you can edit the menu yourself in a user-friendly interface. And you won't need a new QR code after this. The same QR code will lead to the updated menu.
We recommend that you create a QR code menu which is a web page. Directing your guests to a web page is the better option for any place you run — a restaurant, café, bar, etc. Compare for yourself:
| PDF or image | Web page |
| Editing the menu requires hiring designers. | Editing the menu is simple. You can change menu items, their prices, and images in a couple of clicks by yourself. |
| Edited menu requires a new QR code. You have to print new banners, leaflets, etc. with the new QR code, and hang, distribute them, etc. | Edited menu is opened after scanning the same old QR code. No need to print new banners, flyers, etc. |
Design a web page on Taplink to create your QR code menu. Below you can find detailed instructions.
First of all, sign up on Taplink to create a QR code menu.
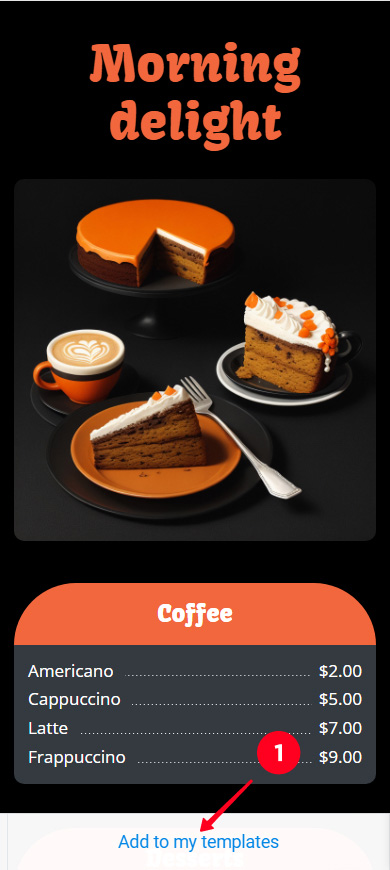
Choose a template to create a menu page with a QR code quickly. We use a template with a menu to show an example, you can use the same template, just tap this link and then:
01. Tap Add to my templates.
02. Tap the template.
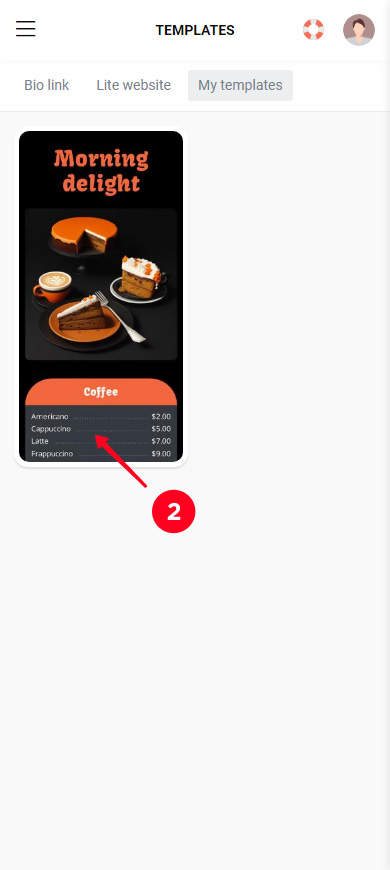
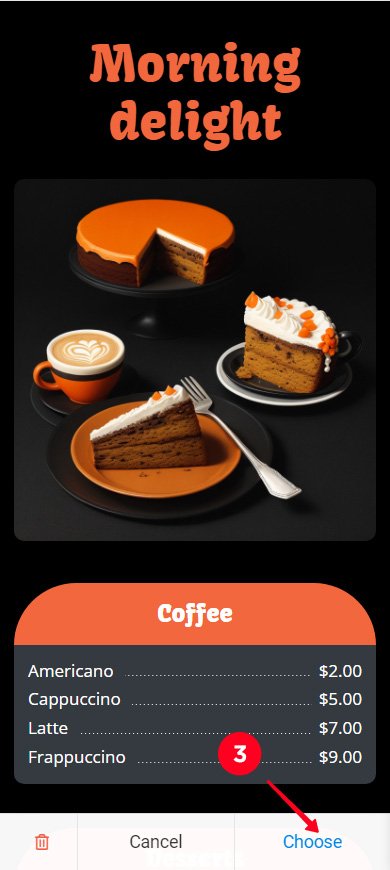
03. Tap Choose.
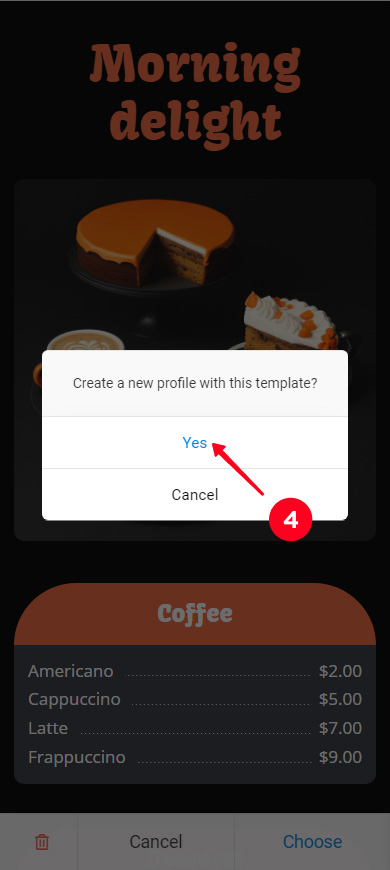
04. Tap Yes.
On Taplink, you can create a QR code menu using other templates, as well as create your custom design from scratch.
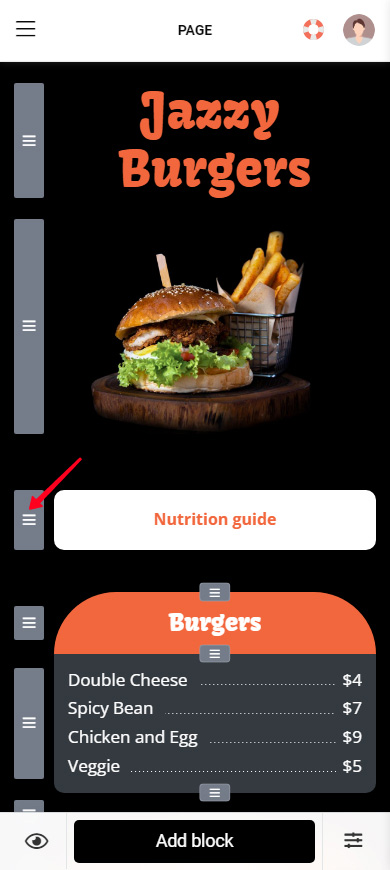
A Taplink page consists of blocks. A menu is added with the Price list block. The template that we use to create a QR code menu already contains such blocks. You only need to edit them — add the names and prices of your menu items.
Note, some blocks on Taplink are only available on a paid plan. You can upgrade your plan here.
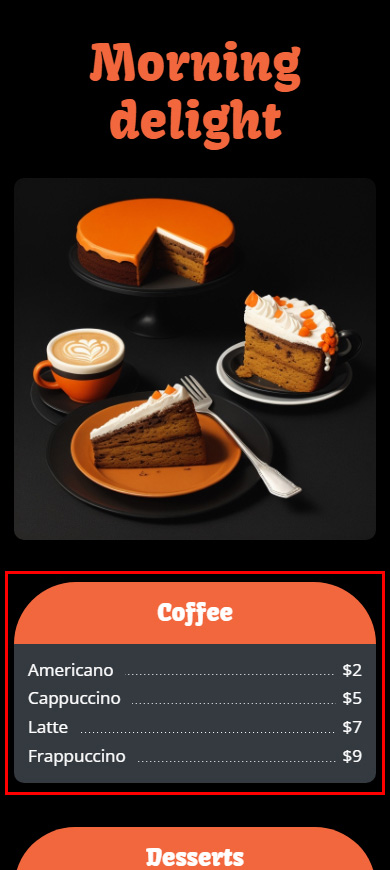
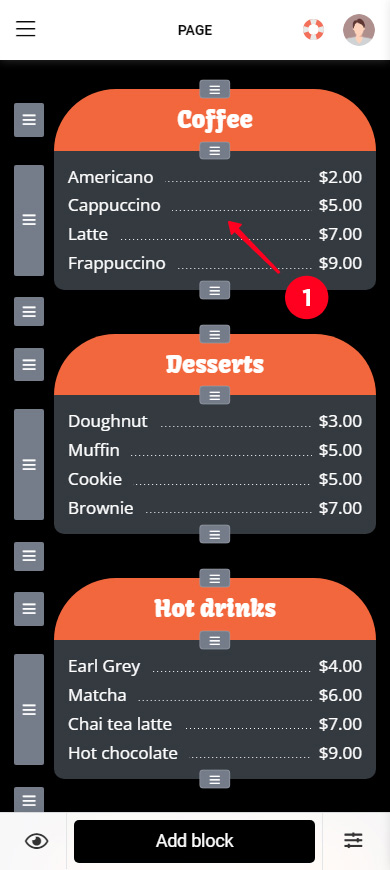
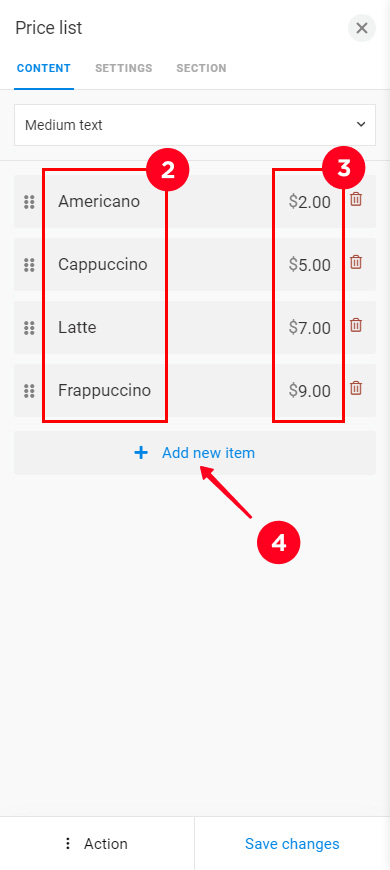
Edit the blocks that have already been added to your page:
- Tap a block.
- Replace the added menu items with yours.
- Specify the prices.
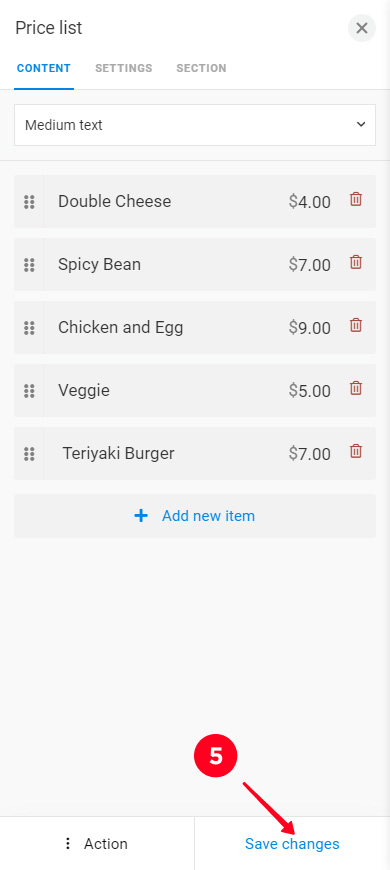
- If you need to add more menu items, tap + Add new item and repeat steps 2–3.
- Tap Save changes.
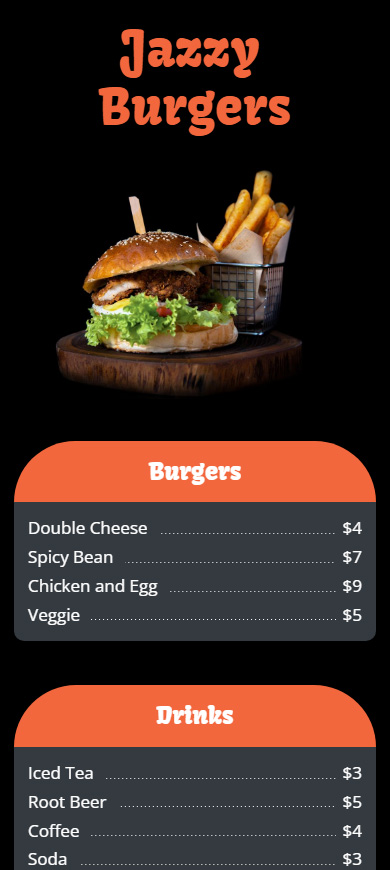
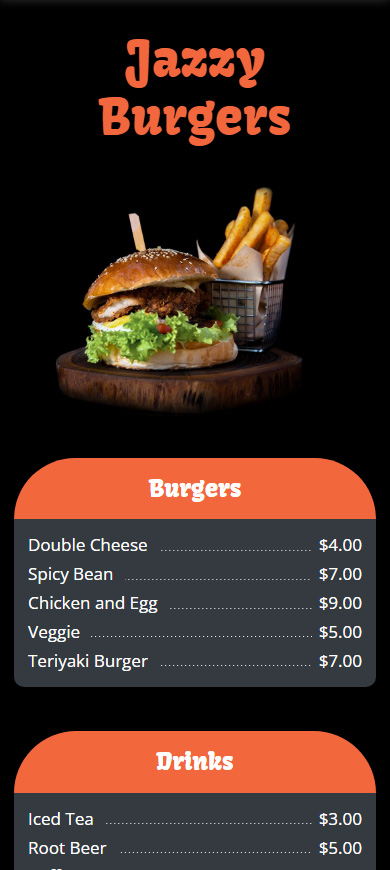
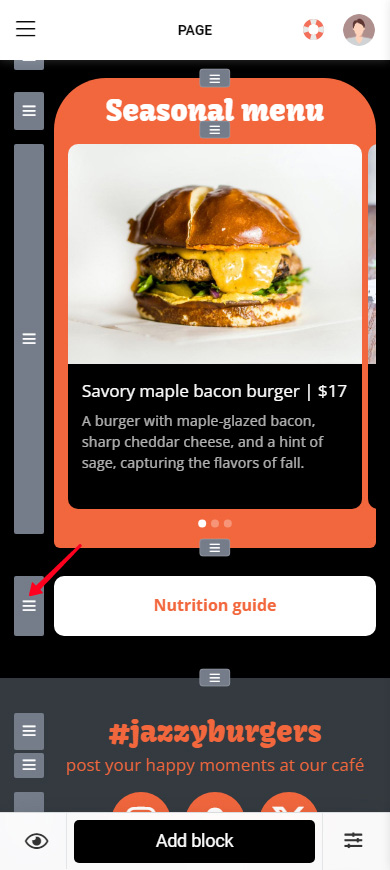
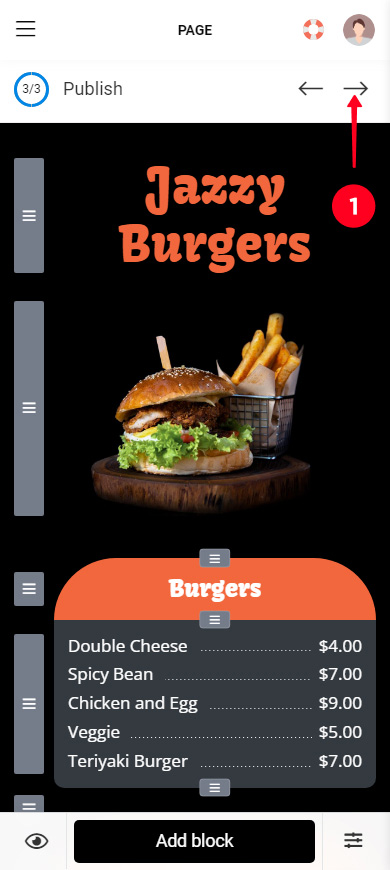
Edit the other blocks on the QR code menu page in the same way: menus, titles, images, etc. Look what we've got after editing all the blocks in the screenshots below. Or follow the link to view the menu page "in real":
If you've chosen a different template and don't have a menu on your page, then add it. Below we explain how to do it.
Taplink provides 18 blocks that you can place on your QR code menu page to give all the information your guests may need, such as:
- Price lists to add menu items and the prices.
- Images to show your meals and drinks.
- Texts to tell about your dishes.
- Social network links to direct guests to your social profiles.
- PDF links to give detailed information about menu items.
- Countdown timer to emphasize the limitations of seasonal items.
And many more!
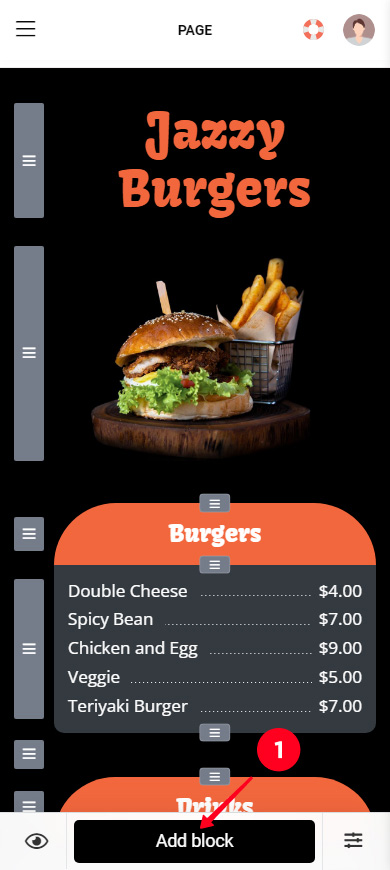
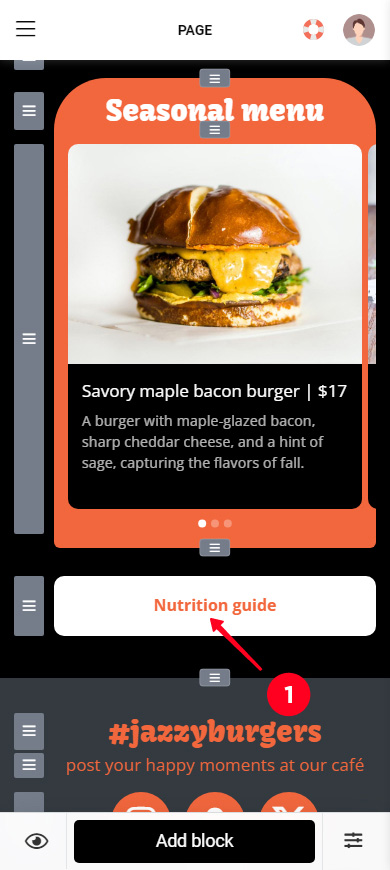
All blocks can be added to your QR code menu page in the same way. Below we show how to add the Link block as an example:
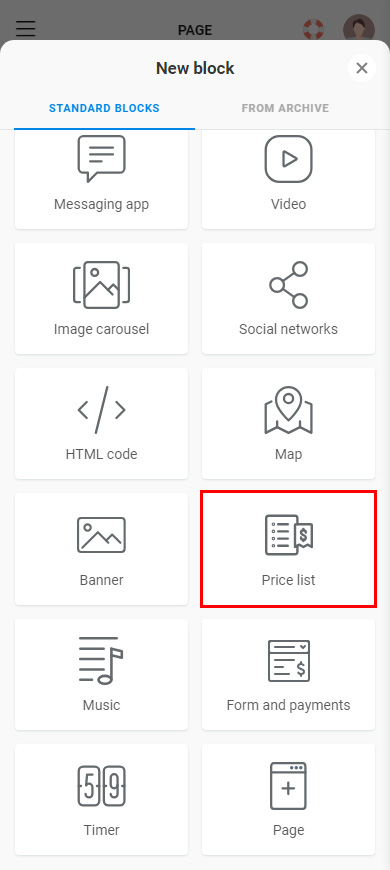
- Tap Add block.
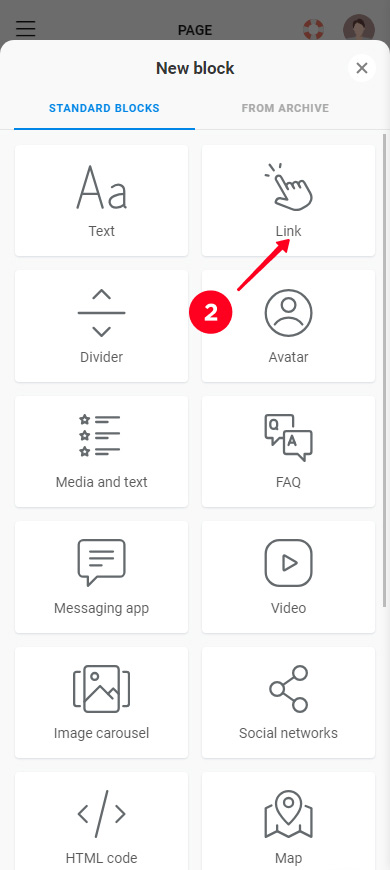
- Select a block. It's Link in our case.
- Fill in the fields. They are different and depend on the block you choose. We need to specify the text that will be displayed on the button and the URL since we've chosen the Link block.
- Tap Save changes.

The button's been added, this is how users will see it:
You can add other blocks in the same way. We decided not to add anything else.
If you need, you can reorder the blocks in your digital menu. Tap and hold the three lines next to the block you want to move, then drag the block to the new location, and release the three lines:
If you don't need a block, delete it from your QR code menu page:
01. Tap the block.
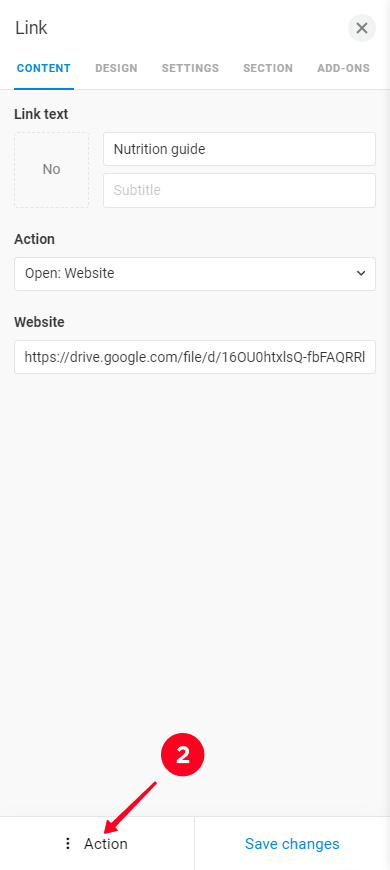
02. Tap Action.
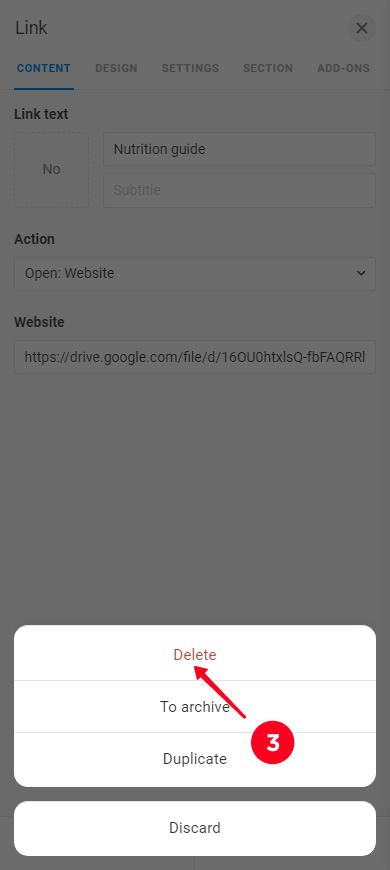
03. Select Delete.
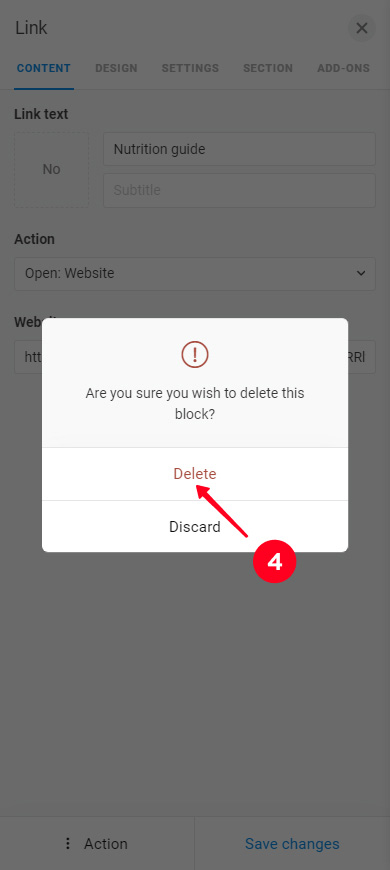
04. Tap Delete to confirm the deletion.
We decided not to delete the block.
The page for your QR code menu is ready. Now you need to publish it:
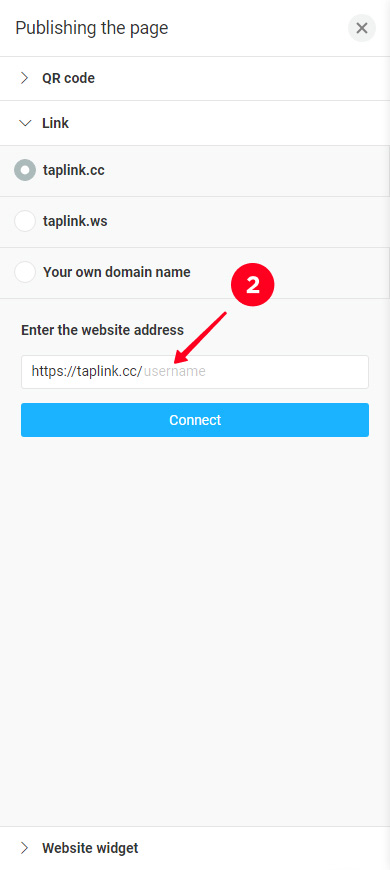
01. Go to Publishing the page.
02. Specify the unique link part.
03. Tap Connect.
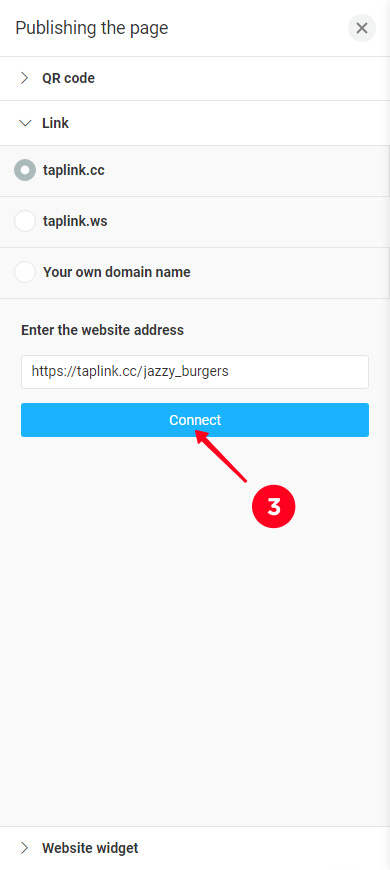
Done, the menu page is published. The matter remains small: download the QR code for the menu page, we explain this below.
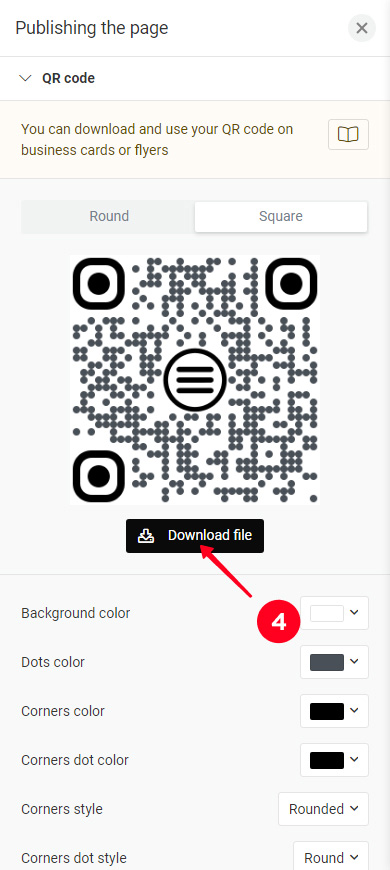
Taplink creates the QR code for your menu automatically. You can customize its design, and then you only need to download it.
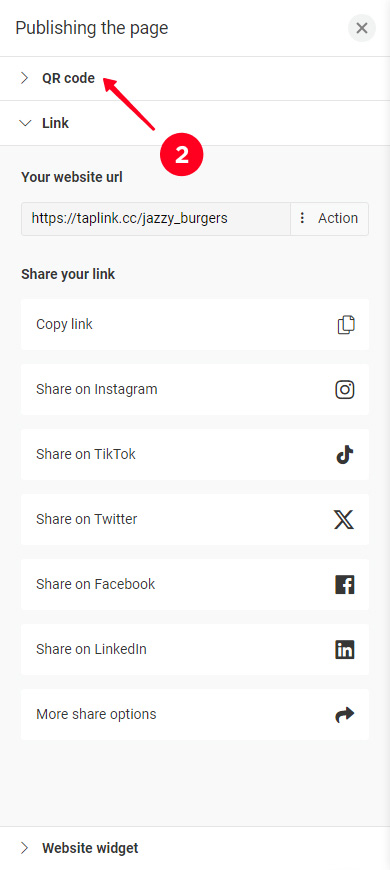
01. Go to Publishing the page.
02. Select the QR code tab.

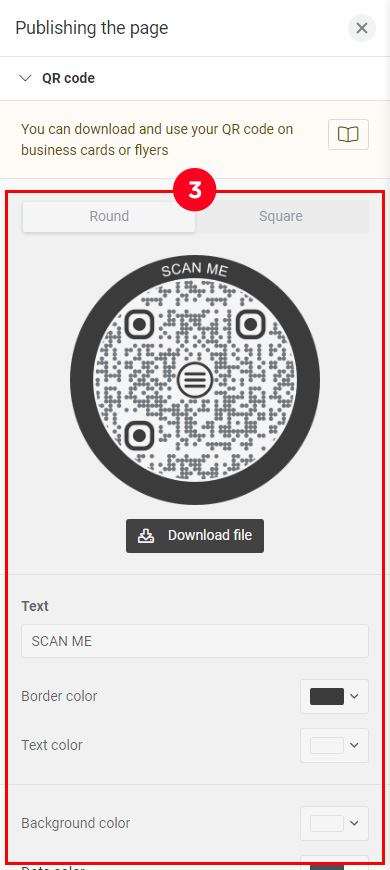
03. Optionally, adjust the design settings of the QR code. You can change the shape, lettering, colors, etc. Detailed instructions are here.
04. Tap Download file.
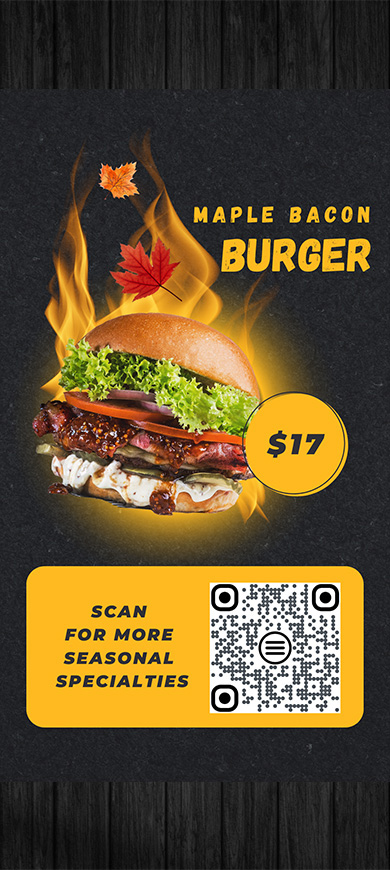
That's it, now you can add the QR code of your menu to printable designs of:
- table tents.
- food packaging.
- outside walls and windows.
- outdoor signs.
- advertising banners.
- delivery transport.
Be sure to add a call to action next to the menu QR code. Say that one needs to scan the code to view the menu.
Scan the QR code for your menu to check if it works correctly. Scan it on each type of printed materials — an outdoor sign, a leaflet copy, and so on. Do it both with an iPhone and an Android device.
Here are tips for creating a page for your QR code menu. Guests order more if your menu page includes:
- images. Guests see the served dishes and drinks looking so tasty and tempting so they just can't help ordering them. Add Banner and Image carousel blocks to your QR code menu page on Taplink to show images. Also, you can add a Video block.
- descriptions. The name of a menu item doesn't always reveal the items' ingredients. So you should add more information to clearly inform about the ingredients, and also allergens, nutritional and energy value. These make it easier for guests to choose. Add the Text, Media and text, FAQ blocks to your Taplink page to write all the details.
Set a page theme that matches your brand. Taplink provides precise theme settings for this.
We've also got a separate article for restaurants on how to properly fill out your social media profiles, what kind of content you can add to attract followers, and how to engage your followers with your content. Read it to learn how to market your restaurant's social media effectively.
Create a QR code menu on Taplink. You can choose a blank page to create a custom menu page or choose a template to create a menu page quickly.
On the menu page, you should add names and prices of the dishes and drinks offered in your café or restaurant, bar, etc. You should also add photos and descriptions of the menu items.
When you have added everything you need to the page, all you have to do is download the QR code for your menu and print it.