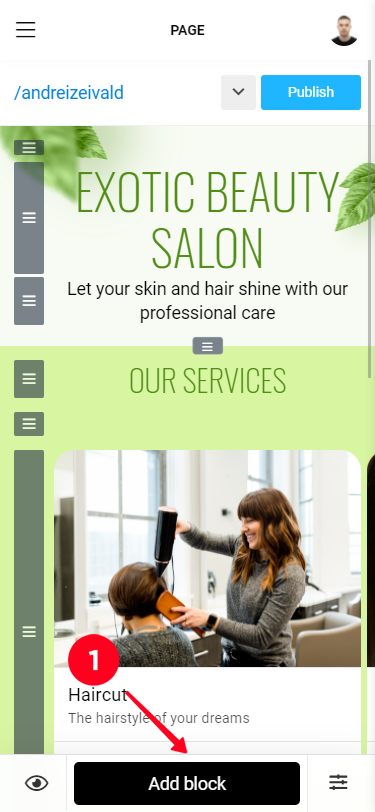
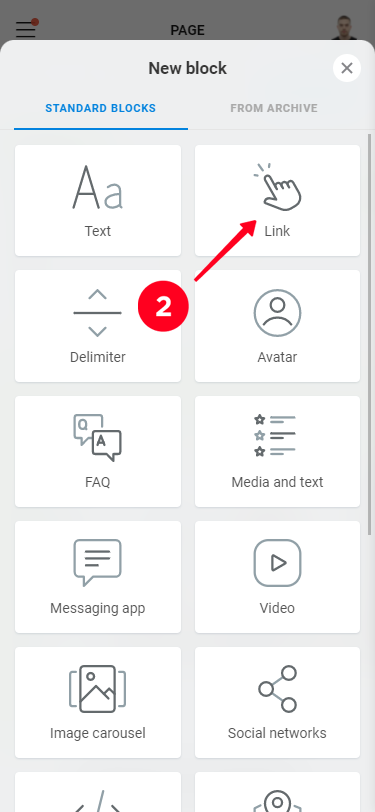
To add elements to the Taplink page, use the "Add Block" button at the bottom of the page. Then choose any block, enter the necessary information for this block and click "Save".
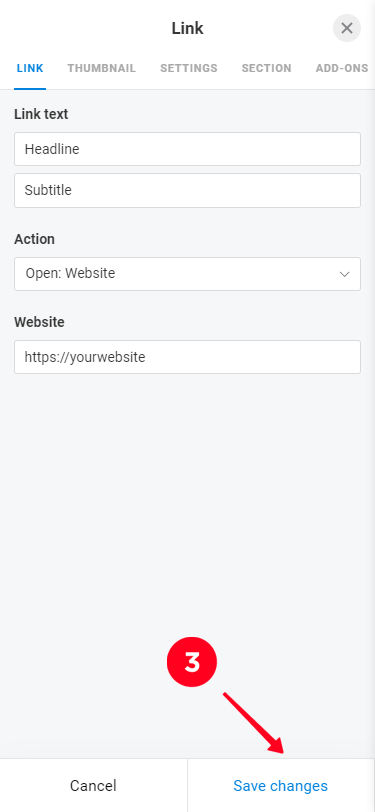
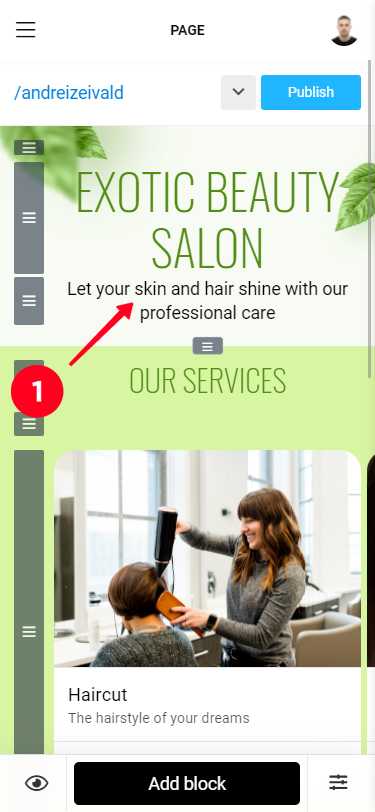
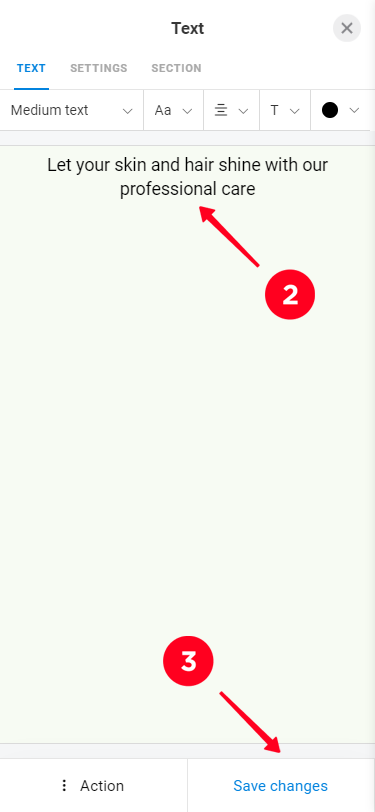
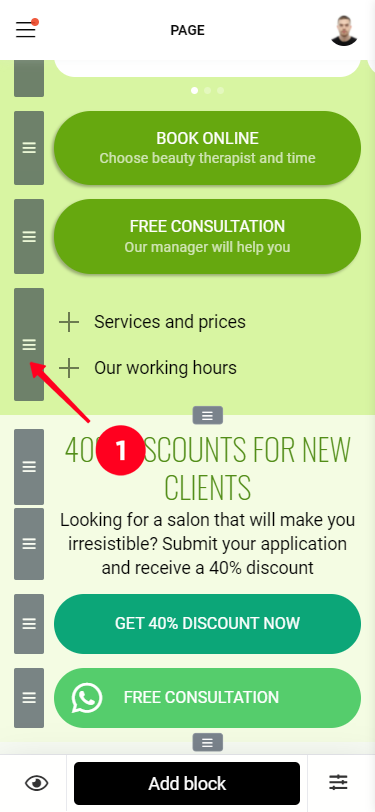
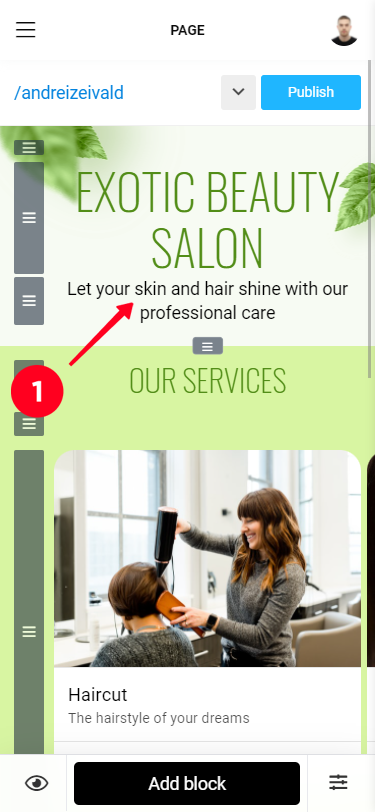
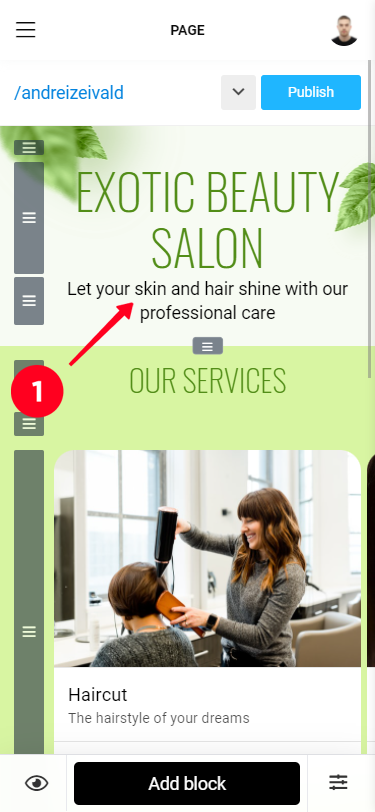
1. Tap the block you want to edit. The editing window will appear on the screen, here you can make the necessary changes.
2. To apply your changes, tap the "Save" button.
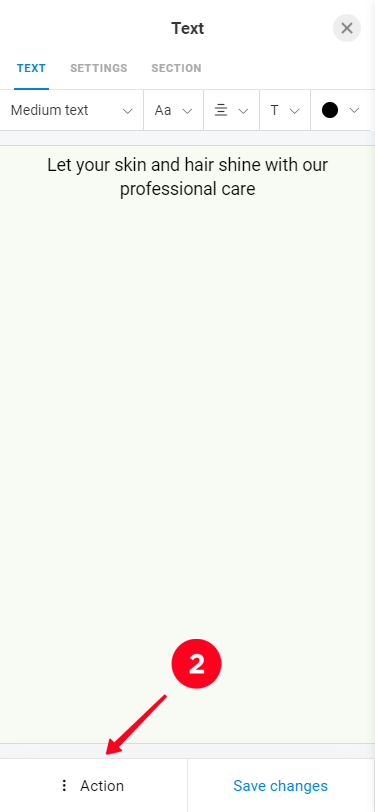
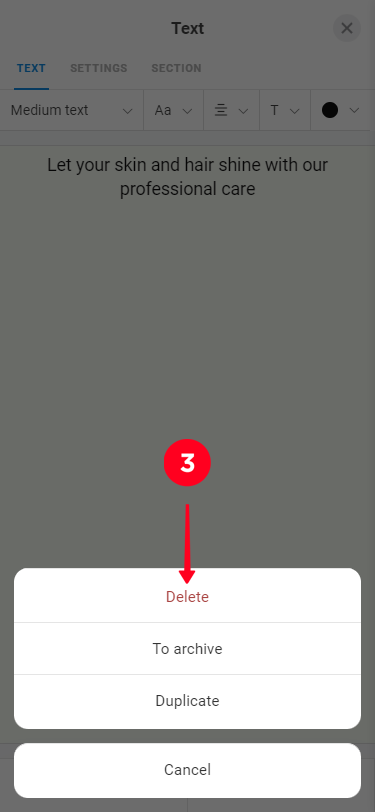
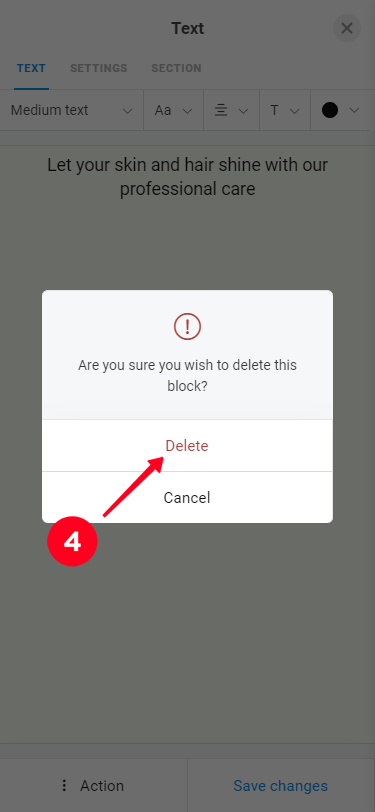
The rest of the block control functions are available through the "Action" submenu. To delete a block, use the "Delete" button, and to temporarily remove it from the page or move it to another page, use the "Archive" button. To create a copy of the block use the "Duplicate" button.
You can swap the positions of the blocks by pulling the sliders at the left side of each block.
Click on the block in the page editing mode in order to open the editing form. In the bottom left part of the editing form you will see the “Delete” button.
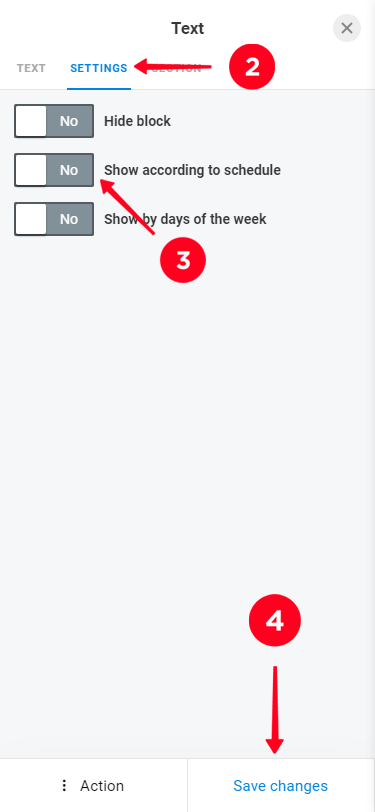
For any of the blocks you can set the time of its display on the page. The block can be displayed: at a certain date interval or at a certain time. If necessary, you can link the block display to the day of the week.
Archiving a block allows you to remove the block from the page with the option to restore it as a current page or to any other page in the same Taplink account (additional pages are available on the BUSINESS plan).
To archive a block, tap it and an edit window will appear. In this window, tap the "Archive" button.
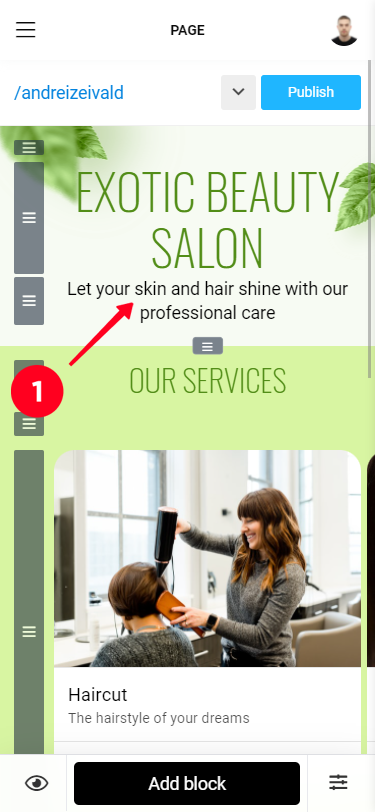
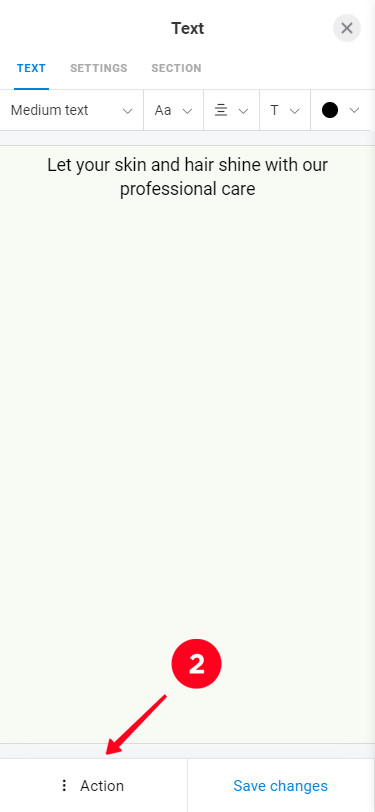
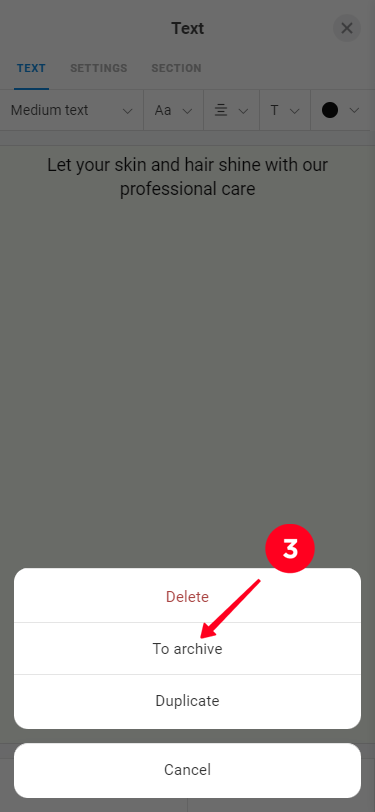
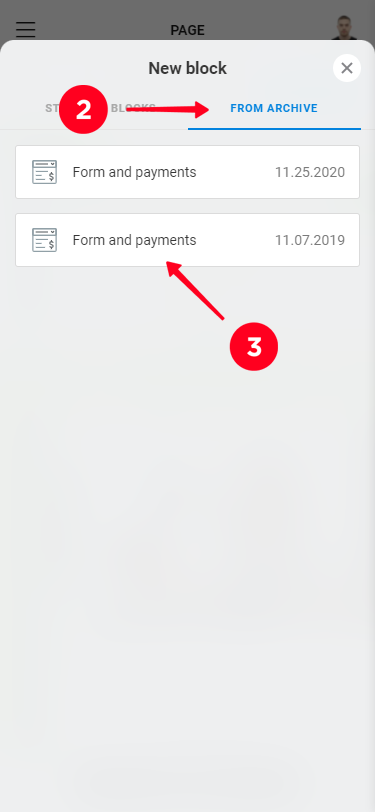
To add blocks from the archive on the desired page click "Add block", go to the tab "From archive" and select the desired block . If there are no blocks in the archive, the "From archive" tab is not displayed.
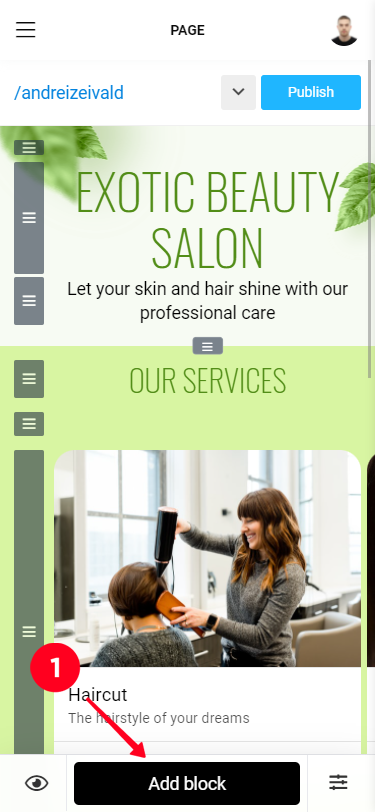
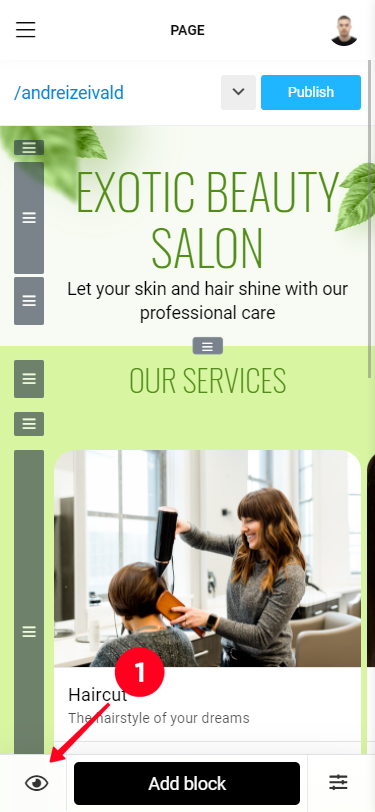
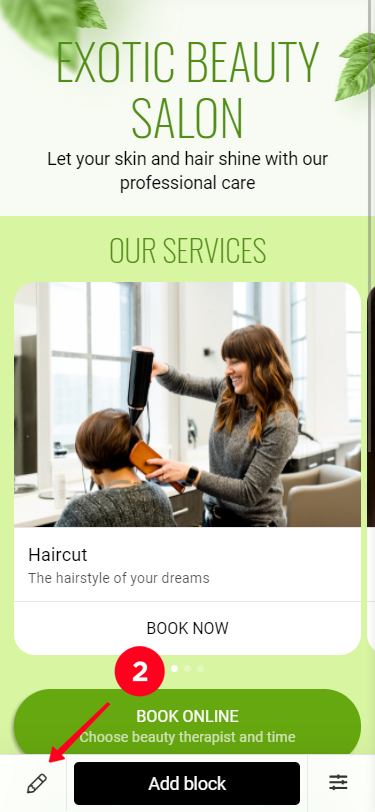
To switch between the editing and preview modes, use the left button with eye on your page.
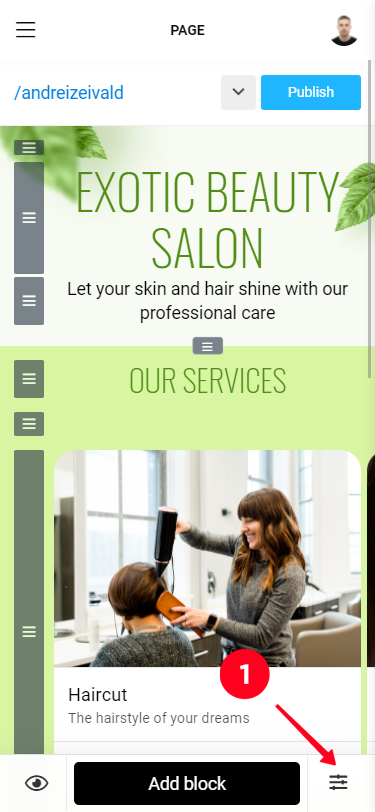
You can adjust the vertical alignment of blocks through the Settings menu in the Block Control panel
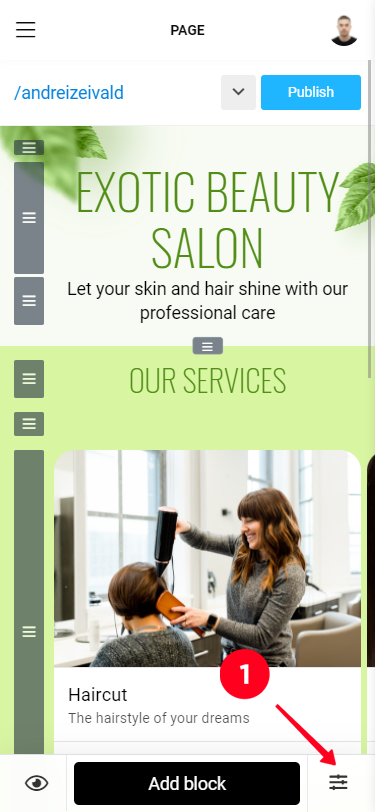
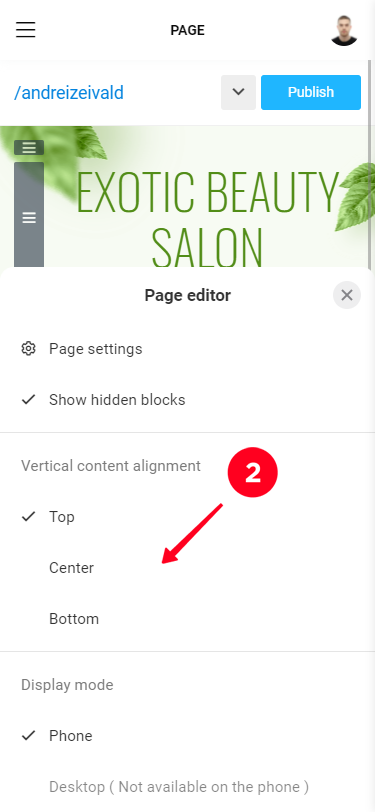
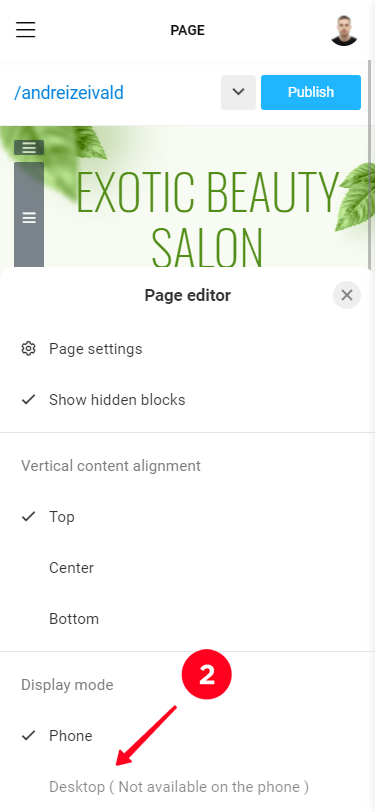
In the Block Control Panel, click the settings button (on the right) and switch to Computer mode, where you can set the maximum page width when viewed from computers.
We can transfer your paid subscription to another account. To do that, add another account to your client area and write to us - we will transfer your paid rate plan.
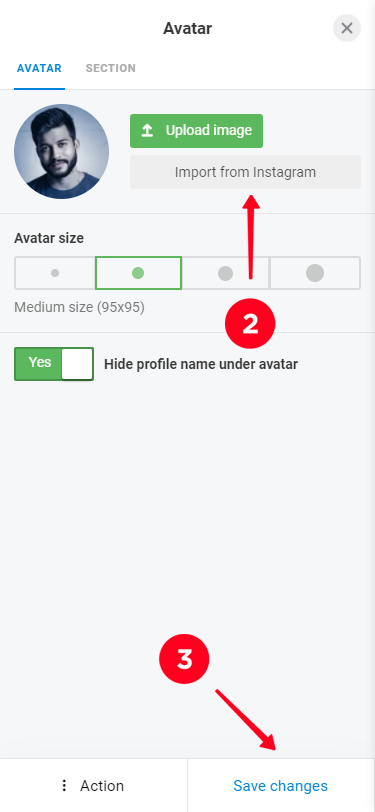
Simply click on your avatar and choose "Import from Instagram"
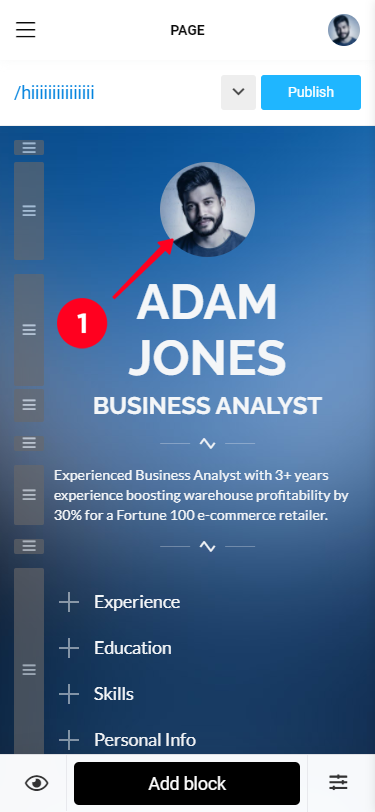
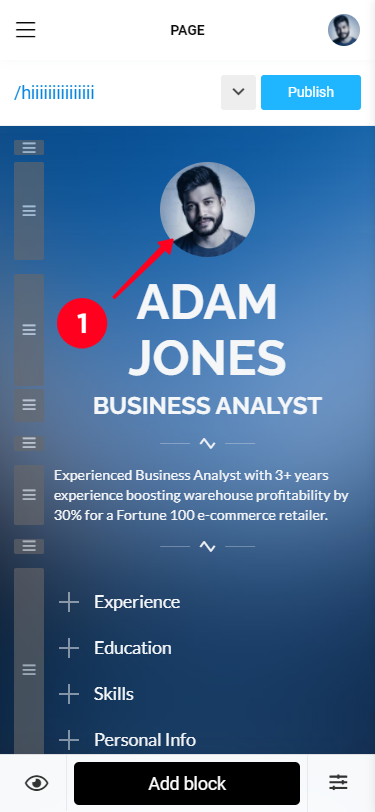
Yes. Tap the "Avatar" block and click the "Upload" button. We recommend a square image for your avatar (1:1 aspect ratio, 1080*1080 pixels).
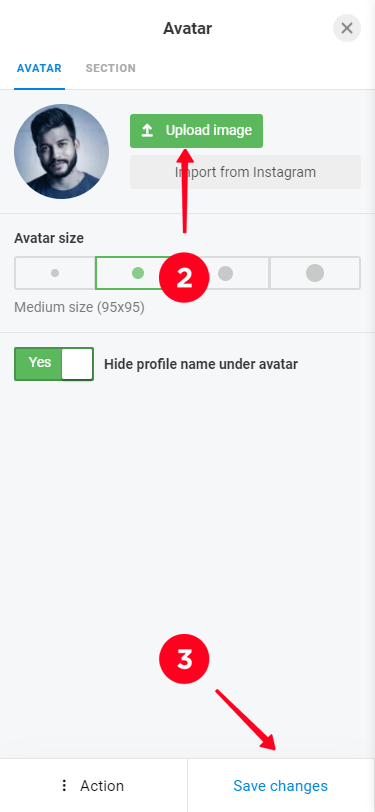
No, animated images are not supported.
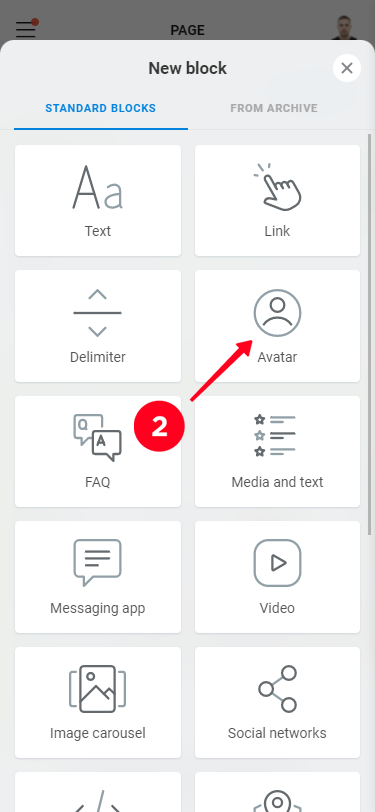
Click "Add block" -> "Avatar"
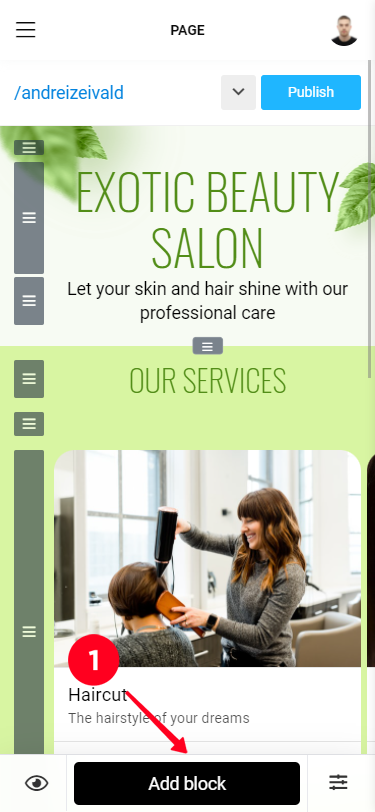
To change the main page, you need to enter the list of pages (the gray button next to the Publish button)
Scroll down to the "Action" menu, where you choose "Change main page". Then choose the page you want to set as the main page, and click "Save:
The Internal pages feature allows you to add additional pages to your Taplink (up to 512 pages per profile). For example, you can place a data collection form or other elements in them.
Using internal pages allows you to avoid overloading your main page with unnecessary information. All internal pages have a common design theme, avatar, pixel, etc.
The "Form and payments" block allows you to collect data (contacts, emails, etc.) and accept payments (for services or when selling your digital products).
Collected data goes to the "Leads" page.
If payment acceptance is enabled for a form, all methods specified in Settings - Payments will be available.
You can receive notifications about form filling by email, Telegram or Facebook Messenger.
If email marketing services are connected, people who have filled out the form can receive pre-configured letters (done on the side of the newsletter service) to e-mail.
The maximum file size is 12 MB, the system automatically scales files to the carousel resolution.
We recommend trimming images in advance to fit the selected format of the carousel of images by aspect ratio. For example for square photos - 1:1. In terms of resolution we recommend the size 2048*2048, 1080*1080 or close with the desired aspect ratio.
Use the Form and Payments block to create a registration form.
1. "Add new block" - "Form and payments".
2. Specify the set of necessary data by clicking "Add field". Arrange the fields in the right order by sliders on the left. Any form should have at least one obligatory field for contact details (fields like Email or Phone).
3. Go to the "Settings" tab, specify the text on the button below the form, and the action after filling out the form.
4. If you want to accept payments: go to the "Payments" tab, turn on the "Accept payments", state the amount and the purpose of payment. There can be only one amount in one form. You can also set the status, which should be set for the request after the payment.
5. If necessary, connect legal information modules (contract-offer or other data collection agreement should be placed there, Add-ons -> Legal information) and notification modules (to be notified of new orders, Modules - Notifications).
9. Click the "Save" button, to create a form.
To create an additional page within a Taplink account, click "Add New Block" - "Page" (available on BUSINESS plan)